Gluten-Free Sourdough Starter
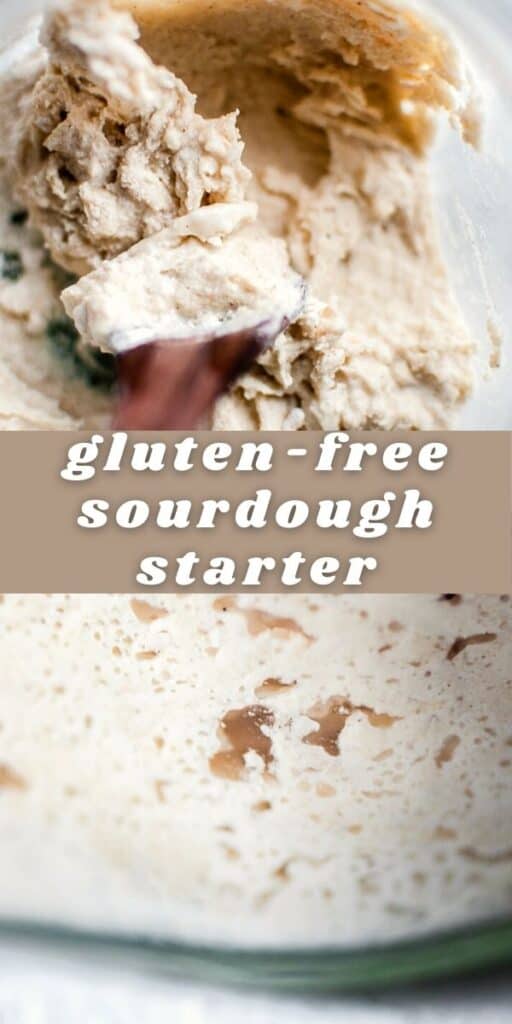
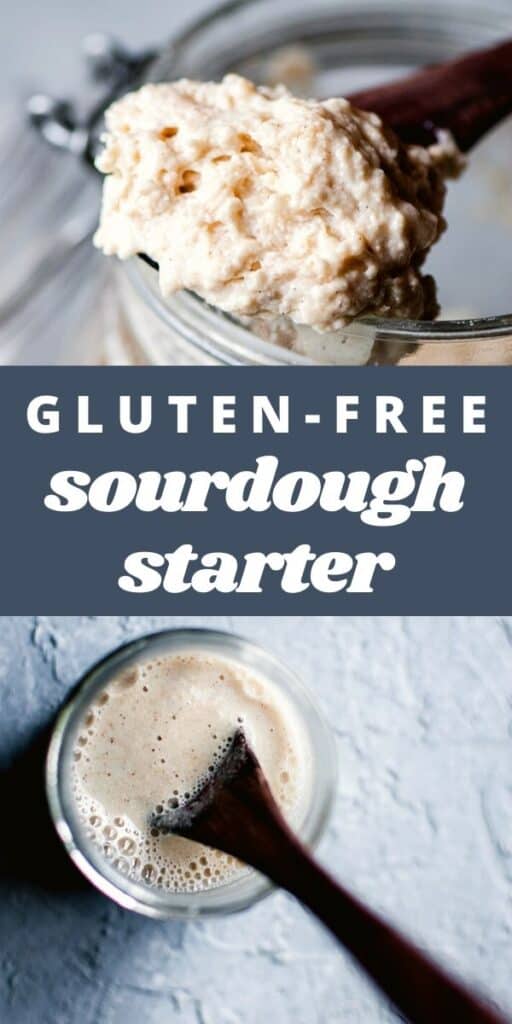
This Gluten-Free Sourdough Starter recipe couldn’t be easier to make! Learn how to make a magical natural yeast starter that can be used for any sourdough recipes you would like with this simple and fool-proof method using only 2 ingredients.
This has been a long time coming! It took me quite some time to finally dive into the world of sourdough baking and boy, did I wish I had done so sooner. It is so fun, and easier than you would imagine. I’ve experimented with various starters and this one is certainly my favorite, not only for the flavor, but how quickly it readies itself! I hope you find this whole process as beautiful (and tasty) as I do!
🍞 Gluten-Free Sourdough Starter
- 2 simple ingredients.
- Easy to make.
- Fun to make.
- Tasty.
- Super active.
- Gluten-free, dairy-free, vegan, nut-free, soy-free.
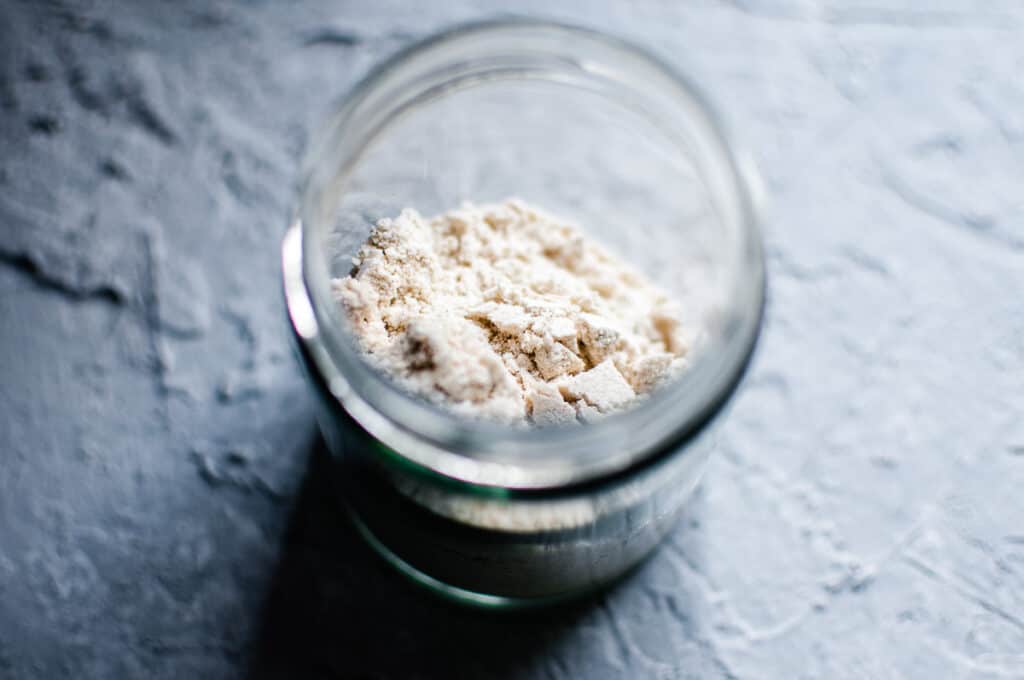
🥘 Ingredients
- Sorghum flour, brown rice flour, gluten-free all-purpose flour + water—that’s it!
🥣 How-to Make Gluten-Free Sourdough Starter


💭 Frequently Asked Questions

If you try this recipe please let me know! Leave a comment, rate it, share this post, use Pinterest’s “tried it” feature, or take a photo, & tag me on Instagram and I’ll share it! Thank you so much! <3
Gluten-Free Sourdough Starter
Ingredients
Day 1
- 2 tablespoons sorghum flour
- 2 tablespoons brown rice flour
- 1/4 cup filtered water chlorine-free preferably
Day 2
- 2 tablespoons sorghum flour
- 2 tablespoons brown rice flour
- 1/4 cup filtered water chlorine-free preferably
Day 3-Until Ready
- 1/4 cup gluten-free all purpose flour with or without xanthan gum
- 1/4 cup filtered water chlorine-free preferably
Instructions
Day 1
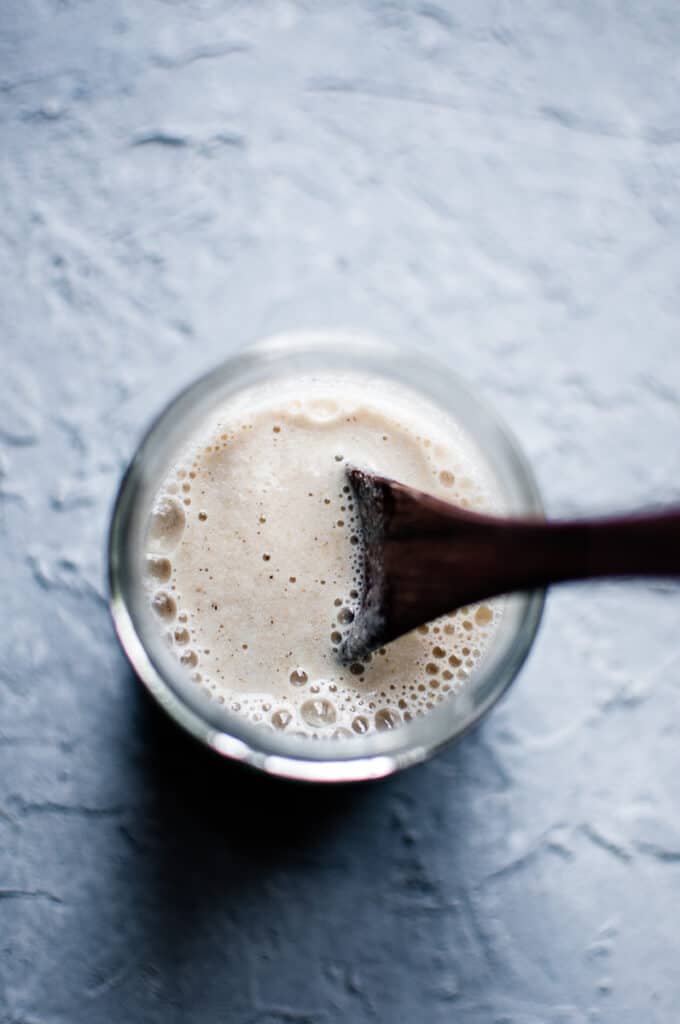
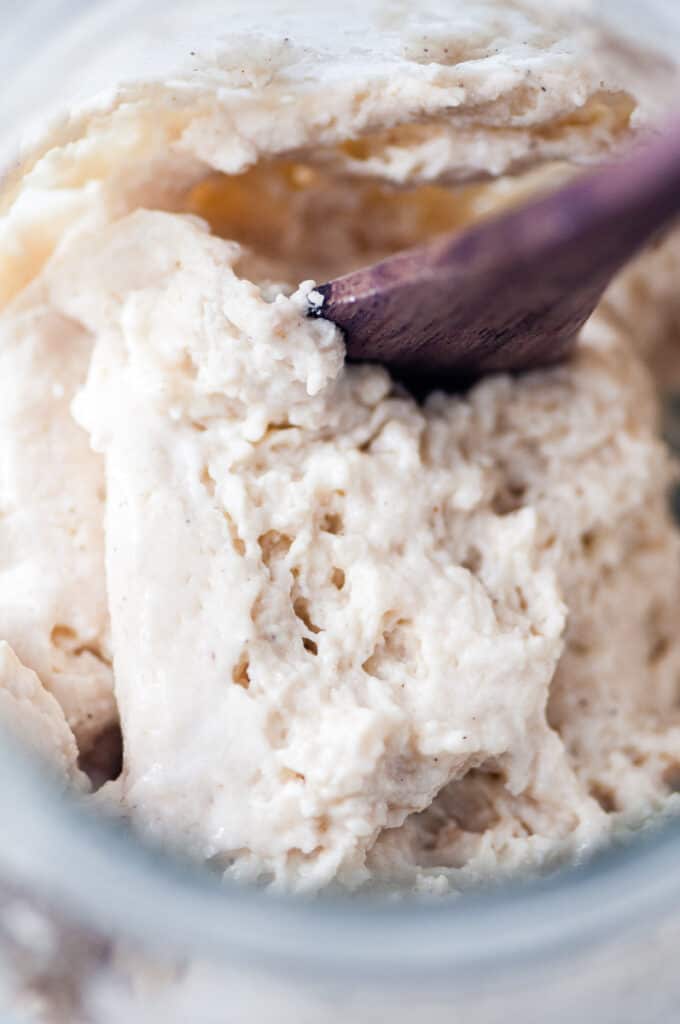
- In a clean glass jar or bowl add sorghum flour, brown rice flour and water. Stir with a wooden or plastic spoon to combine (metal reacts). Loosely cover with a lid or cloth and let sit at room temperature for 12 hours.
Day 2
- After 12 hours, add another round of sorghum flour, brown rice flour and water. Stir to combine with a wooden or plastic spoon. Loosely cover and let sit at room temperature for 12 hours longer.
Day 3-Until Ready
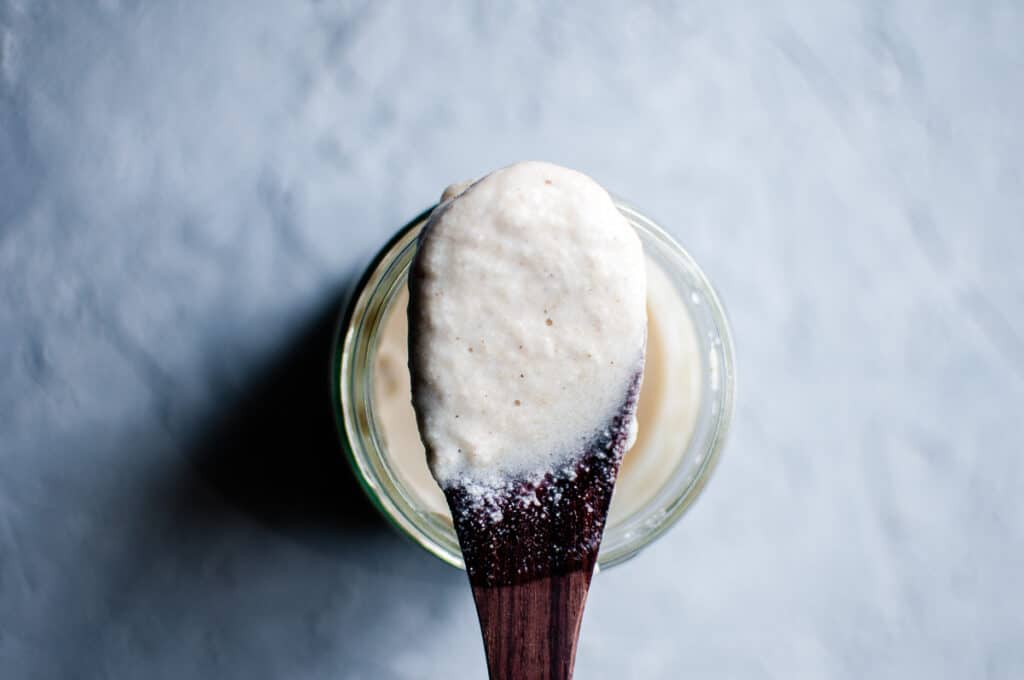
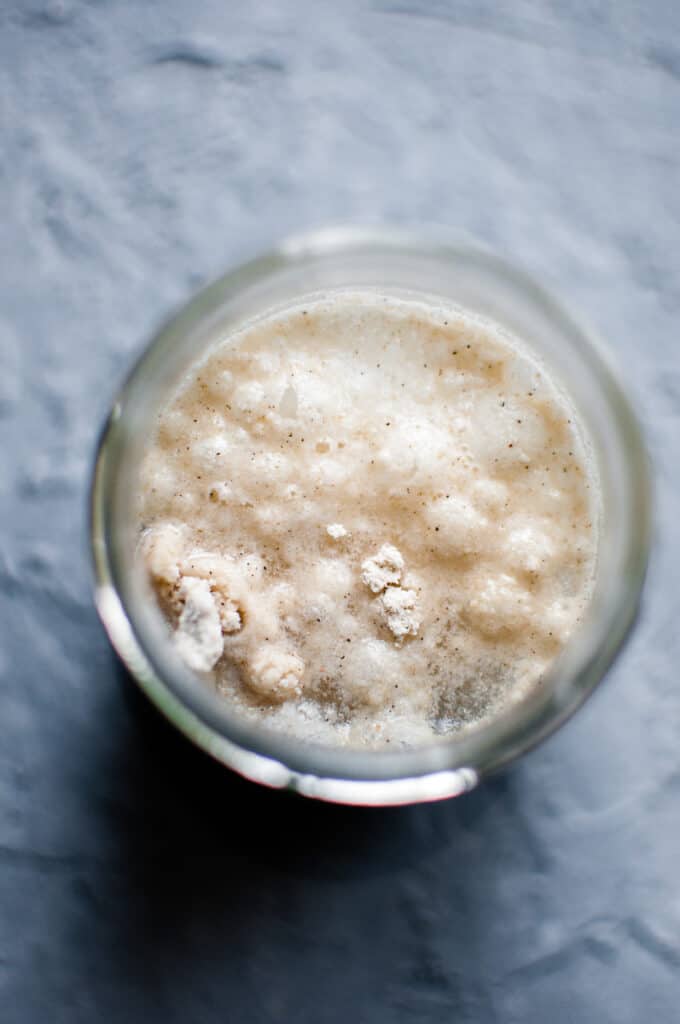
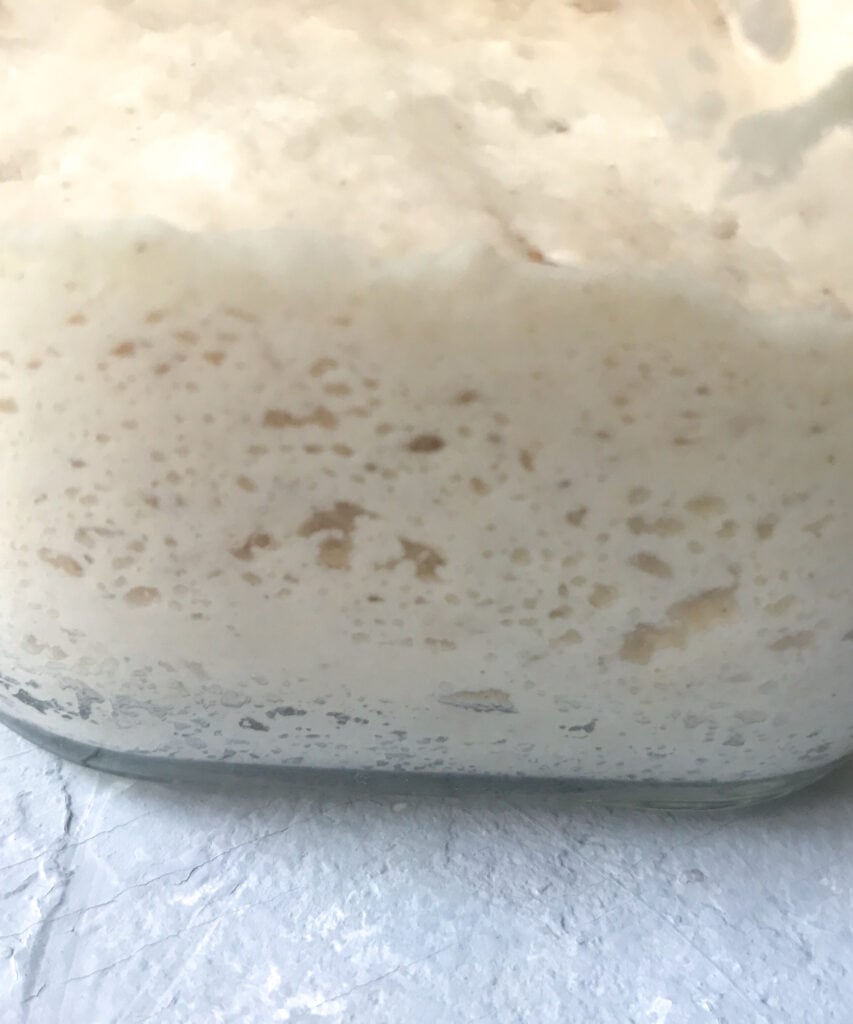
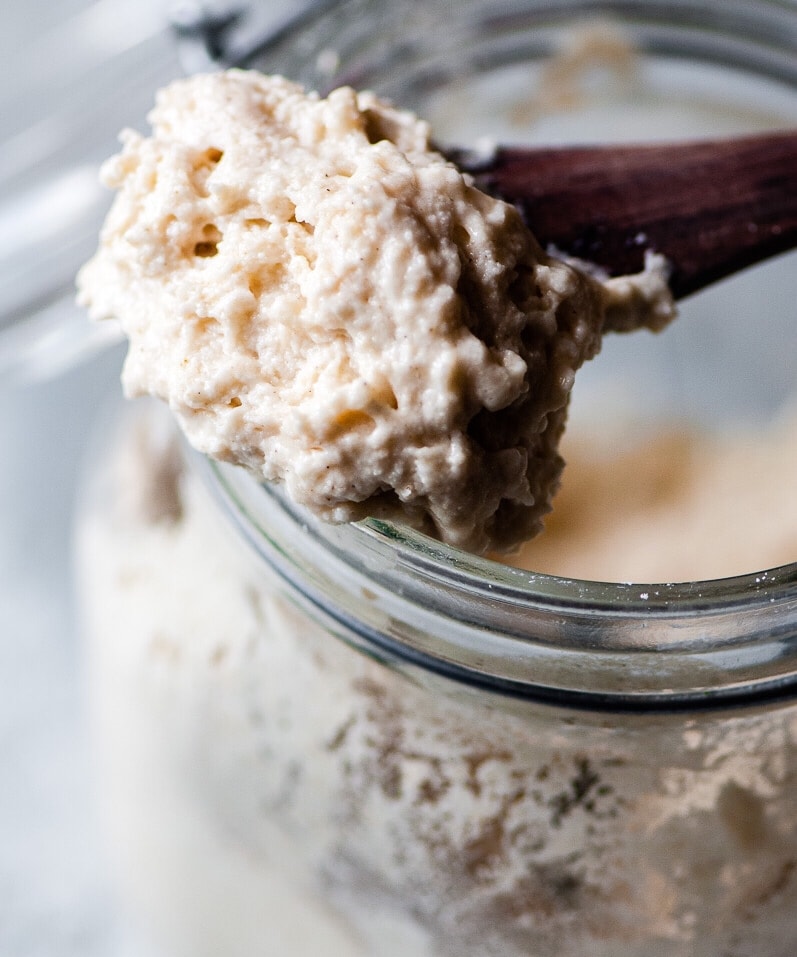
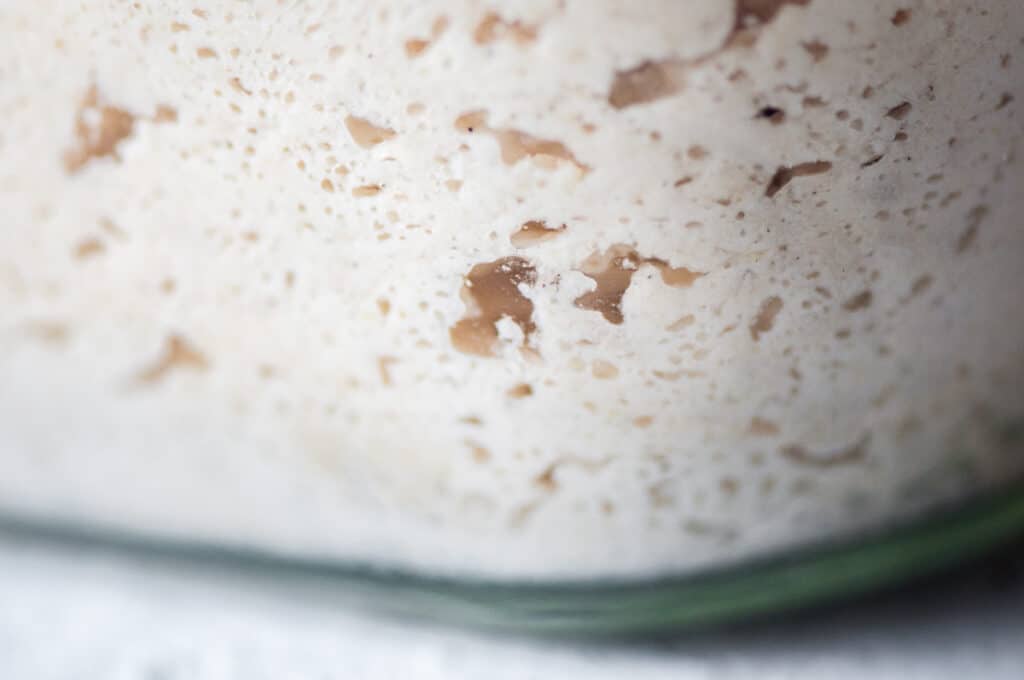
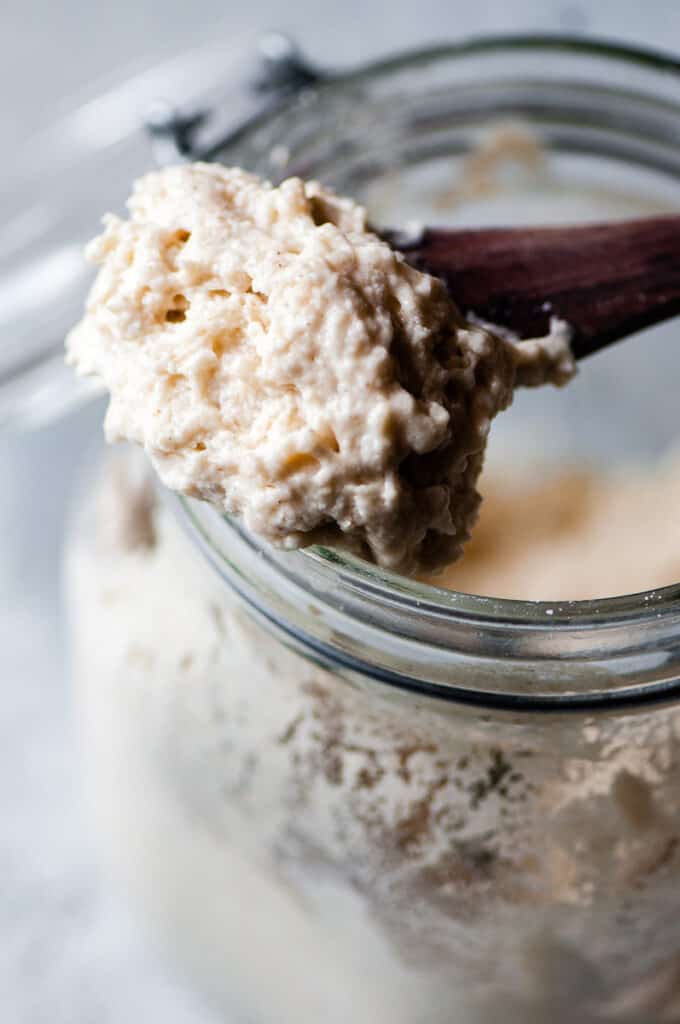
- On day 3, place 2 tablespoons of the sourdough starter into another clean glass jar or bowl. To this add all-purpose flour and water. Stir well with a wooden or plastic spoon. Cover loosely and let sit for 12 hours. After this, check your starter for signs of being active and ready. If it has doubled in size, has nice air pockets throughout and has a pleasant sour aroma, it is probably ready to go. Otherwise, repeat the steps for Day 3 until the starter is ready. (See post above for lots of tips, tricks, signs to look for, as well as ways to use the the starter portions you discarded).
Enjoy!
- Once your starter is ready you can use it right away in any sourdough recipes you would like or you can store it in the fridge in an airtight container until ready to use. If storing, refresh your starter before use by repeating the steps for Day 3 one time before use. (Learn more in the FAQs section in this post). Enjoy!


Hello! Great recipe, it seems to work well, BUT…
My starter had a smell reminiscent of sweet soy sauce. Is this normal, or should it be more sour-smelling?
Thanks!
Hi! Thank you for visiting! I find the smell to vary greatly depending on which specific brands and flours are used. More than smell, if the starter is doubling in size, that is a much better indicator as to how well it is working out. I find a healthy starter to have a slightly more yeasty, astringent smell than a super sour smell per se. The sour really comes into play once it is used and baked. I hope this helps! 🙂
If I am doing the 3x recipe, am I still only using 2 TBSP of the starter on day 3, or should it be 6 TBSP?
Thank you!
Hi, Jannel! 6 tablespoons.:)
Any substitutions for brown rice flour? Allergic, thanks
Hi! You can replace it with more sorghum flour. Other flours that work well are quinoa flour, oat flour and teff flour. I hope this helps!
I’m a little confused, is it 36 hours or three full days?
Hi Meagan – sorry for the confusion! The recipe card automatically rounds up to 3 days. 🙂 It is 36 hours, but more importantly, it is ready when you see the tell-tale signs – sour aroma, doubled in size, air bubbles..I hope this helps!
When you mix day 3 is this what you use to make your sour dough bread? I’m just making sure I’m correct. I have never made this before.
Hi Tina – if on day 3 it has signs of being ready (see recipe card and post for lots of info on this), then yes, you can use it. If it hasn’t doubled in size, developed air bubbles or a sour aroma, repeat the steps for day 3 by feeding it again, until you see/smell the signs that it’s ready. A lot of factors go into whether it’s ready around the third day (ambient temperature, etc.).I hope this helps! 🙂
I’m confused. You state this takes 3 days, yet 3 x 12 hours, is 36 hours (a day and a half). Also, I’m in New Zealand. Our GF all purpose flours don’t contain xanthum gum – we have to add it. How much xanthum gum should I add to the recipe? Thanks heaps. 🙂
Hi Anne – sorry for the confusion! The 3 days is just to let people know that it will made over the course of 3 days, regardless of hours, but I can see how this can be confusing! Also, my recipe card will not let me input 36 hours instead. 🙂 I appreciate you bringing it to my attention though! As for the all purpose blend, as stated, it can be a blend with or without xanthan gum added. If you would prefer using a blend with, I recommend adding 1/4 teaspoon for this particular recipe. I hope this helps! 🙂
Thanks for that. I’ve tweaked it s little and created a perfect GF starter. I used mainly sorghum & brown rice flour – probably equal amounts with the plain flour. It bubbled fantastically! Keepwell! Tganks for sharing. 🧡🧡🧡