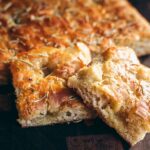
Gluten-Free Focaccia
This Gluten-Free Focaccia Bread has the perfect focaccia texture! You would never suspect that it is gluten-free. Naturally vegan and xanthan gum free!
Servings: 10
Calories: 150kcal
Equipment
Ingredients
- 1 tablespoon active dry yeast
- 1 tablespoon coconut sugar or any granulated or liquid sweetener of choice
- 1 ½ cups warm water
- 3 cups gluten-free all purpose flour blend without xanthan gum
- 1 teaspoon sea salt or pink salt
- 1 teaspoon baking powder
- 2 tablespoons extra virgin olive oil plus more for topping and pan
- 1 tablespoon crushed dried rosemary optional, for topping
- coarse or flaked sea salt optional, for topping
Instructions
- In a mixing bowl combine yeast, sweetener and warm water. Whisk well and let sit 5 minutes or until appearing foamy.

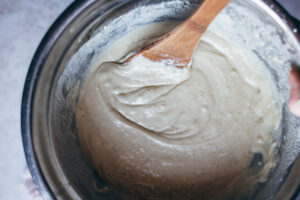
- To the same bowl add flour, salt, baking powder and oil. Mix well. Cover with a damp cloth and let sit in a warm place for 1 hour or until doubled in size (it will be a rather wet batter, do not fret!).
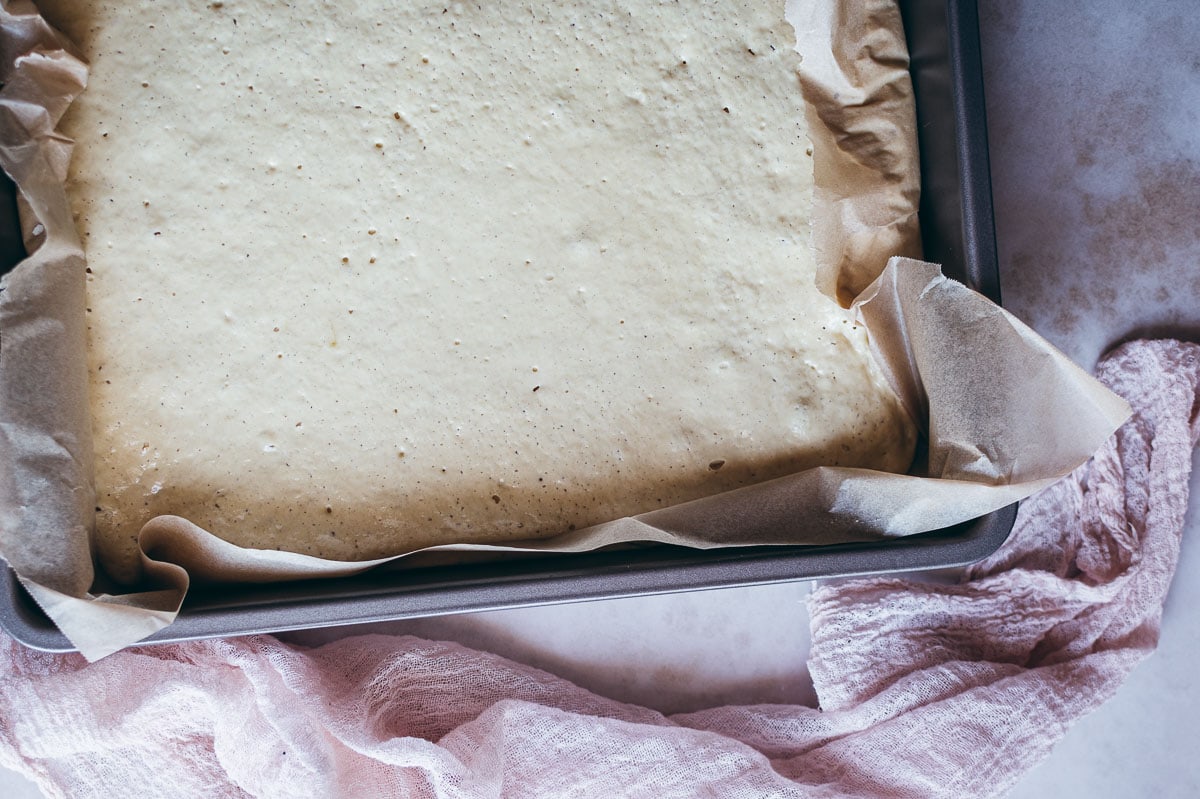
- Grease a 9"x13" pan and line with parchment paper (greasing helps the paper stick and hold shape).

- Pour the risen batter into the center of the pan. Cover and let sit to rise for 30 minutes longer, or until the entire pan has filled with batter (see how-to photos in post for reference).

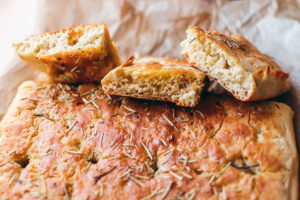
- Preheat the oven to 450°F. Press a wet finger into the batter to make small indents throughout. Drizzle with olive oil and sprinkle with dried rosemary (if using). Bake for 17 minutes, or until the bread is firm and golden brown.

- Let cool for 5-10 minutes before slicing. Optionally, sprinkle with a little coarse or flaked sea salt before serving. Enjoy!


Video
Notes
Please note: The metric conversions in this recipe card are not calculated by me but by the converter built into the recipe card itself. They may or may not be accurate. This recipe was developed using cups, not grams and that will yield the most accurate results.
The secret to this focaccia bread is using a gluten-free all-purpose flour blend without xanthan gum. If you use one, you will likely end up with dense and gummy bread, so I do not advise it. I like Bob's Red Mill Gluten-Free All Purpose Baking Flour and King Arthur Gluten-Free All Purpose Flour.
If you want to make your own gluten-free flour blend for this recipe, I recommend using one part tapioca or potato starch and one part sorghum or brown rice flour.
If you are not a fan of rosemary, you can use any dried or fresh herbs of your choice for the topping.
This is a rather loose and wet batter, it is not something you can knead, do not worry..it will turn out beautifully so long as you follow the steps outlined here in the post and recipe card.
Nutrition
Serving: 2square slices | Calories: 150kcal | Carbohydrates: 27g | Protein: 4g | Fat: 4g | Saturated Fat: 1g | Sodium: 279mg | Potassium: 4mg | Fiber: 4g | Sugar: 2g | Vitamin C: 1mg | Calcium: 49mg | Iron: 1mg