
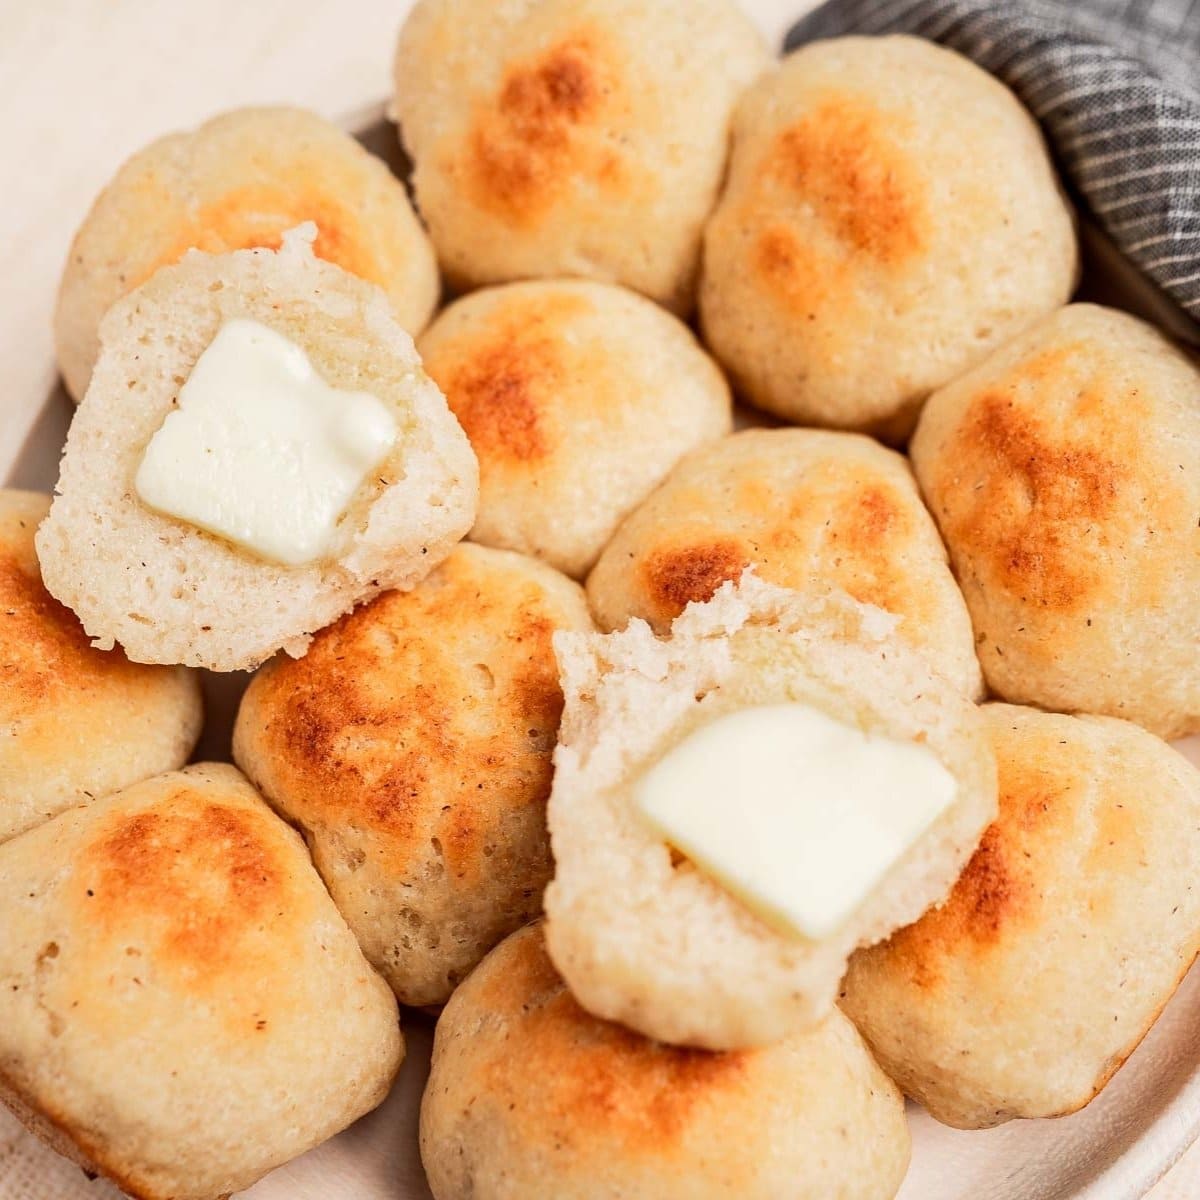
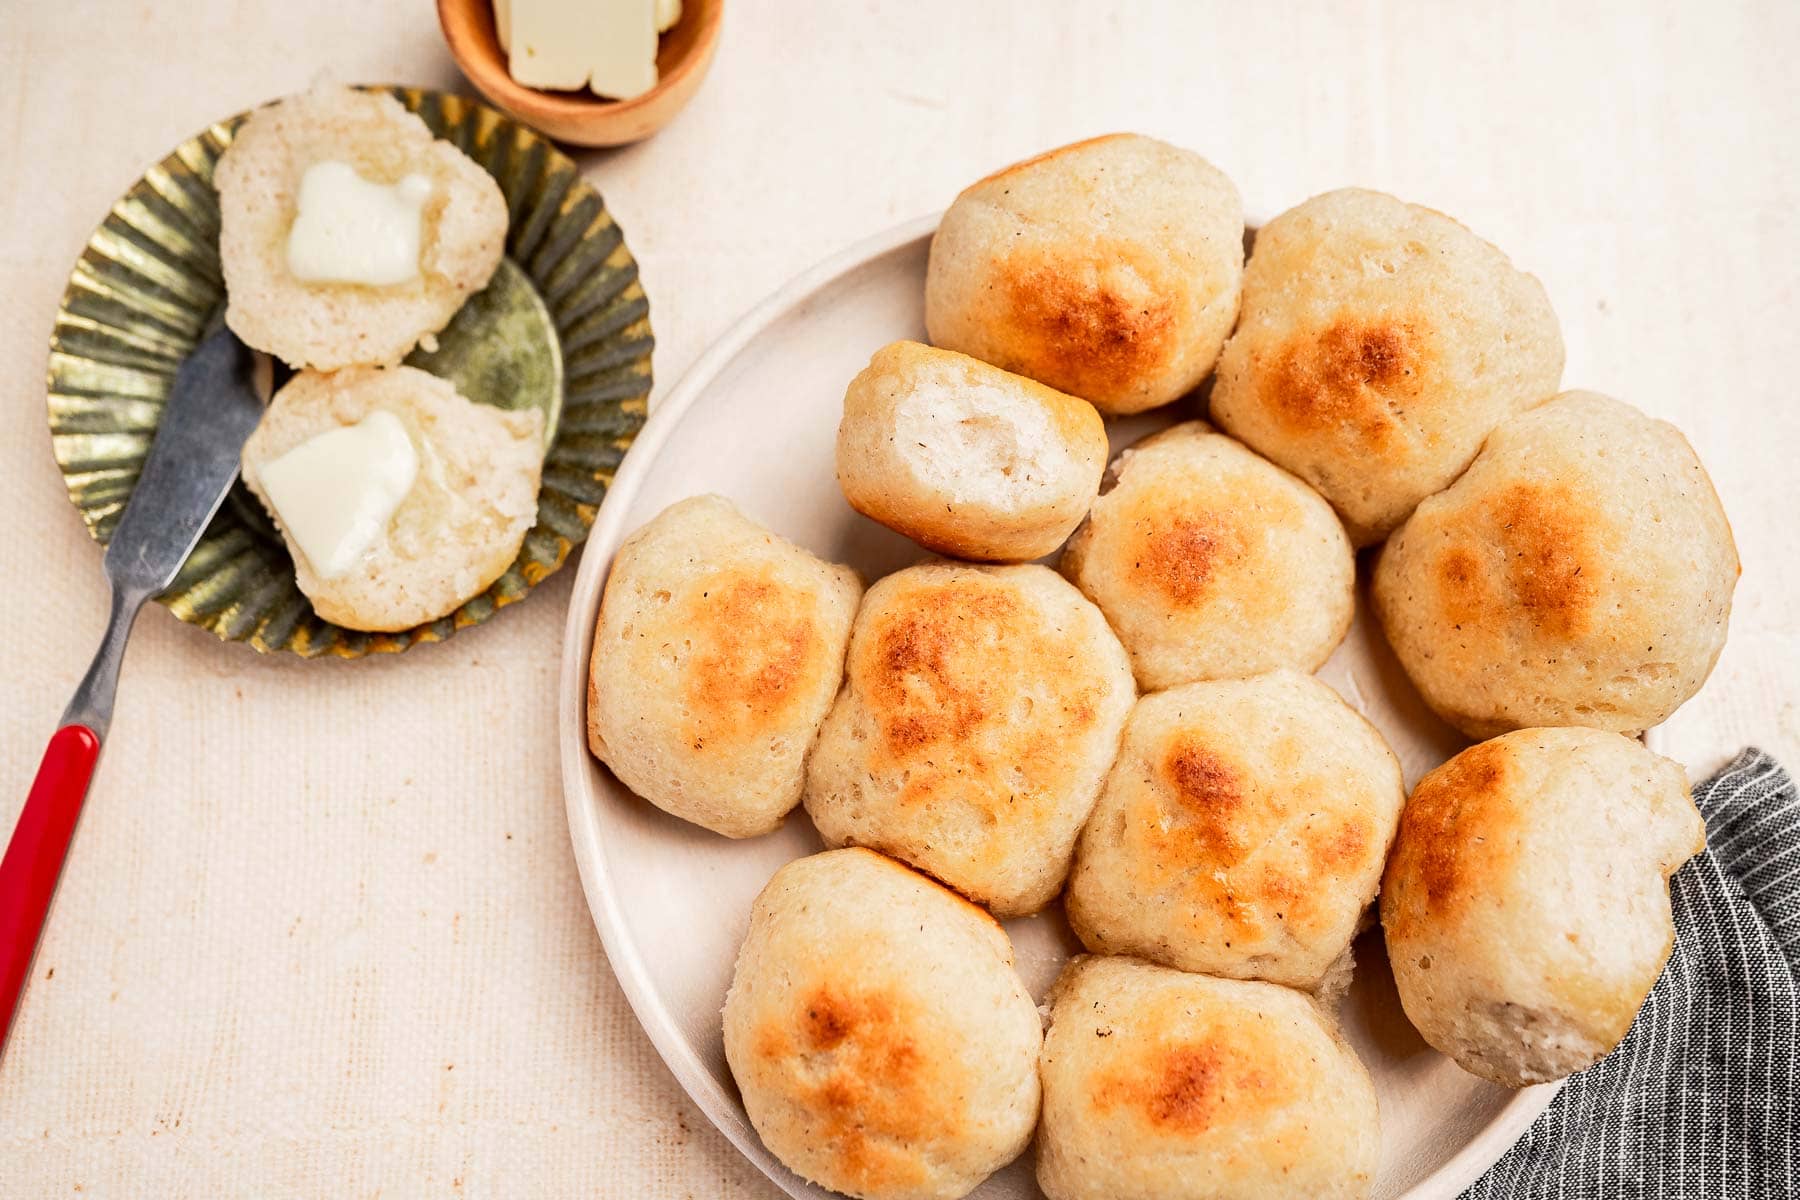
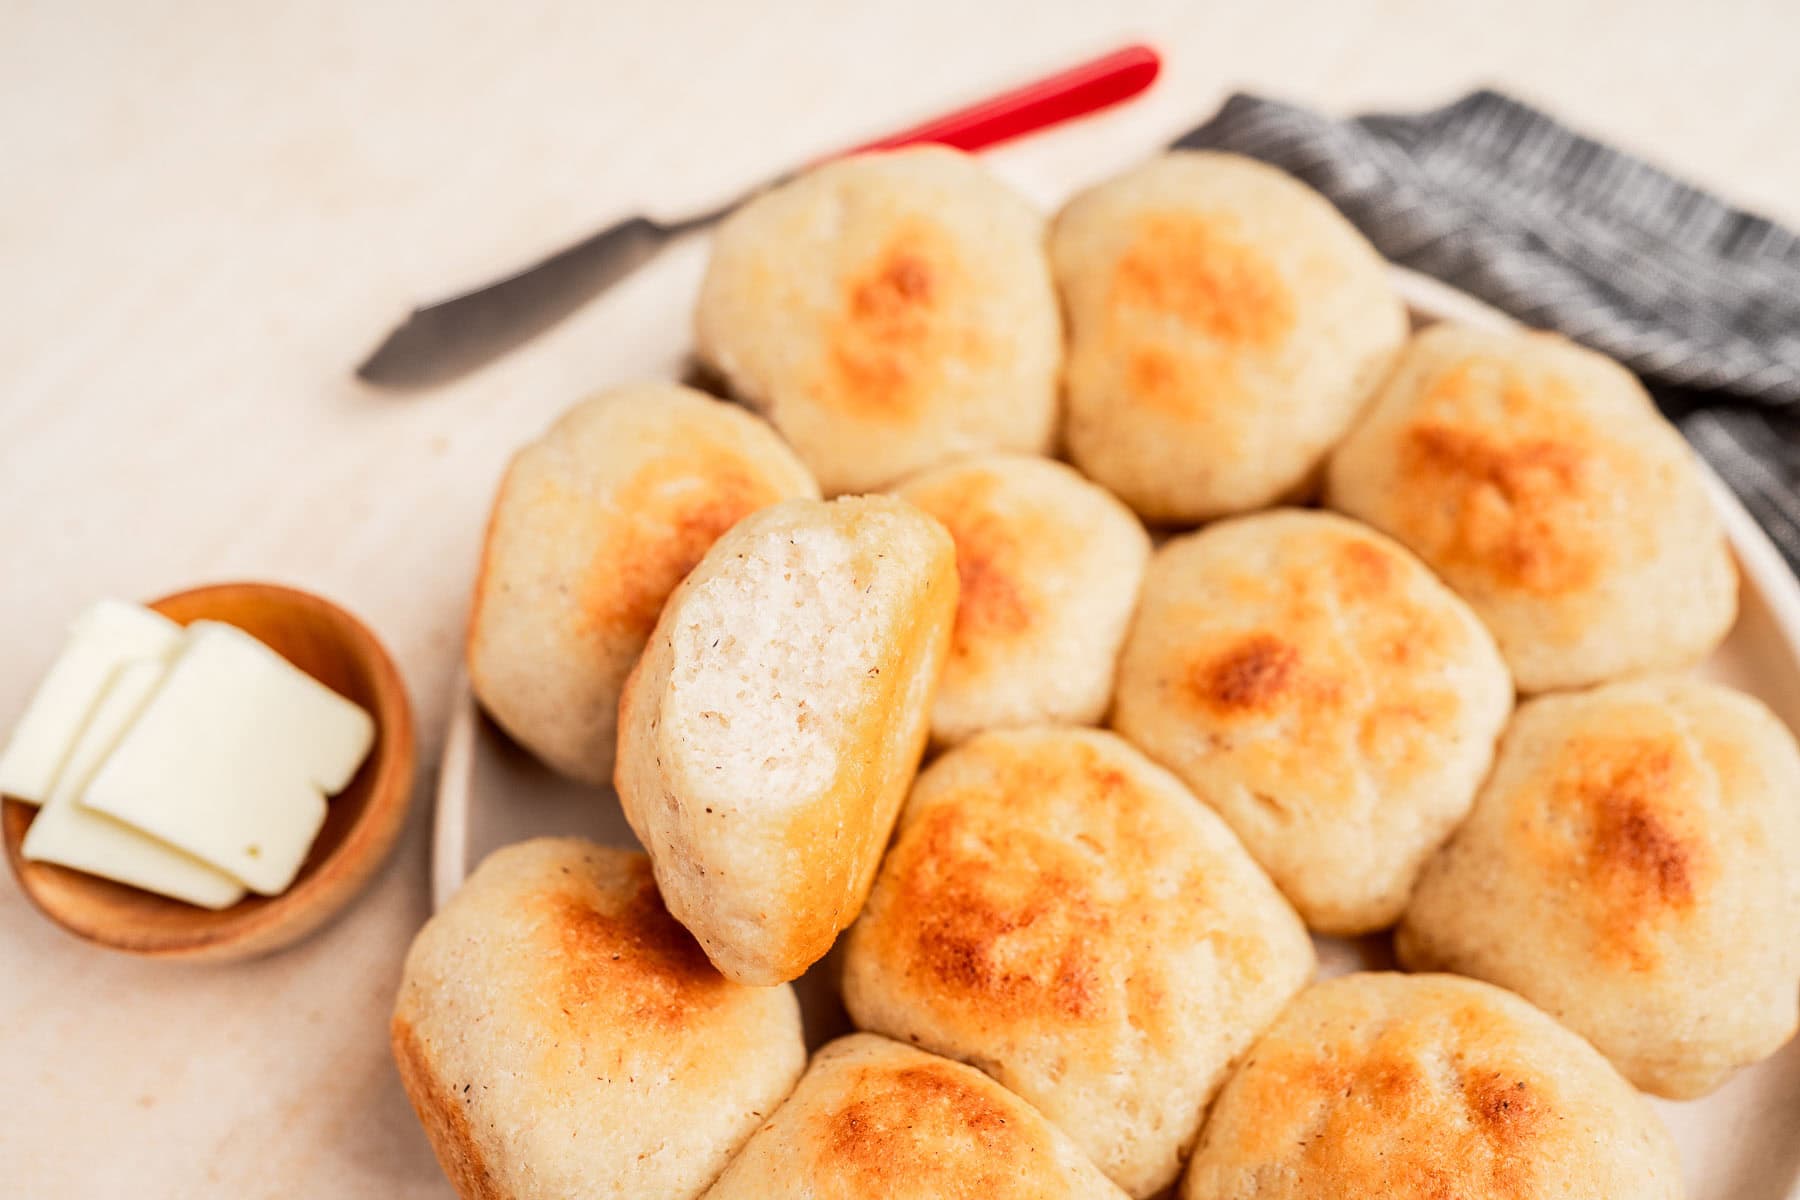
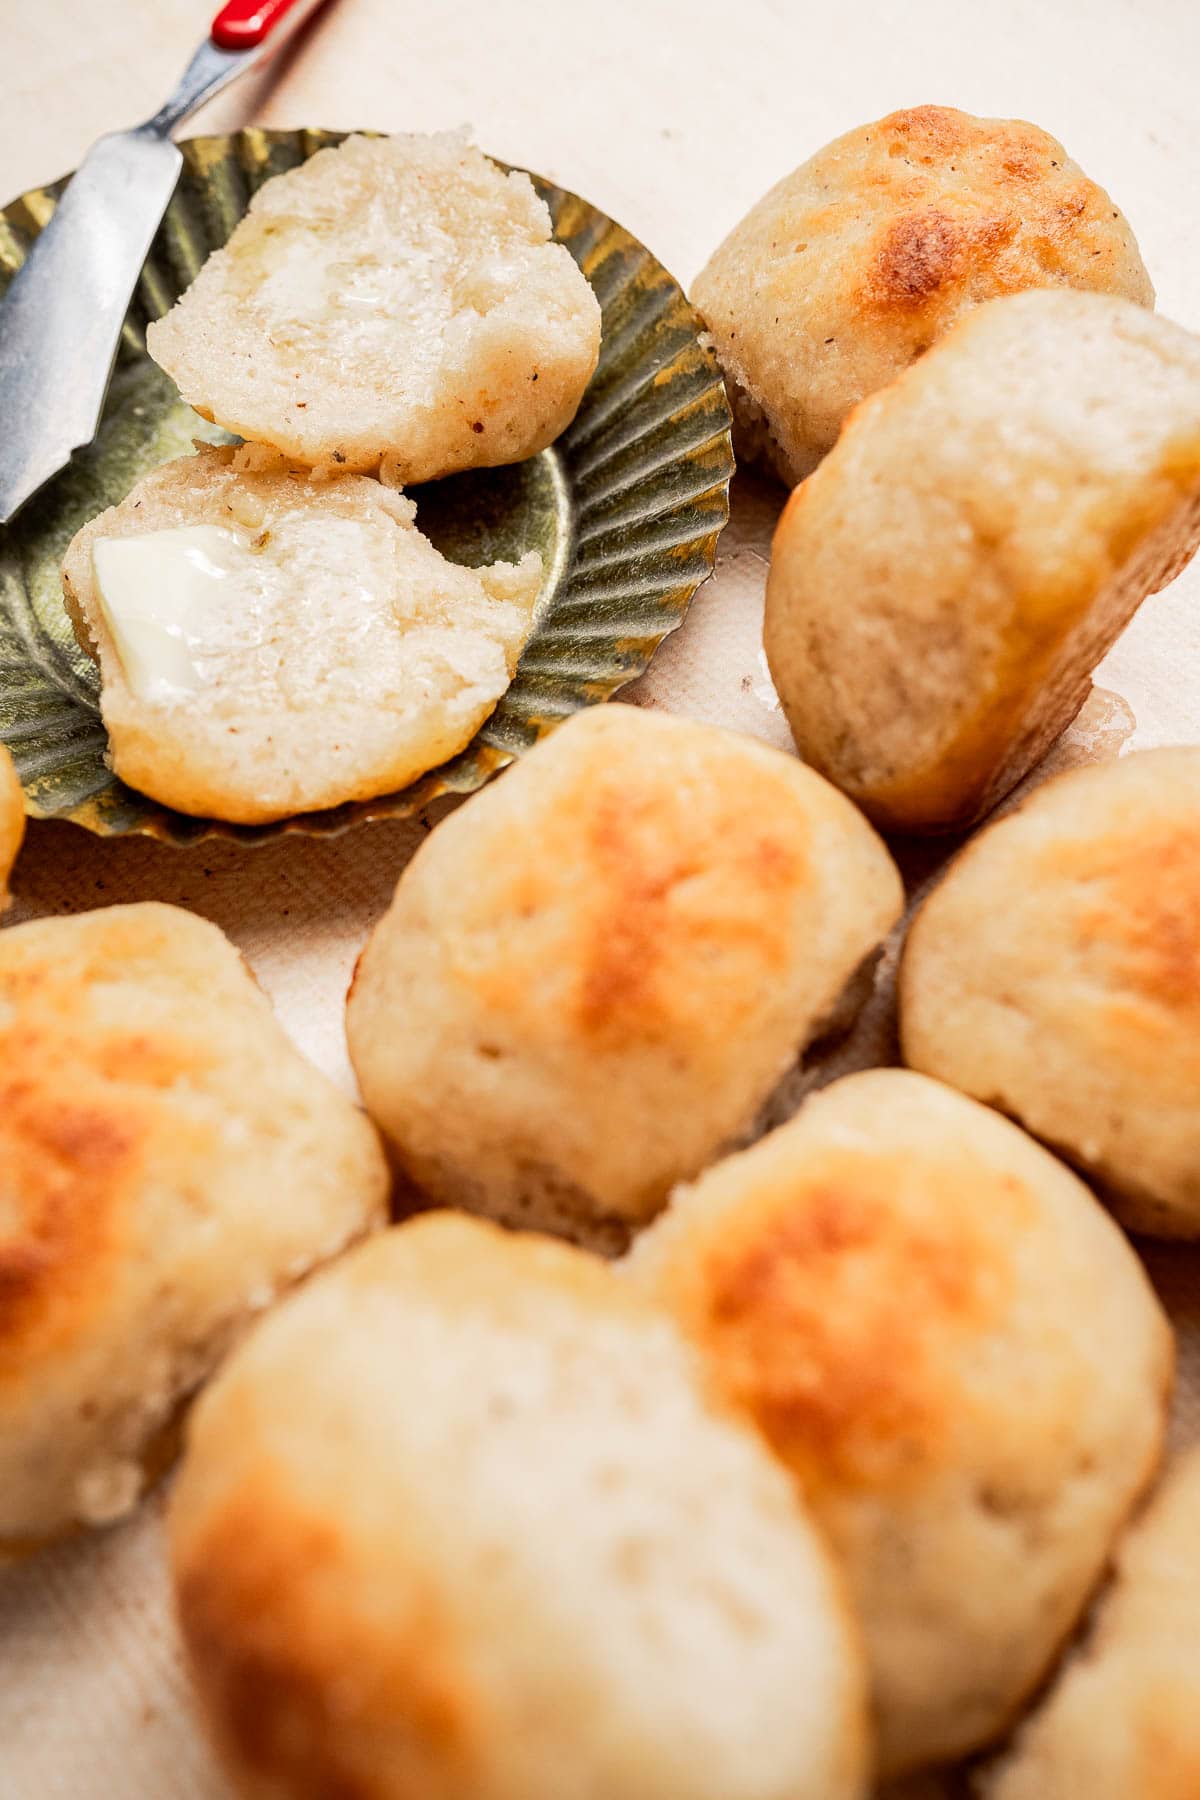
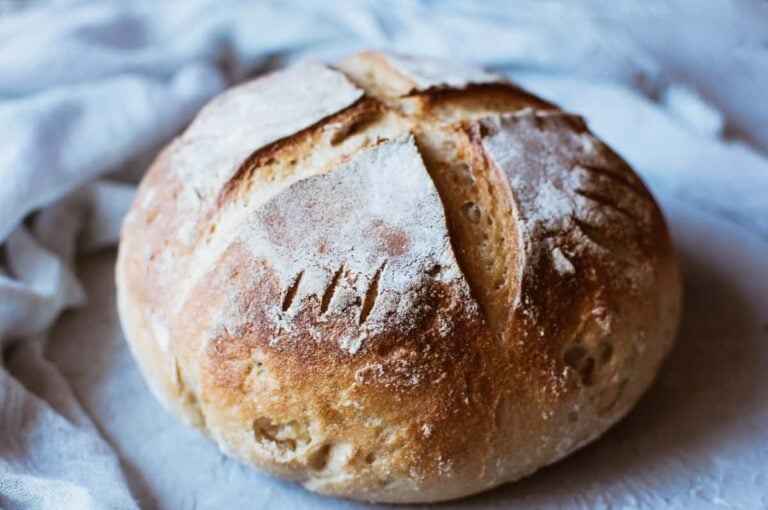
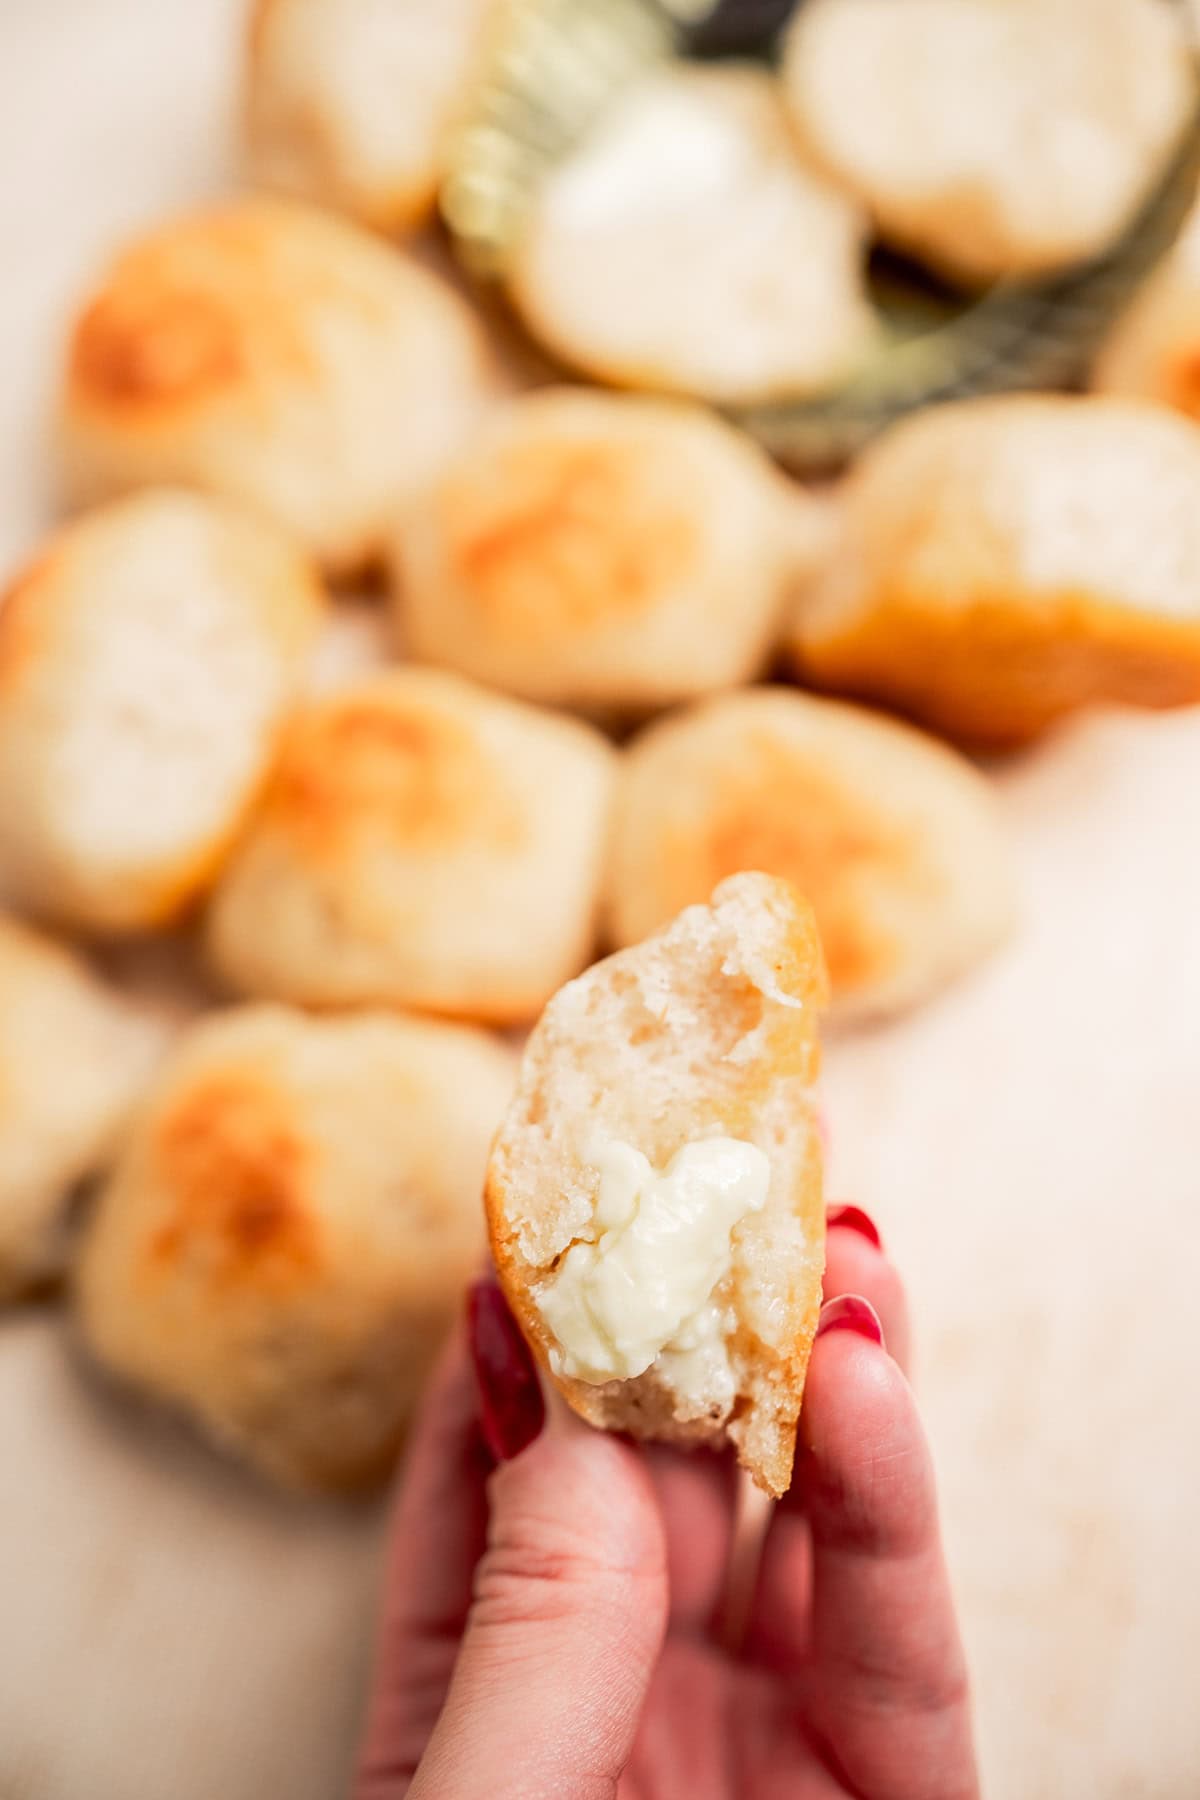
Gluten-free dinner rolls have a way of making every meal feel more complete and filling! With their soft crumbs and golden brown crust, they’re superb additions to everyday dinners and special occasions like Thanksgiving or Christmas gatherings. This recipe has been developed with both high-altitude and sea-level bakers in mind for reliable (and delicious!) results.
A Note From Kristen
Meals, especially during the holidays, just don’t feel the same without freshly baked bread on the table! But I know how tricky gluten-free dinner rolls can be to get just right. Perfecting these took some trial and error, with a few batches that fell flat along the way. That’s why I put extra care into crafting this one. The result? Golden dinner rolls that pair beautifully with almost anything! Enjoy.
~Kristen
Ingredient Notes
Please keep in mind that this is just a quick overview. Visit the full recipe for amounts and instructions!

How to Make Gluten-Free Dinner Rolls
01
PREPARE YEAST
Whisk warm milk, sugar, and yeast in a small bowl. Let sit 10 minutes until foamy.
02
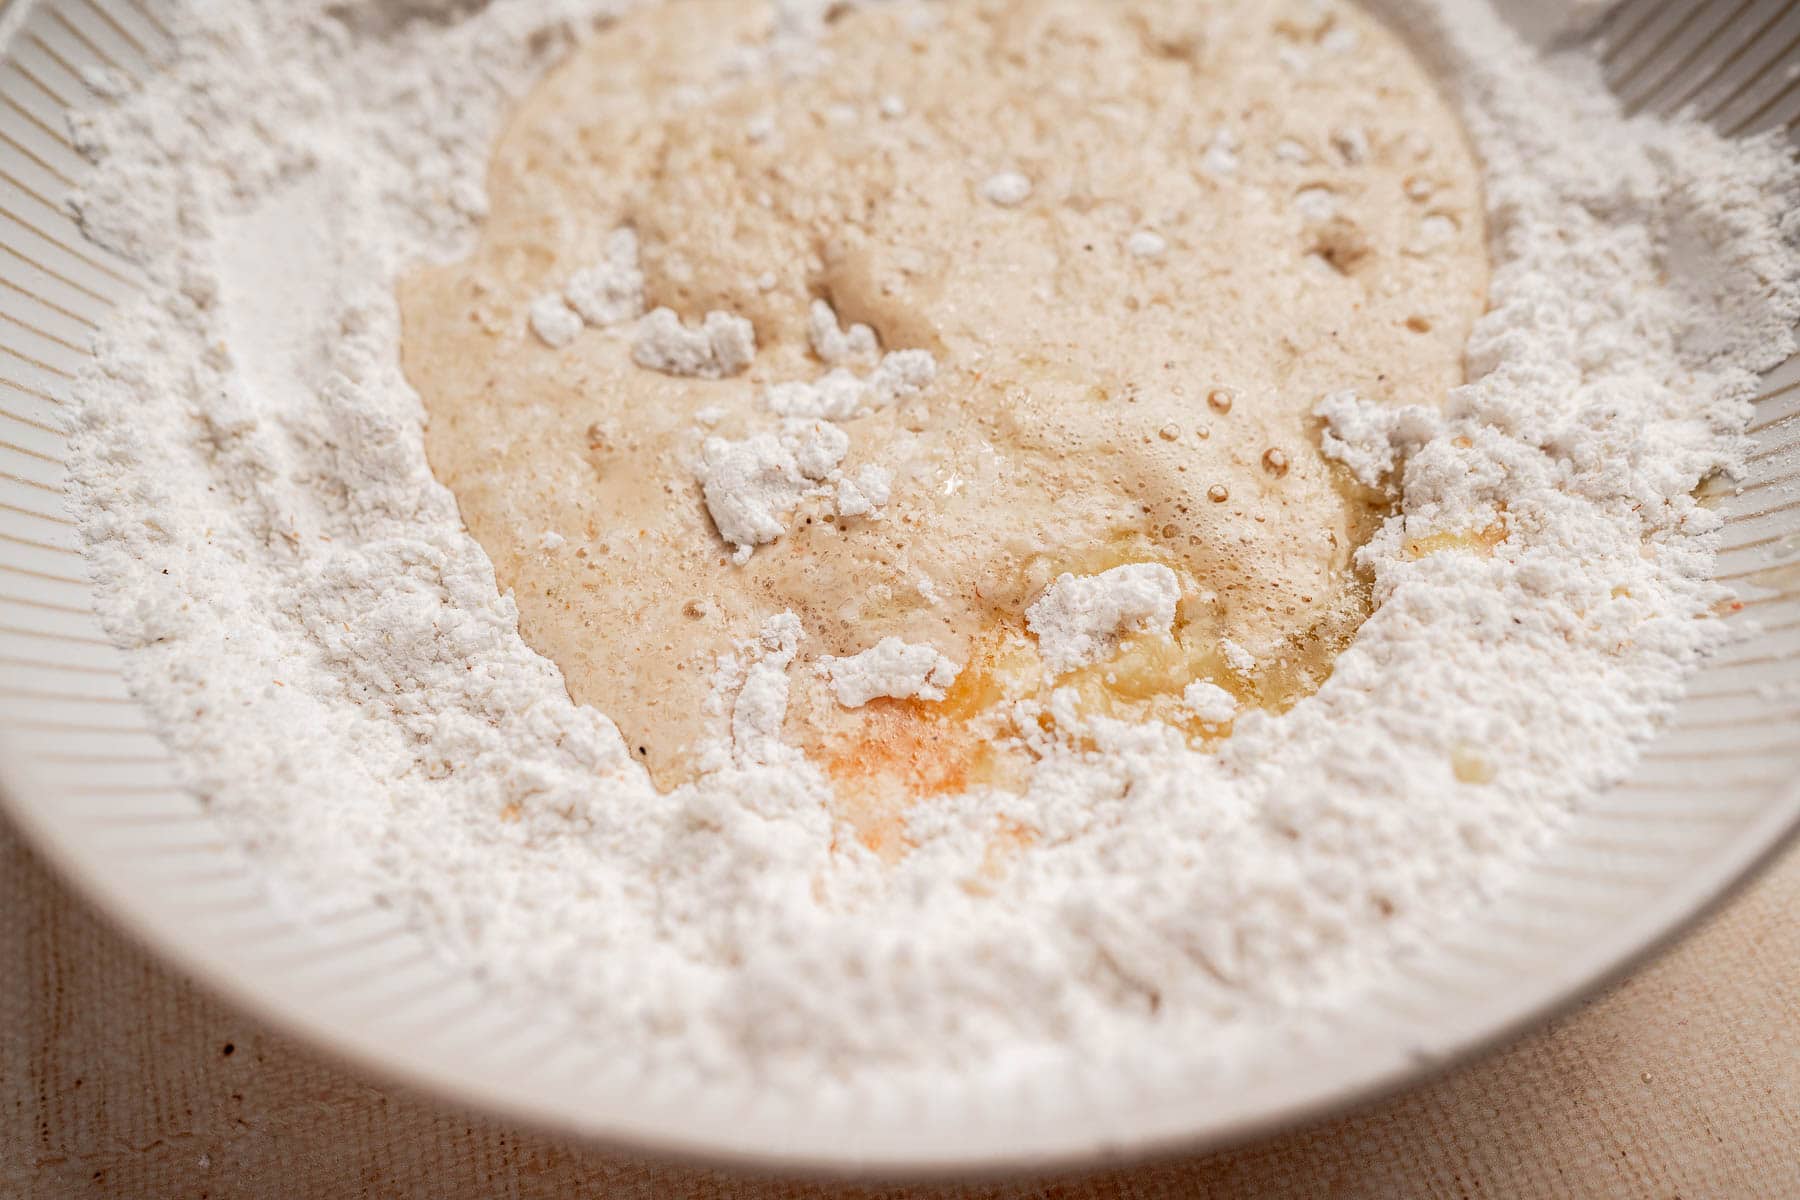
MAKE DOUGH
Whisk rice flour, tapioca starch, potato starch, psyllium husk, and salt in a large bowl. Add the yeast mixture, melted butter, and vinegar; mix into a sticky dough.
03
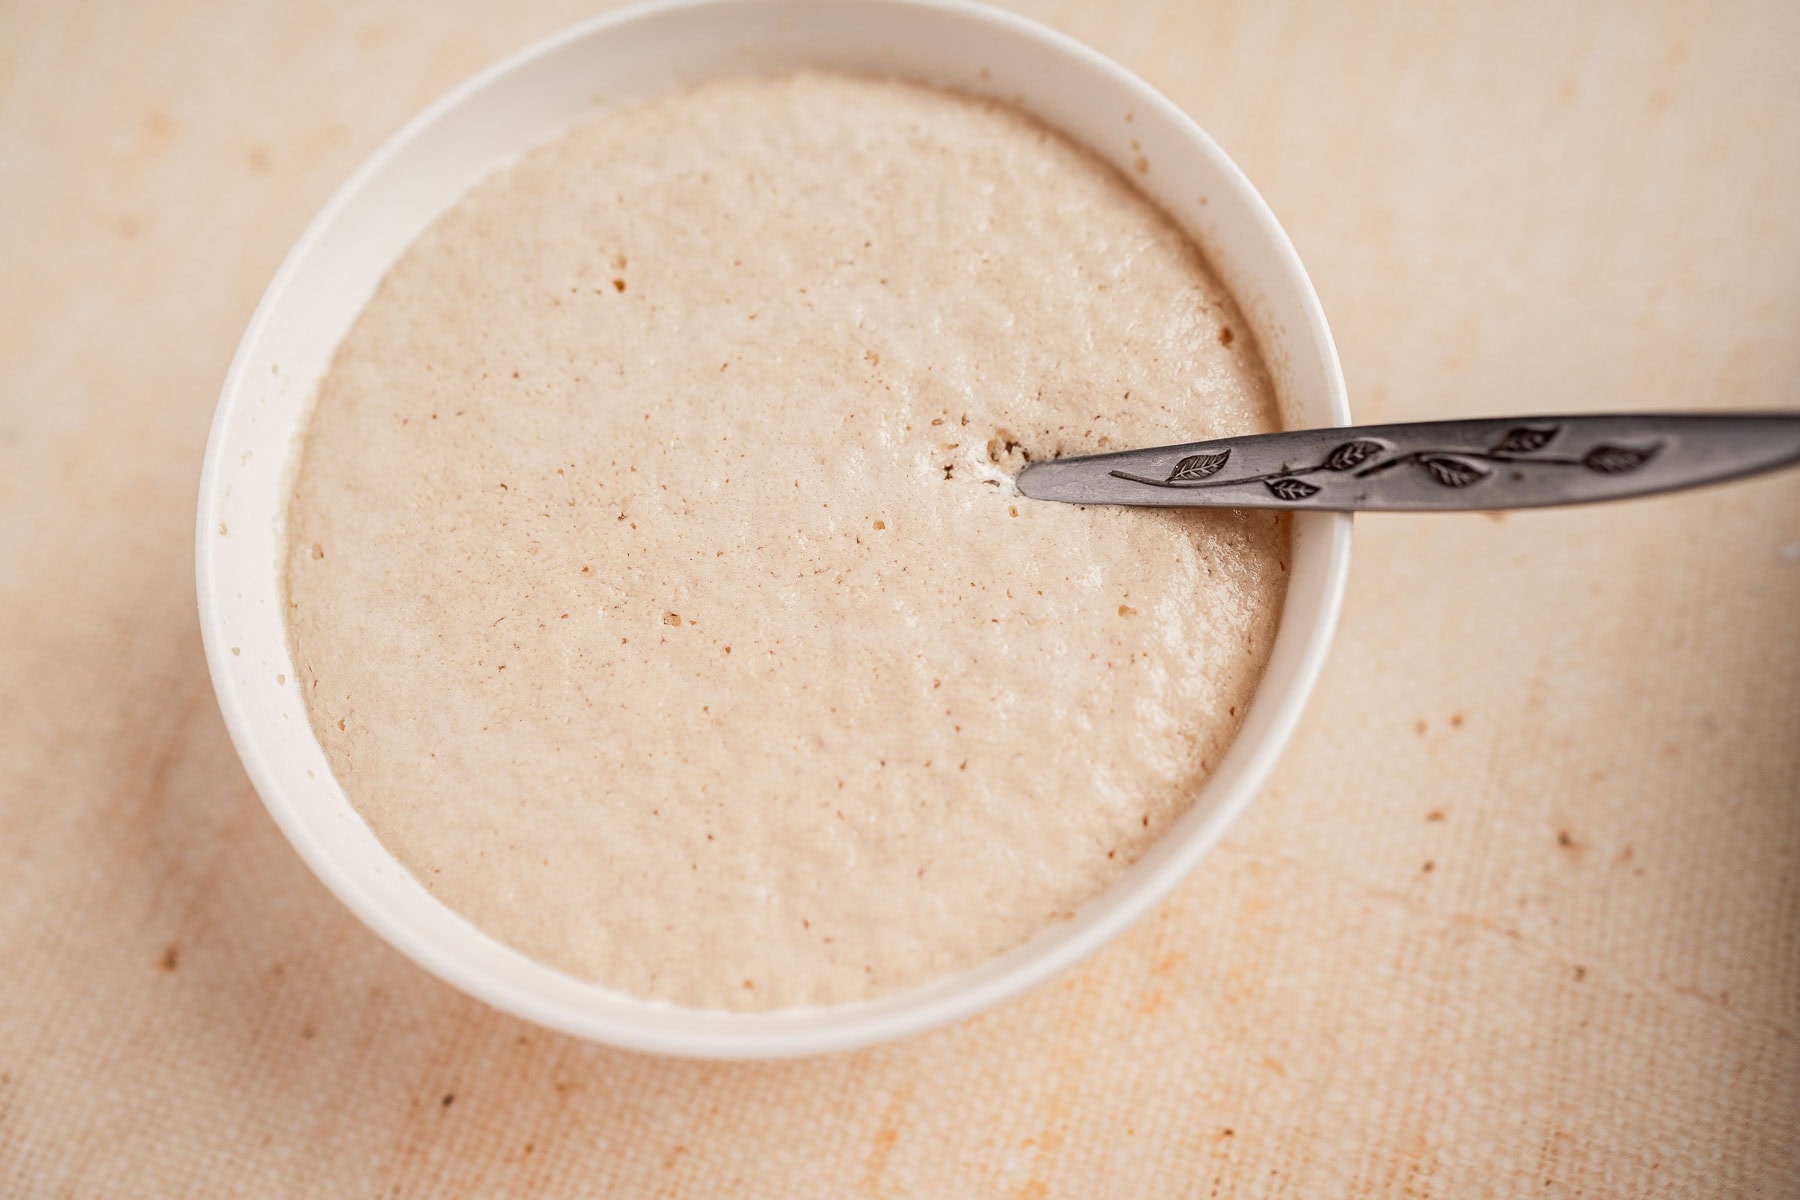
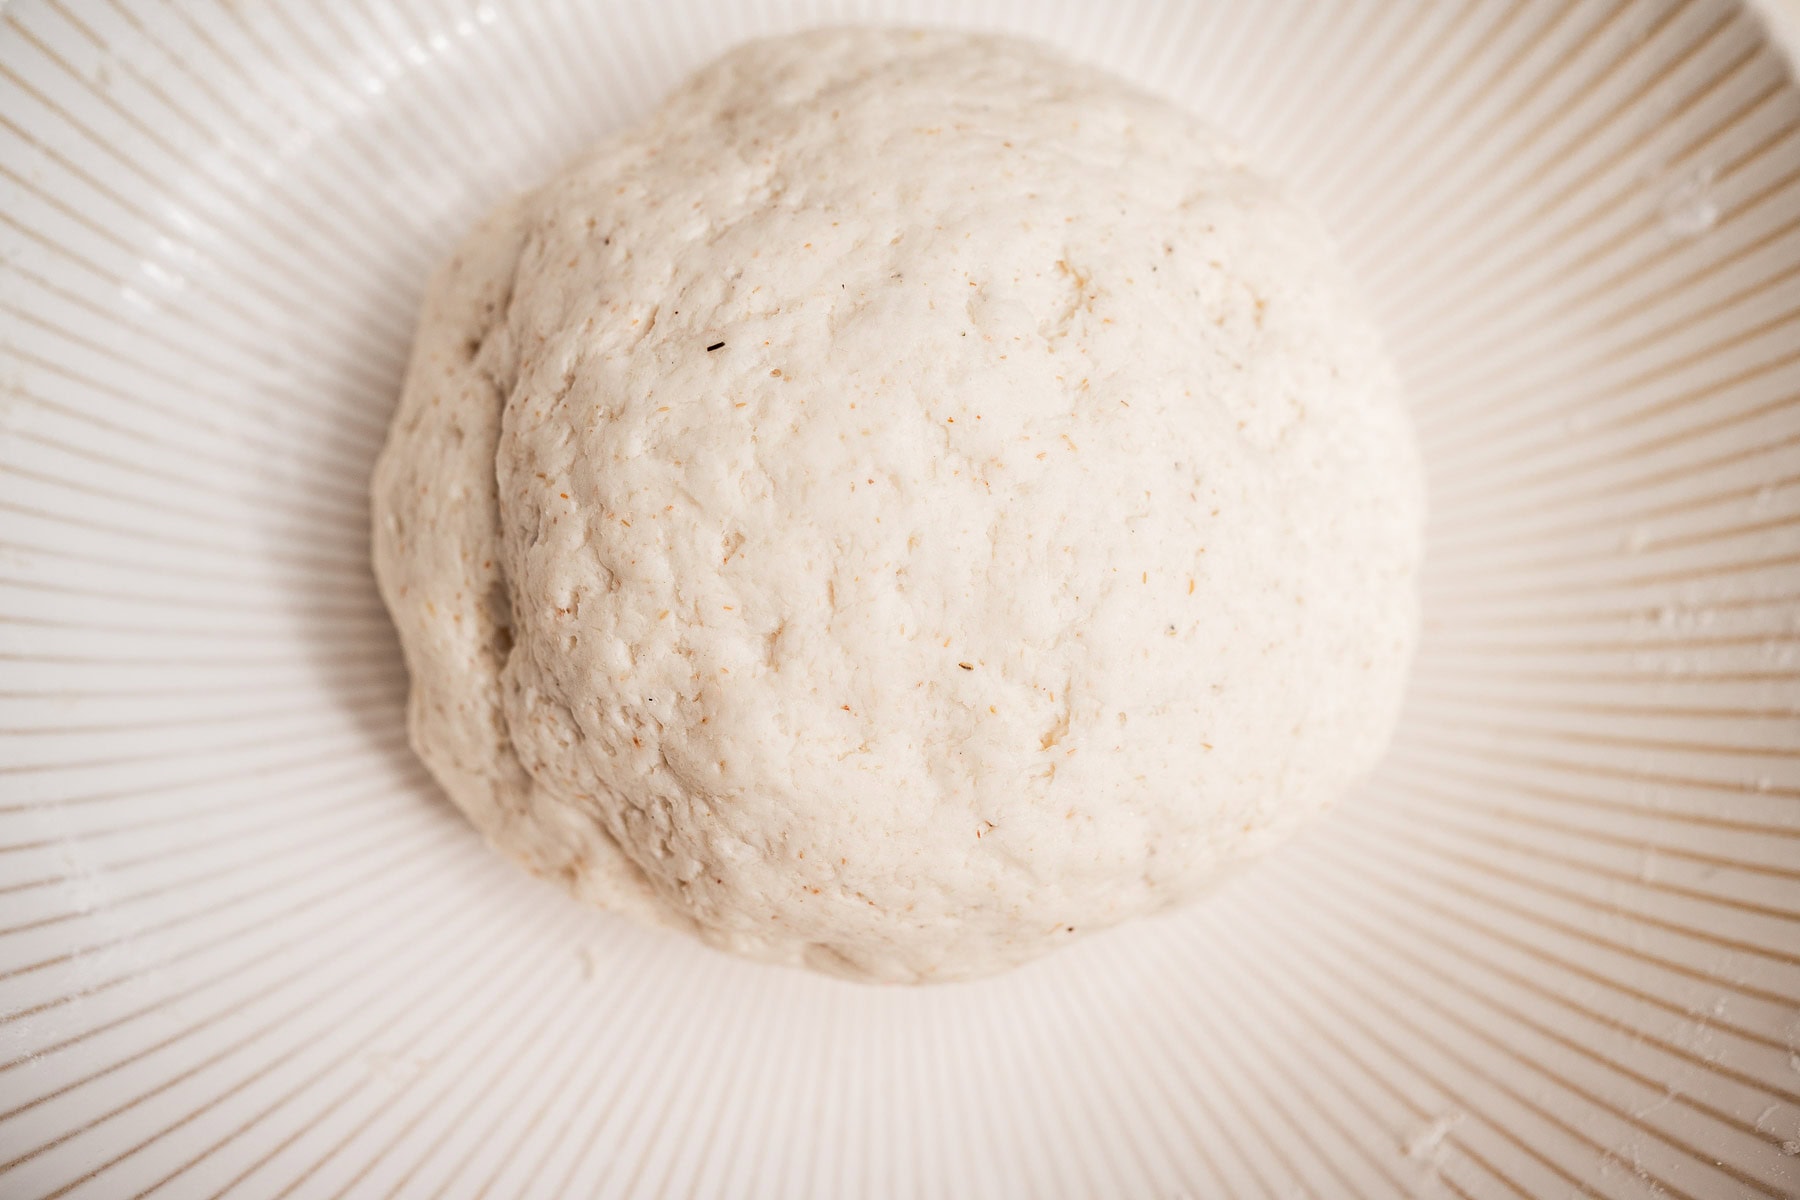
RISE
Cover and let rise in a warm spot until doubled — 45–60 minutes at sea level or 30–45 minutes at high altitude.
04
SHAPE
Grease a 9-inch pan. With damp hands, divide dough into 9–10 balls and arrange evenly. Cover and let rise — 25–35 minutes at sea level or 15–25 minutes at high altitude.
05
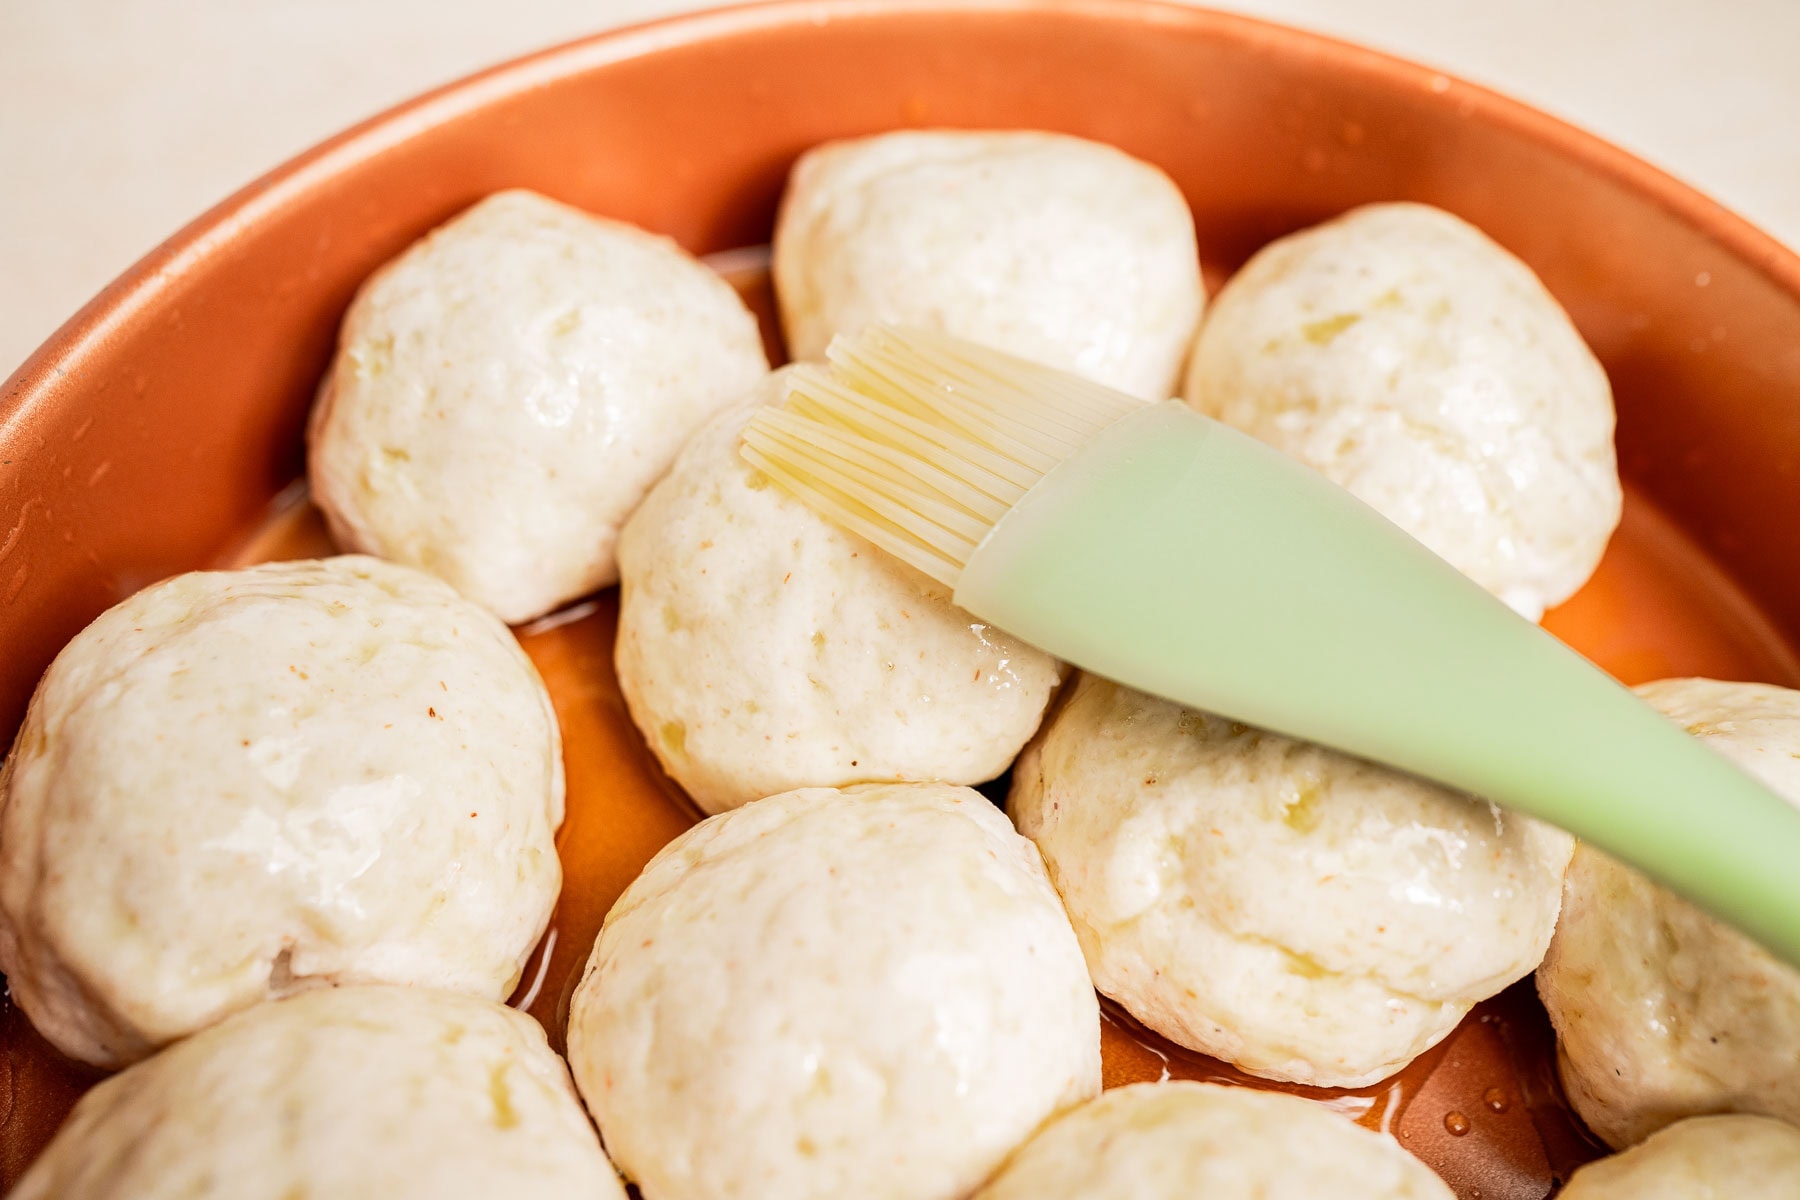
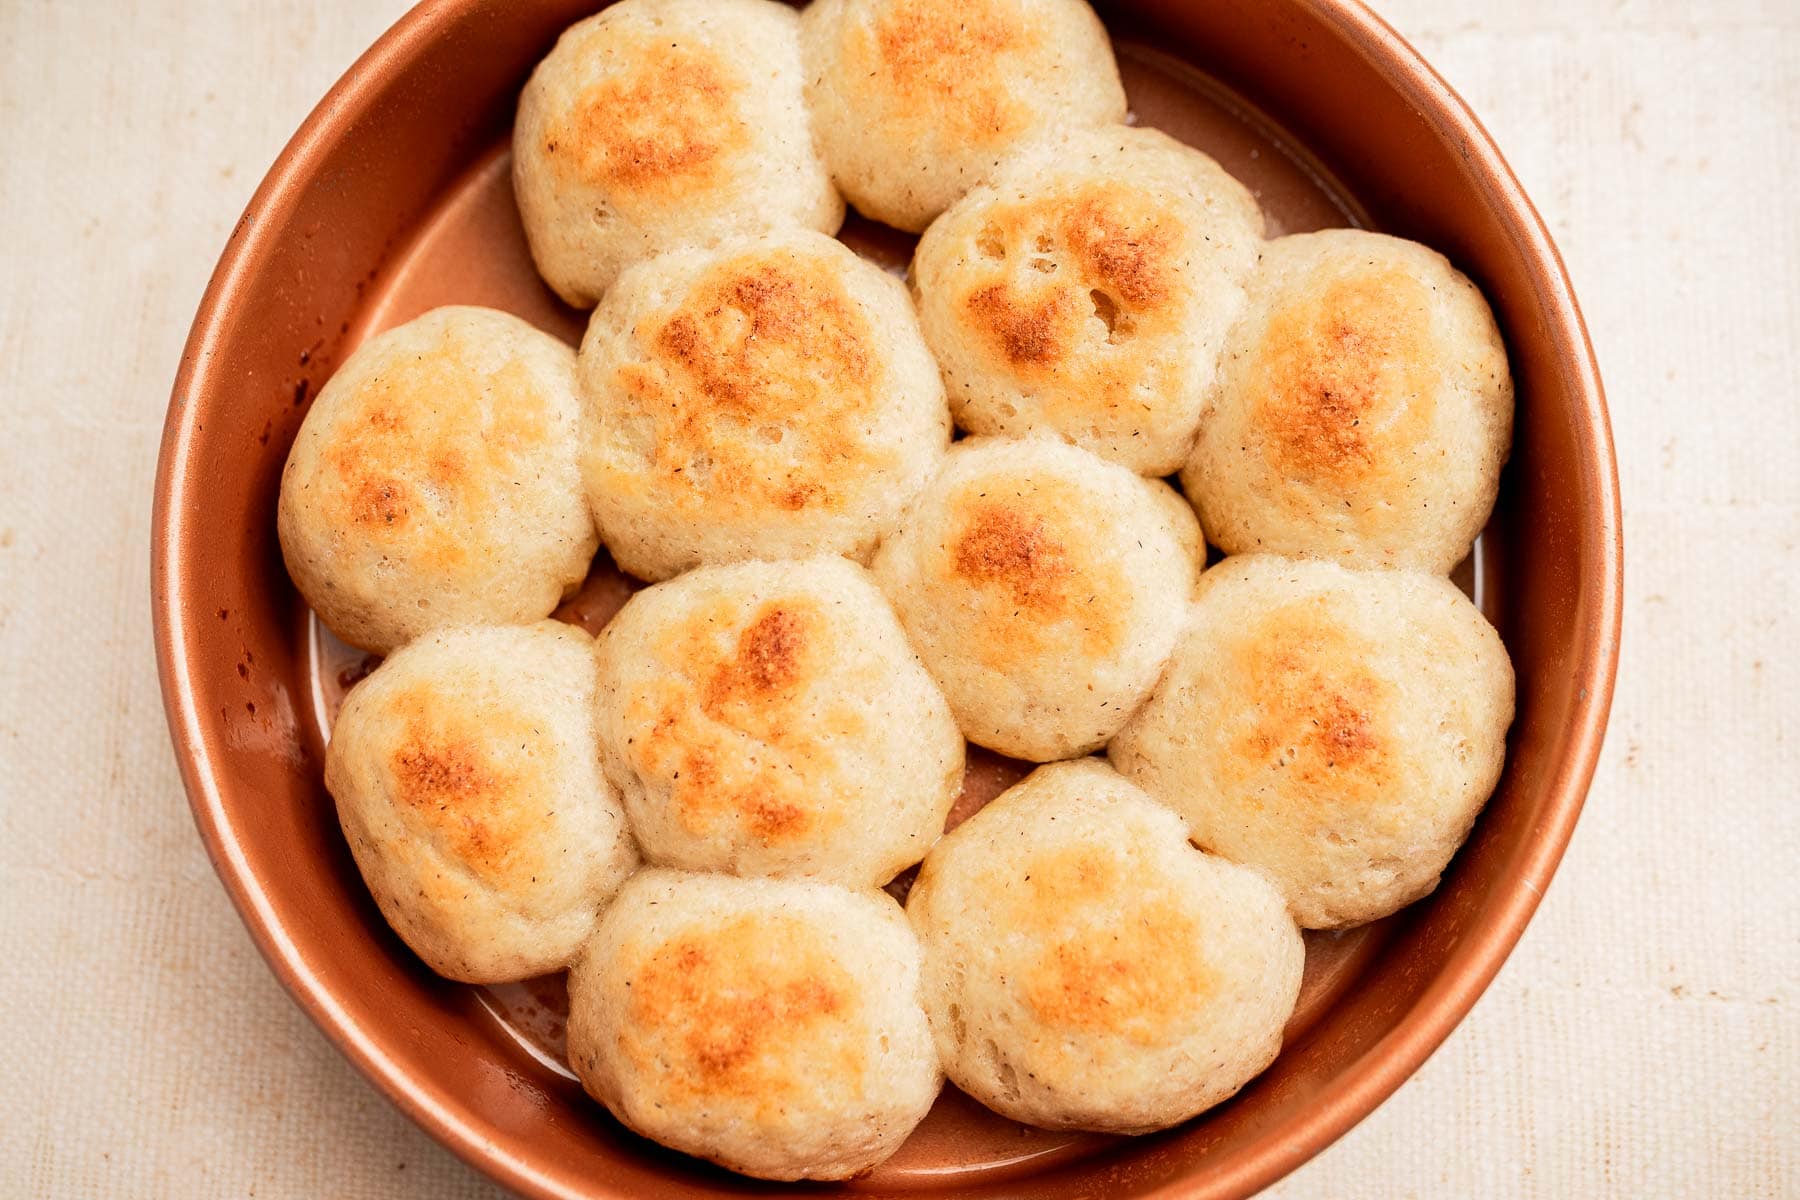
BAKE
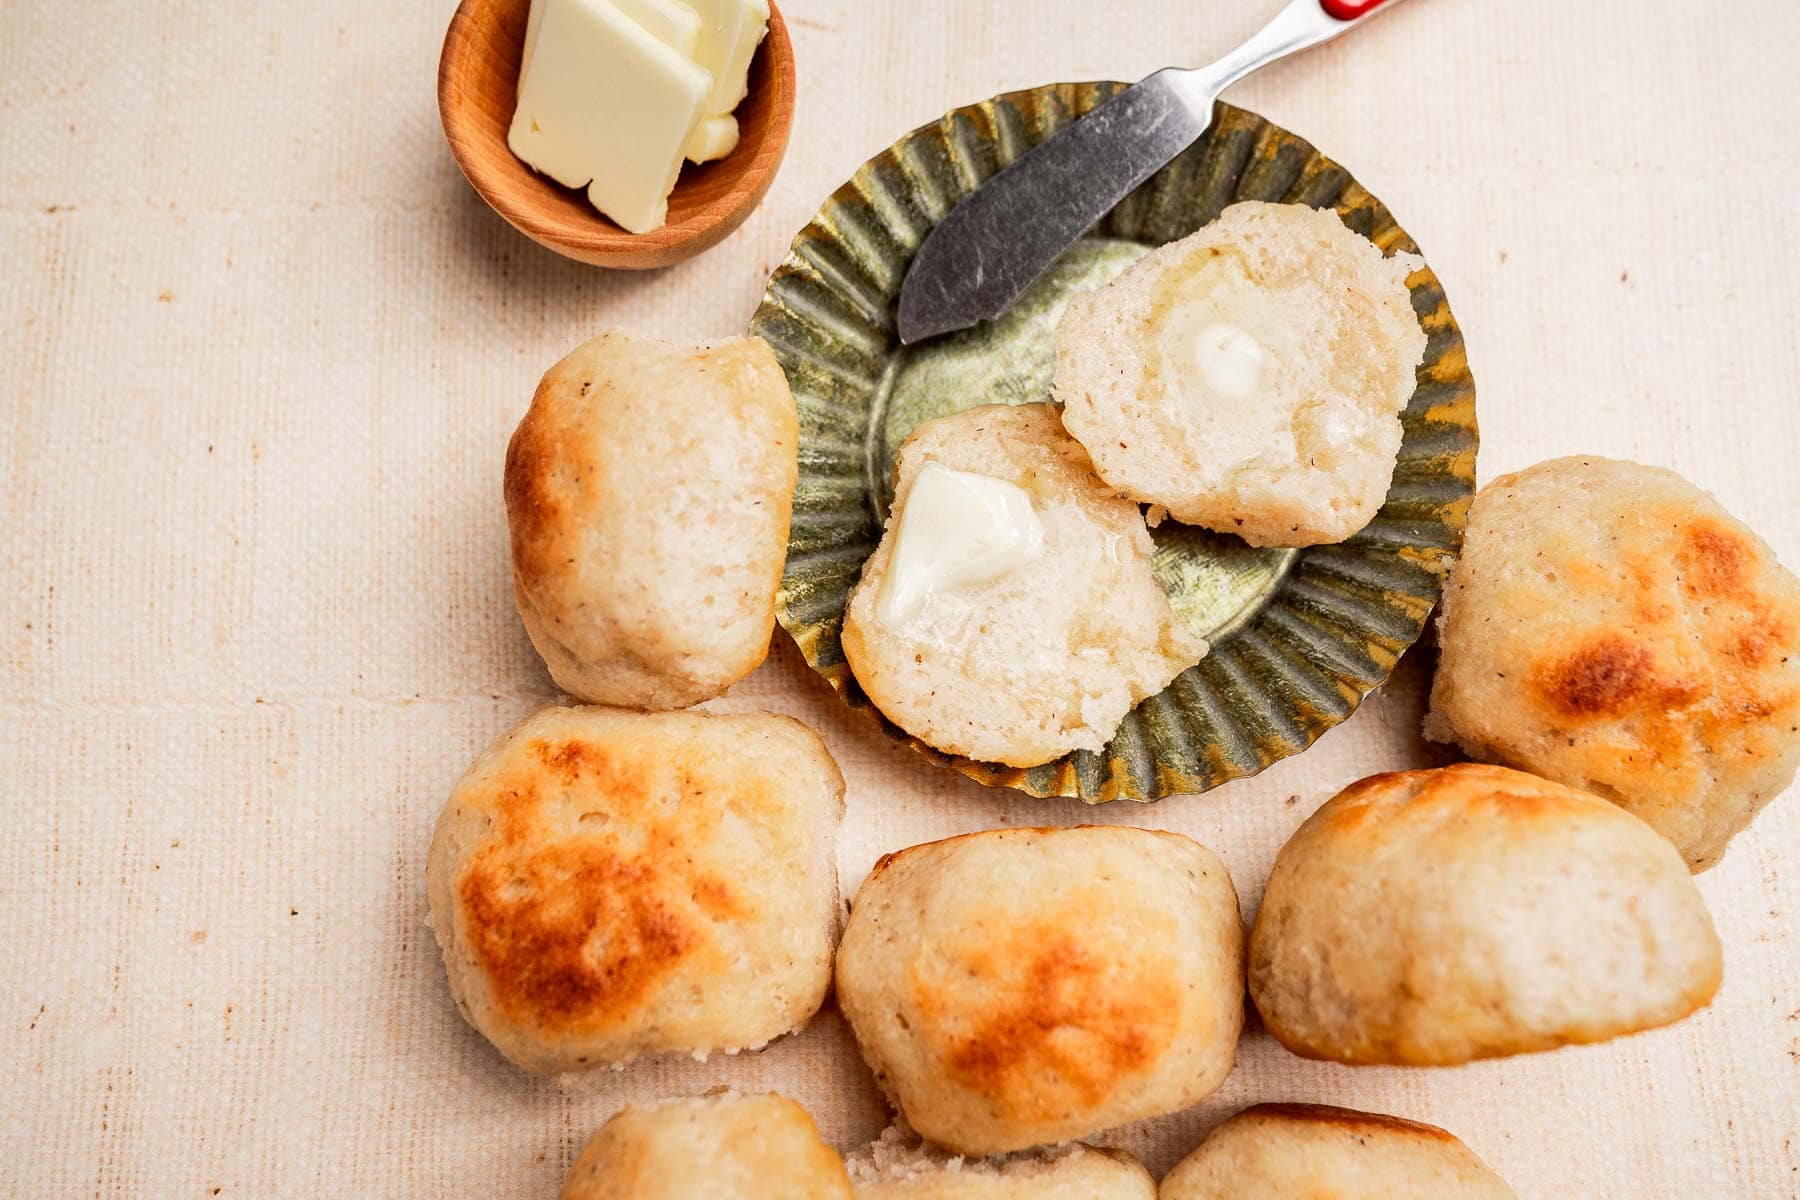
Preheat oven to 375°F (or 365°F at high altitude). Brush rolls with olive oil and bake 20–24 minutes (or 16–20 at high altitude) until golden and hollow-sounding. Rest 5–10 minutes before serving.
07
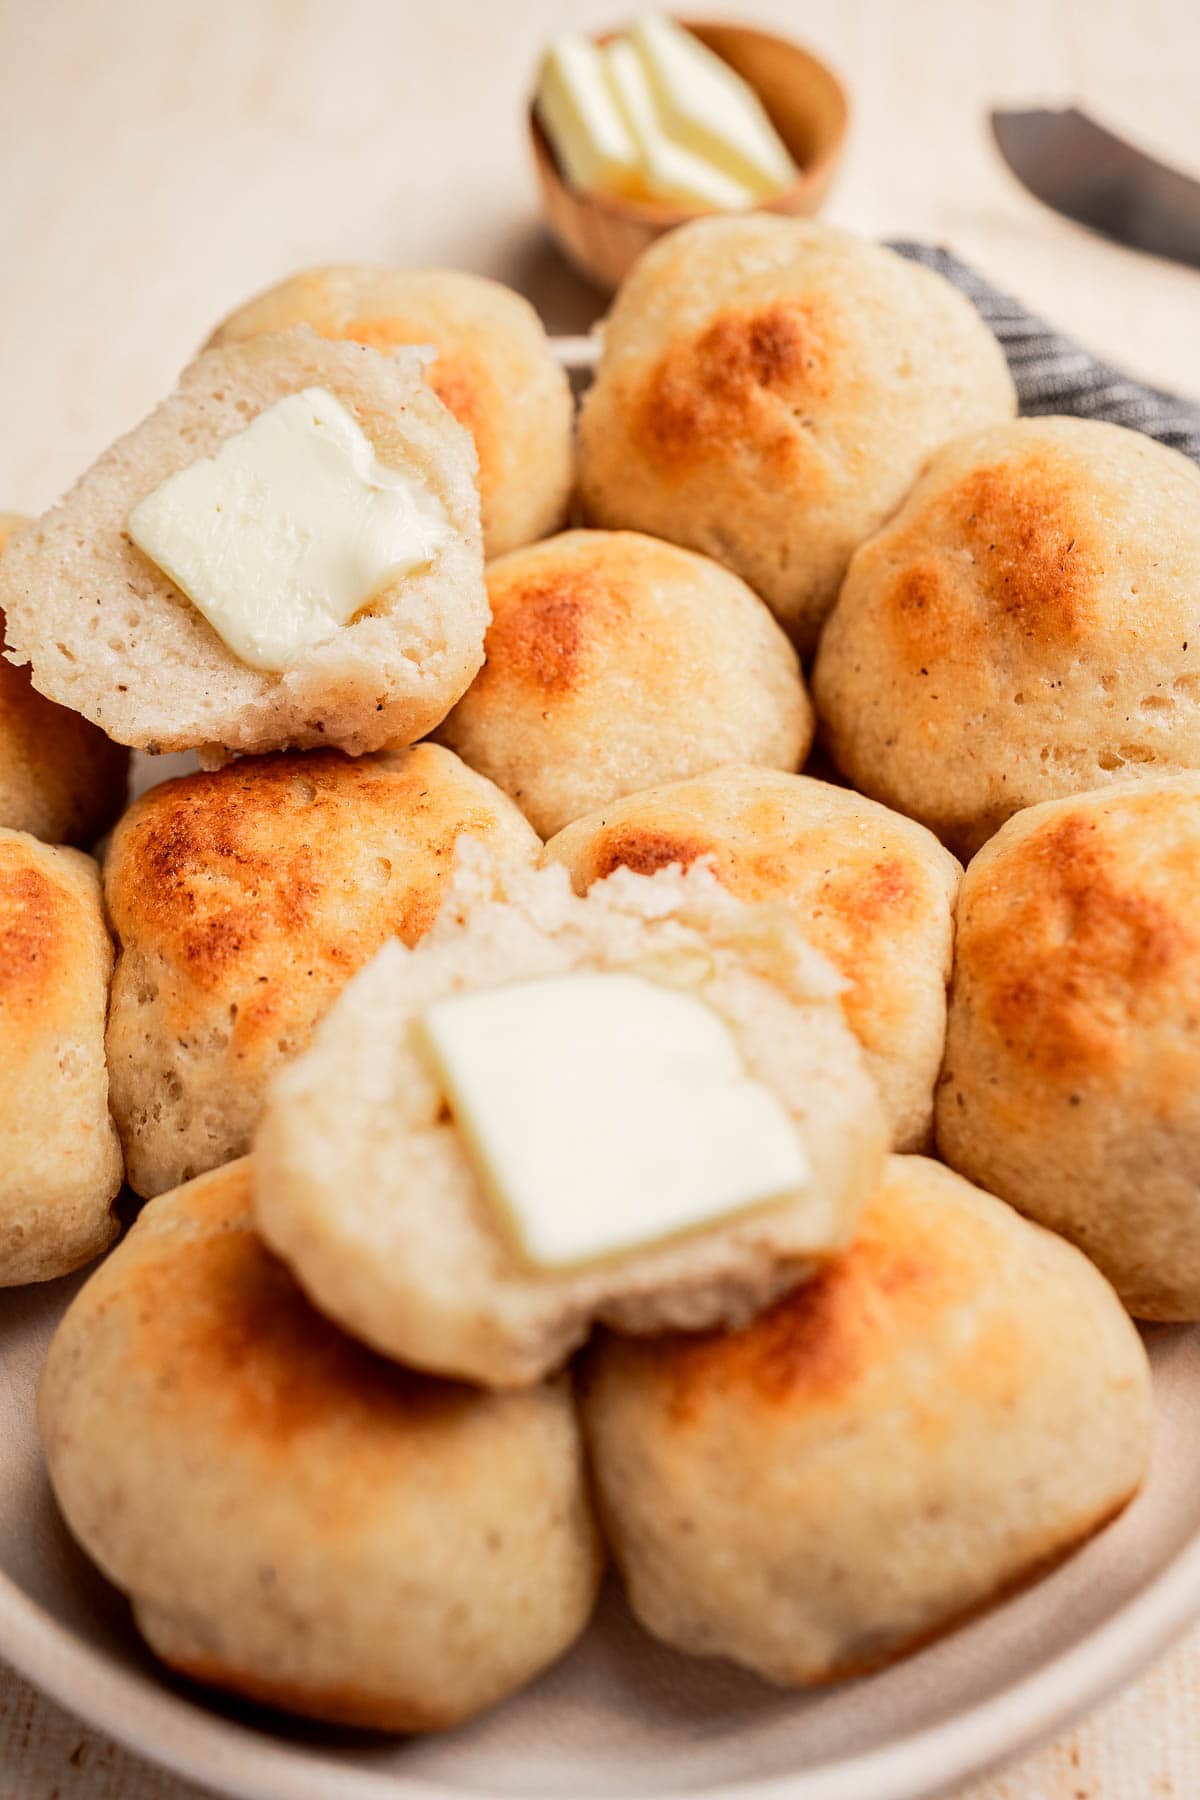
SERVE
Enjoy!
Serving Ideas
- Serve alongside veggie stew or pisto manchego.
- Pair with any blender soup.
- Serve with my olive oil bread dip, mutabal, or any of your favorite dipping sauces.
- Top with mango chutney, pear jam, or avocado spread.
- Served with cheese slices or vegan alternatives (like seed cheese).
- Pair with your favorite comfort meal like shepherd’s pie, or a protein-rich dish like my vegetarian roast.
Kristen’s Top Tips
- Dampen your hands when shaping rolls for easier handling of the sticky dough.
- You can line your baking pan with parchment paper before adding the dough if your baking dish isn’t particularly non-stick.
- Don’t forget to let the rolls rest a bit before serving to prevent gummy-like centers. The bread sets as it cools.
- Mix the batter very well to allow for thorough hydration of the dough. Longer is better than shorter here!
- For some fun variations, try mixing in some shredded cheese, or topping with everything bagel seasoning or sunflower seeds before baking.
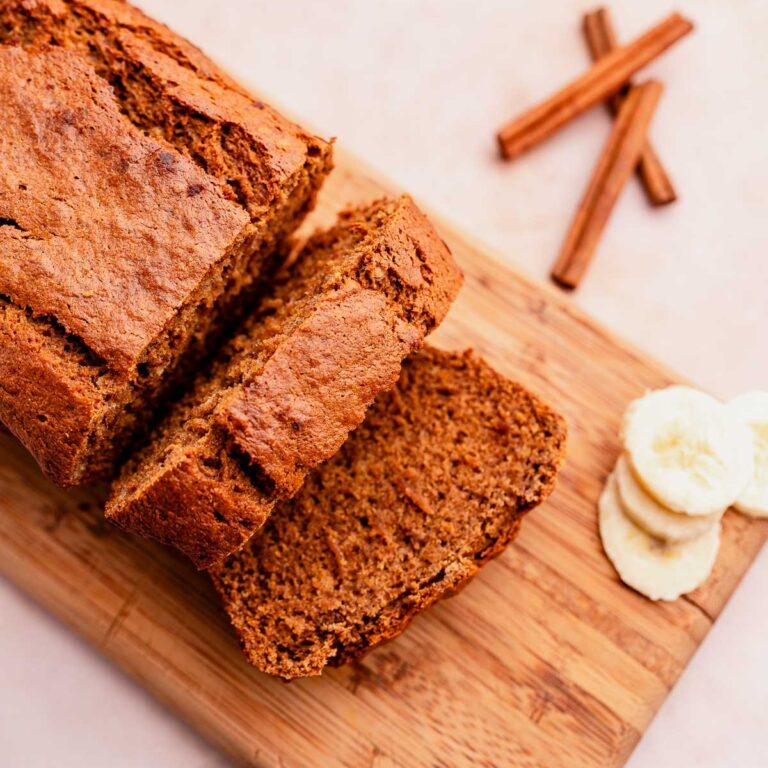
More Delicious Gluten-Free Bread Recipes You Might Like

![Easy Gluten-Free Bannock Bread Recipe [Vegan]](https://moonandspoonandyum.com/wp-content/uploads/2022/01/Pinterest-Pin-Templates-Moon-and-Spoon-and-Yum-1200-x-1200-px-64-768x768.jpg)
Gluten Free Dinner Rolls Recipe
Ingredients
- 1 3/4 cup + 2 tablespoons warm whole milk or unsweetened plant milk
- 3 tablespoons sugar or maple syrup
- 2 ¼ teaspoons instant yeast or 1 packet
- 1 ½ cups superfine white rice flour
- ¾ cup tapioca starch
- ¼ cup potato starch
- 6 tablespoons whole psyllium husk or 2 tablespoons psyllium husk powder
- 1 teaspoon salt
- 3 tablespoons unsalted butter melted, or vegan butter
- 1 teaspoon apple cider vinegar
- 2 tablespoons extra virgin olive oil for brushing
Method
- In a small bowl, whisk together the warm milk, sugar, and yeast. Set aside for 10 minutes until foamy.
- In a large bowl, whisk the rice flour, tapioca starch, potato starch, psyllium husk, and salt. Stir in the yeast mixture, melted butter, and vinegar. Mix until a sticky dough forms.
- Cover the bowl with a clean towel and let the dough rise in a warm place until doubled: 45–60 minutes at sea level, or 30–45 minutes at high altitude.
- Lightly grease a 9-inch round or square baking pan. Using damp hands, divide the dough into 10-12 equal portions and shape into smooth balls. Place them evenly in the pan.
- Cover loosely and let the rolls puff up: 25–35 minutes at sea level, or 15–25 minutes at high altitude.
- Preheat the oven to 375°F at sea level, or 365°F at high altitude. Brush the tops with olive oil and bake for 20–24 minutes at sea level or 16–20 minutes at high altitude. Rolls should be lightly golden and sound hollow when tapped. Let rest for 5-10 minutes before serving.
- Enjoy!
Notes
Nutrition
Nutritional information is automatically calculated using a third-party calculator and is an estimate only.