




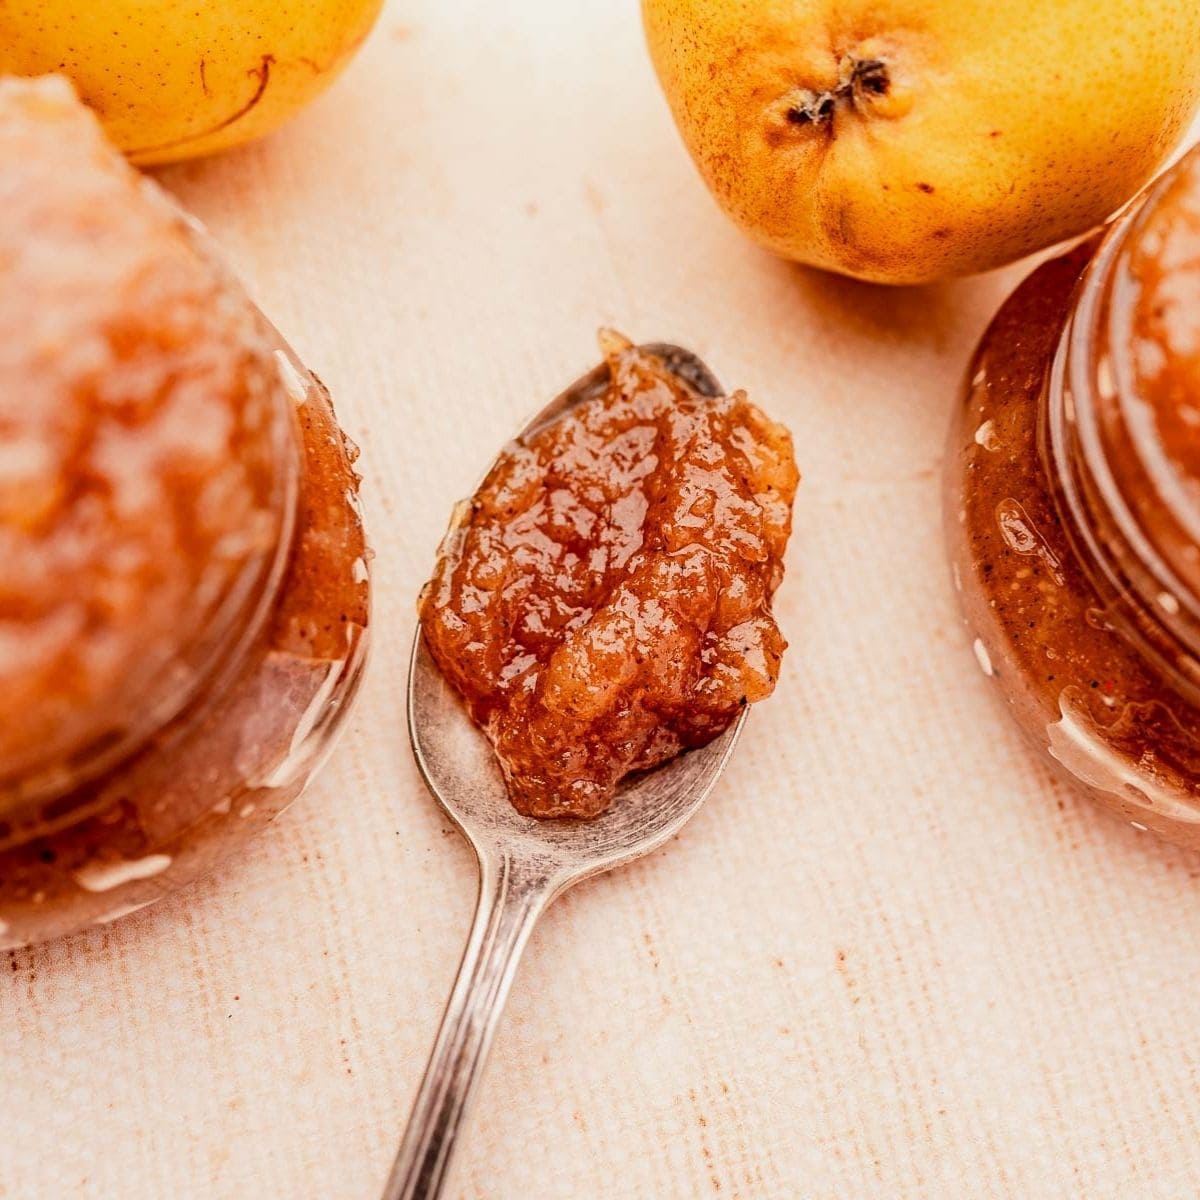
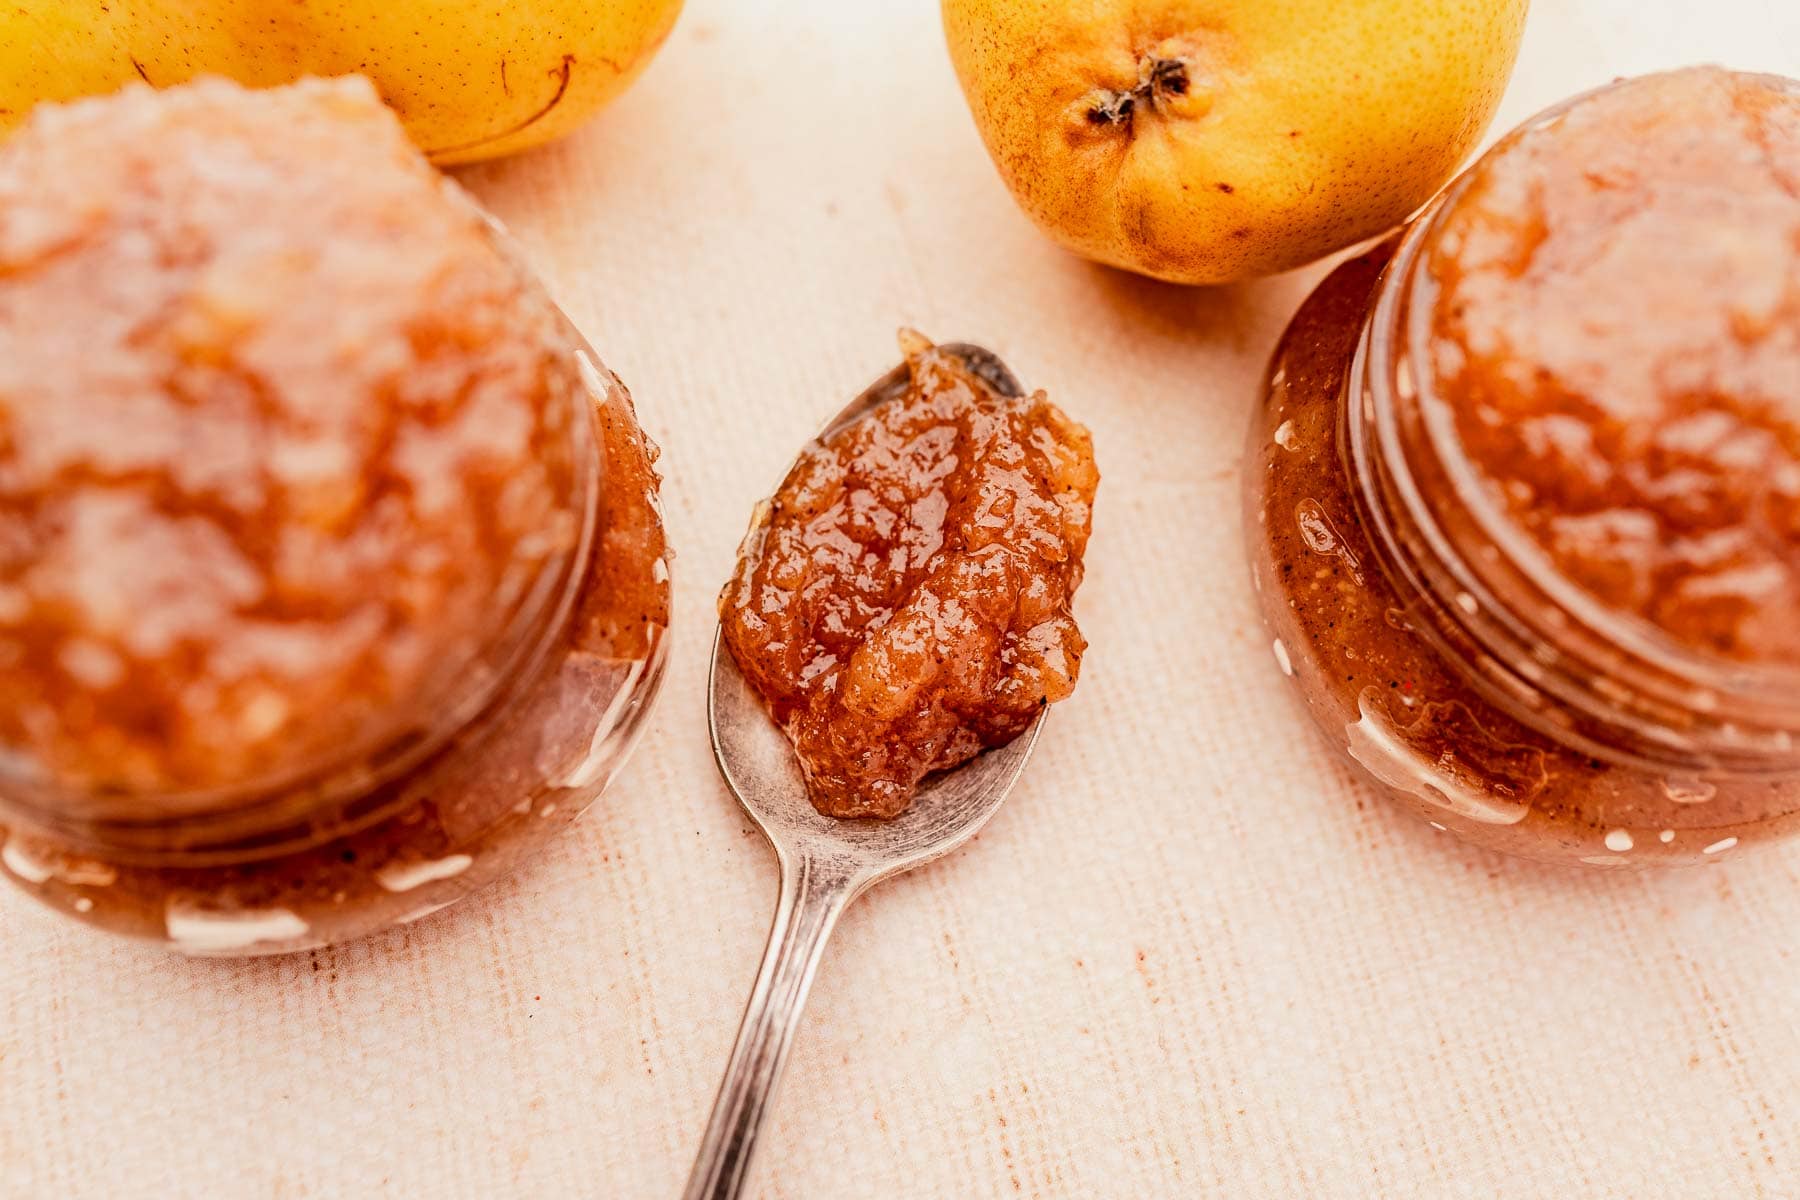
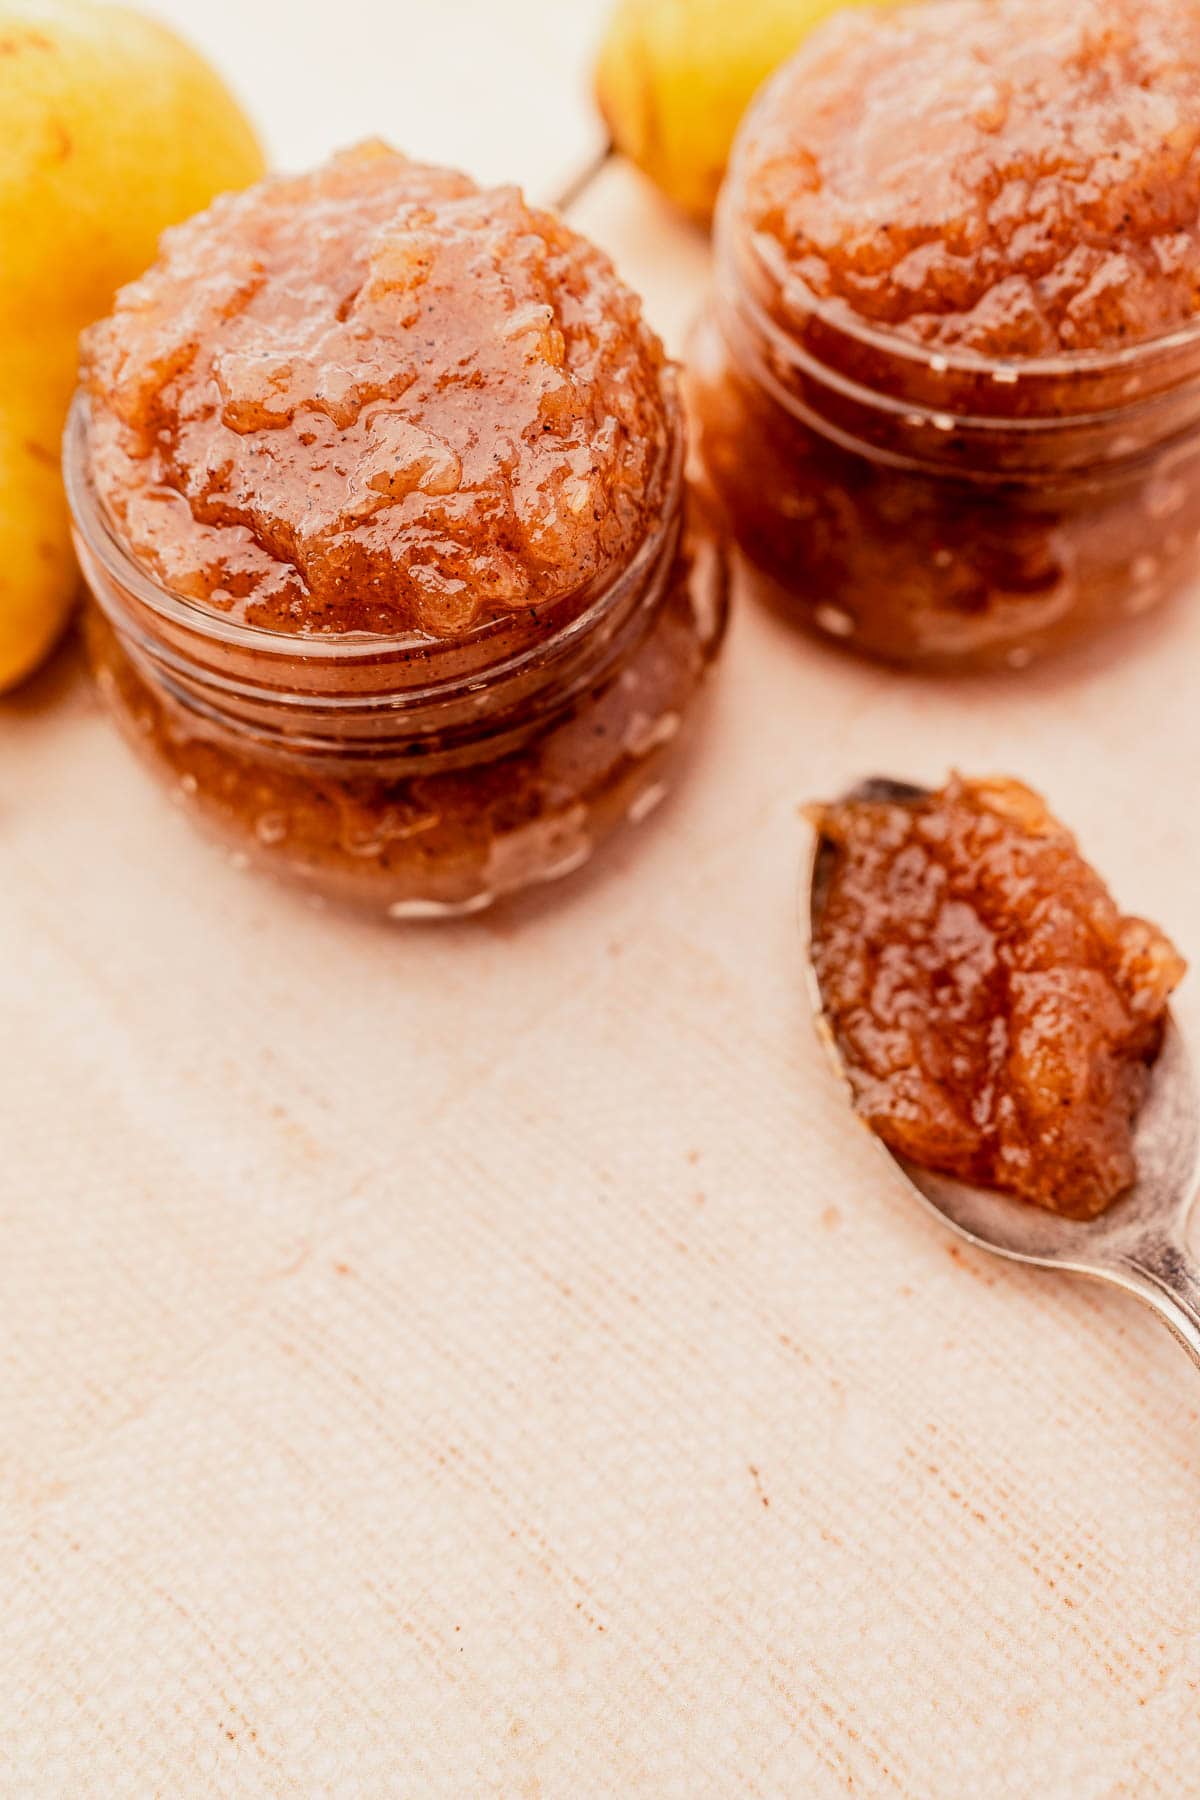
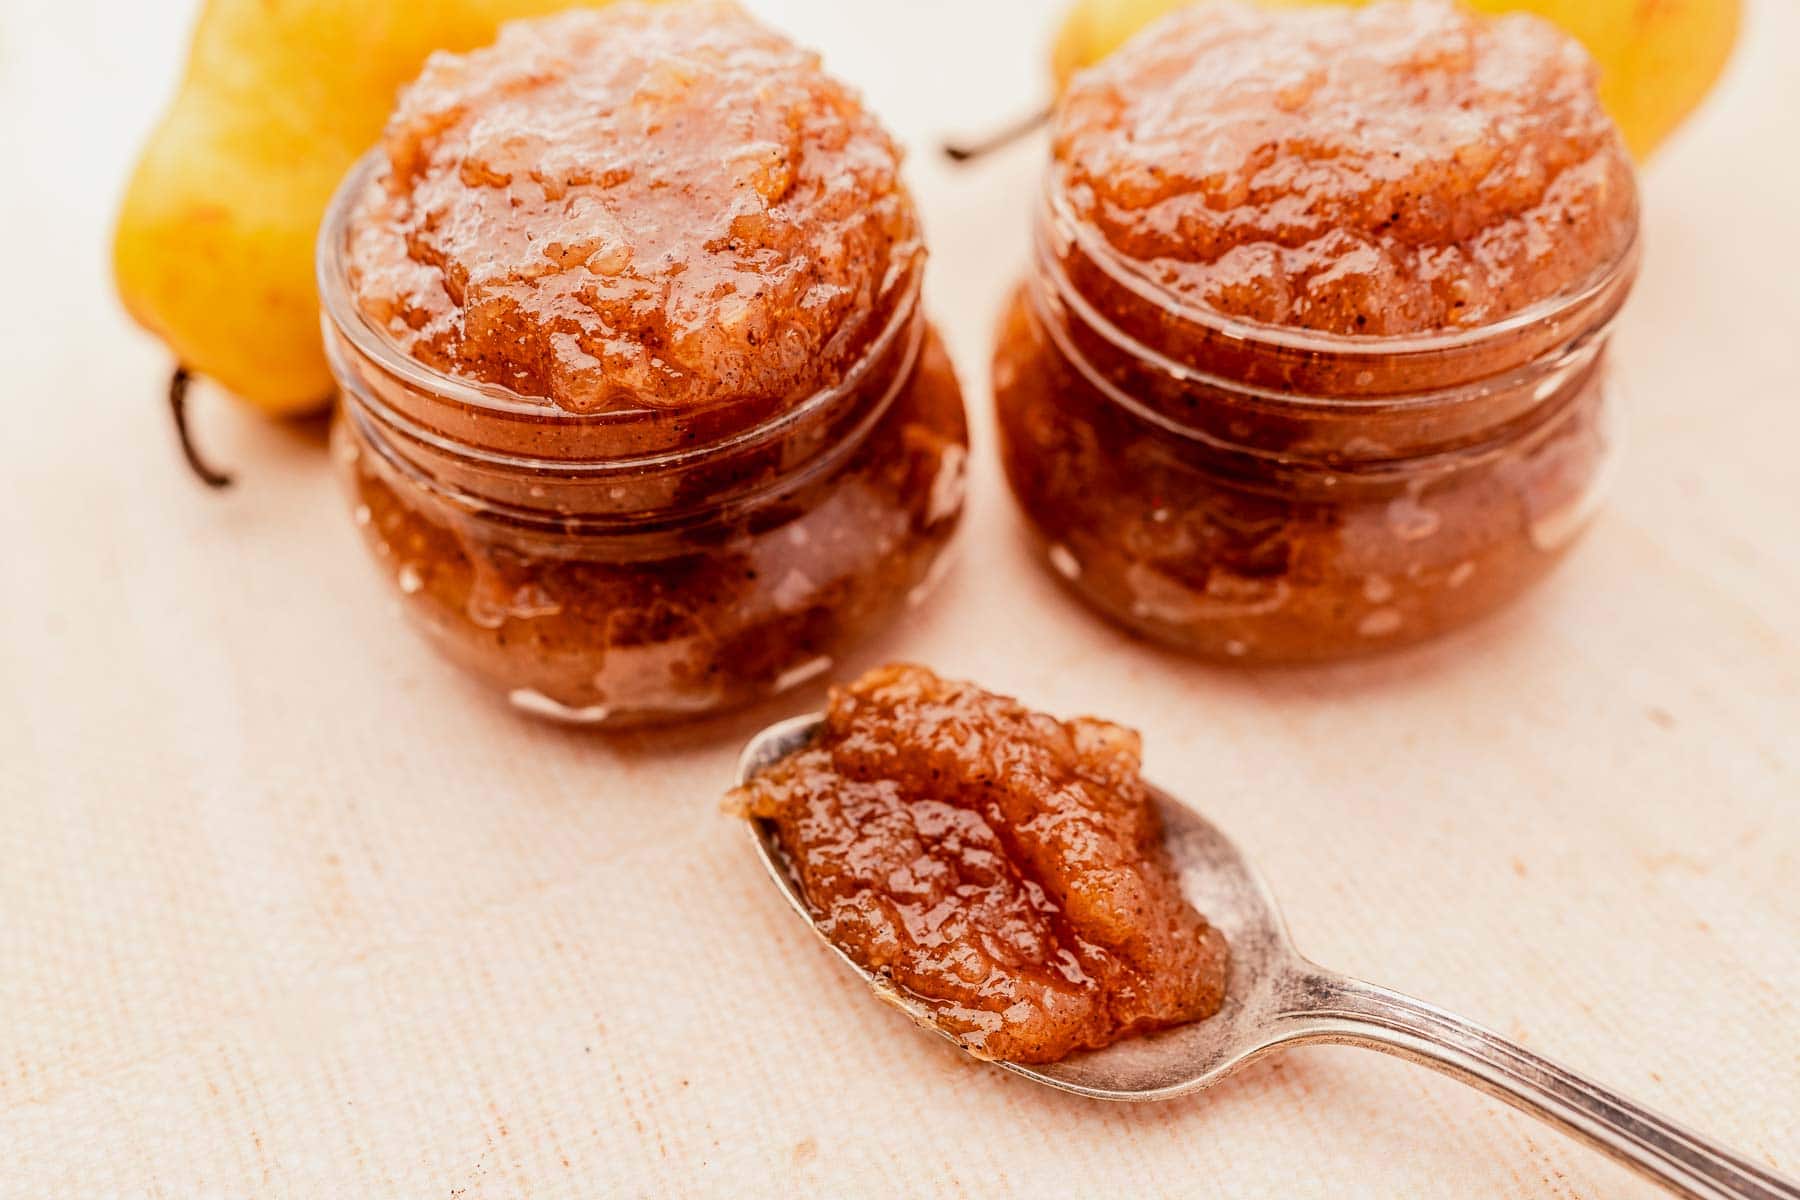
If you have a basket of ripe pears waiting to be used, this spiced pear jam recipe is one of my favorite ways to preserve them! Sweet pears simmer with cinnamon, cardamom, nutmeg, and vanilla until thick, fragrant, and perfect for spreading on toast, biscuits, or your next cheese board.
A Note From Kristen
One of my favorite things about developing this recipe was finding the right balance of spices. Pears are wonderfully delicate, so I wanted every spoonful to taste like pears first, with cinnamon, cardamom, nutmeg, and vanilla adding warmth in the background instead of stealing the show. Best of all, it’s so easy to make that you’ll probably wonder why you ever bought pear jam in the first place. Happy jam-making!
~Kristen
A Note About Pears
Not sure which pears to use for homemade pear jam? The good news is that several varieties work well, though each creates a slightly different texture and flavor.
- Bartlett pears (my favorite): These are my go-to for this recipe. They ripen to a buttery-soft texture, cook down easily, and contain plenty of natural pectin, making them ideal for a smooth, flavorful pear jam.
- Bosc pears: Sweeter and firmer than Bartletts, Bosc pears hold their shape better during cooking, making them a great choice if you prefer a chunkier pear jam with a little more texture.
- Anjou pears: With their balanced sweetness and juicy texture, Anjou pears are another excellent option. They soften nicely as they cook while still adding a bit more body than Bartlett pears.
Tip: Slightly ripe pears work best for jam. They should give just a little when gently pressed but shouldn’t be overly soft or mushy.
Ingredient Notes
A few quick notes on the ingredients that matter most. Find the full ingredient list and instructions in the recipe card below.
How to Make Spiced Pear Jam
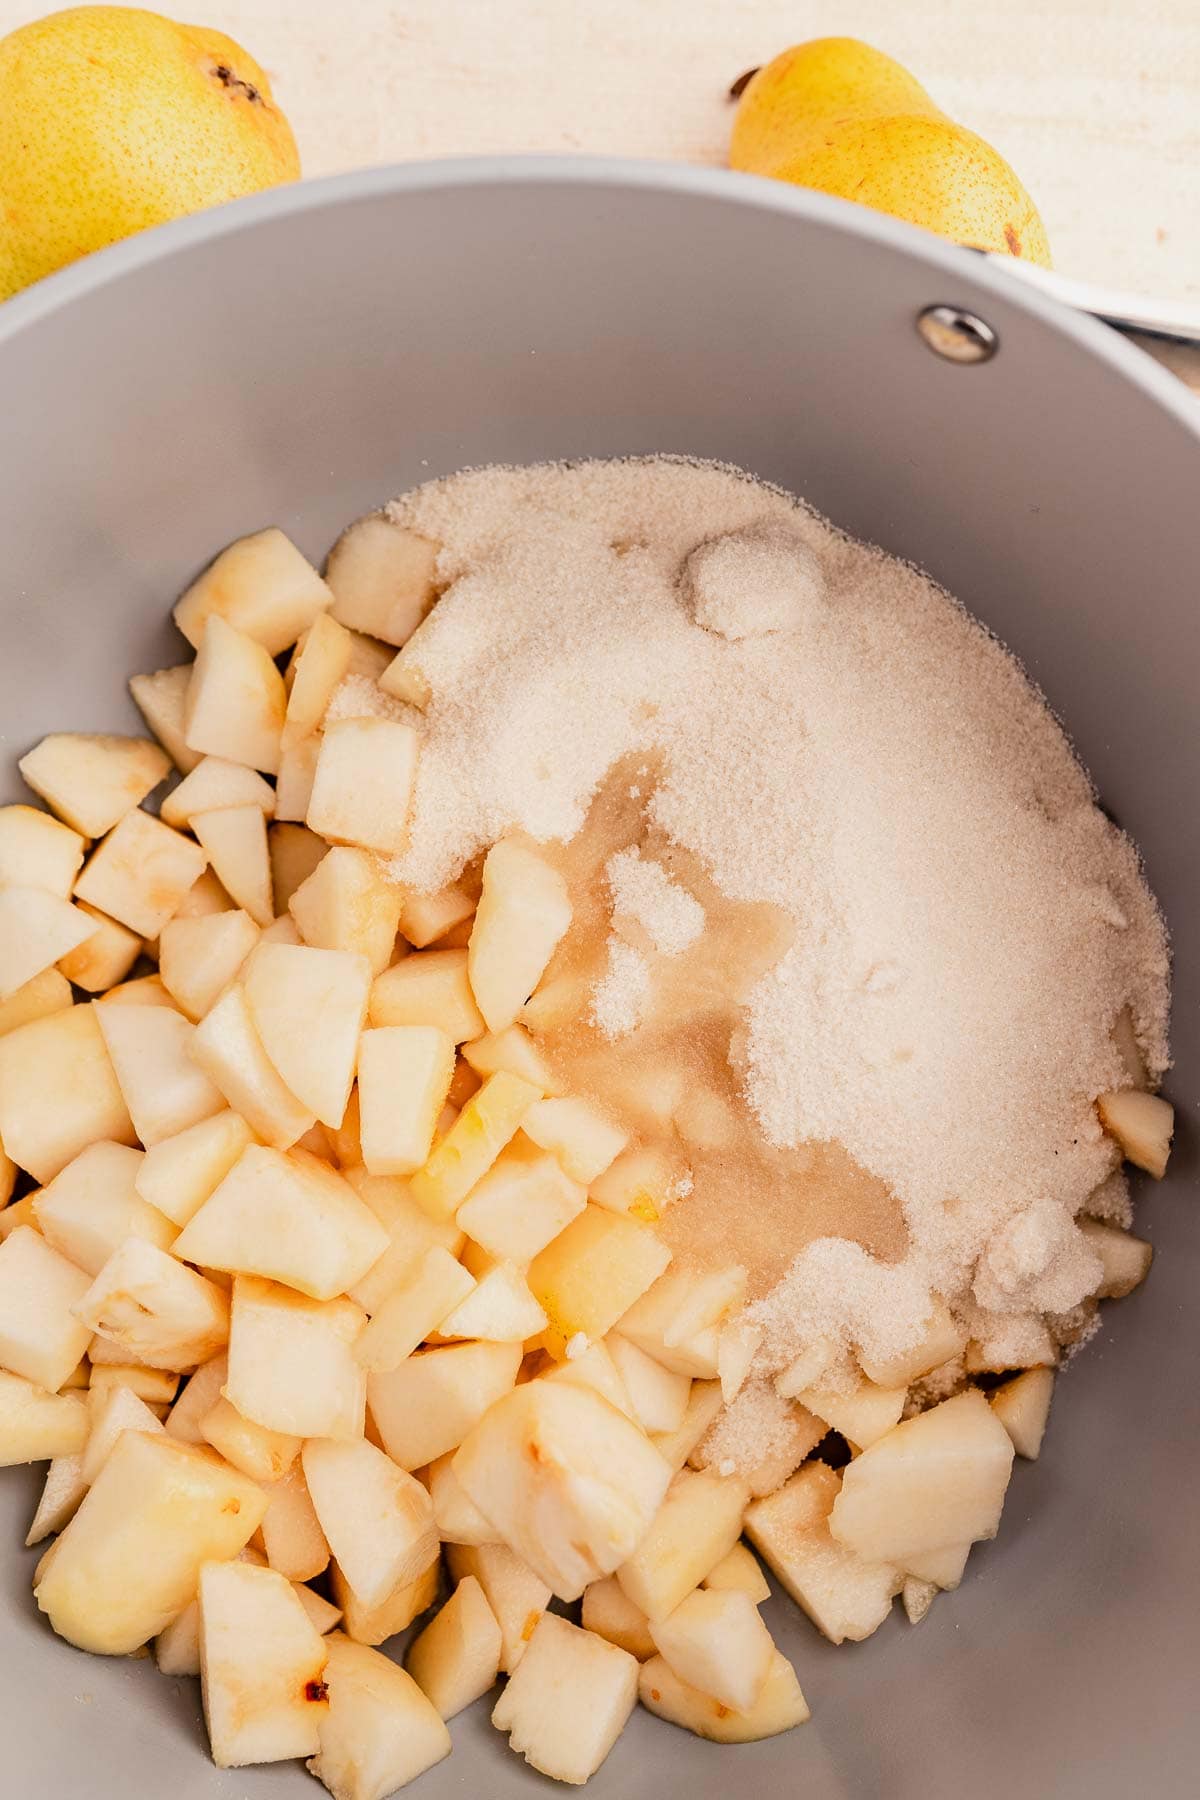
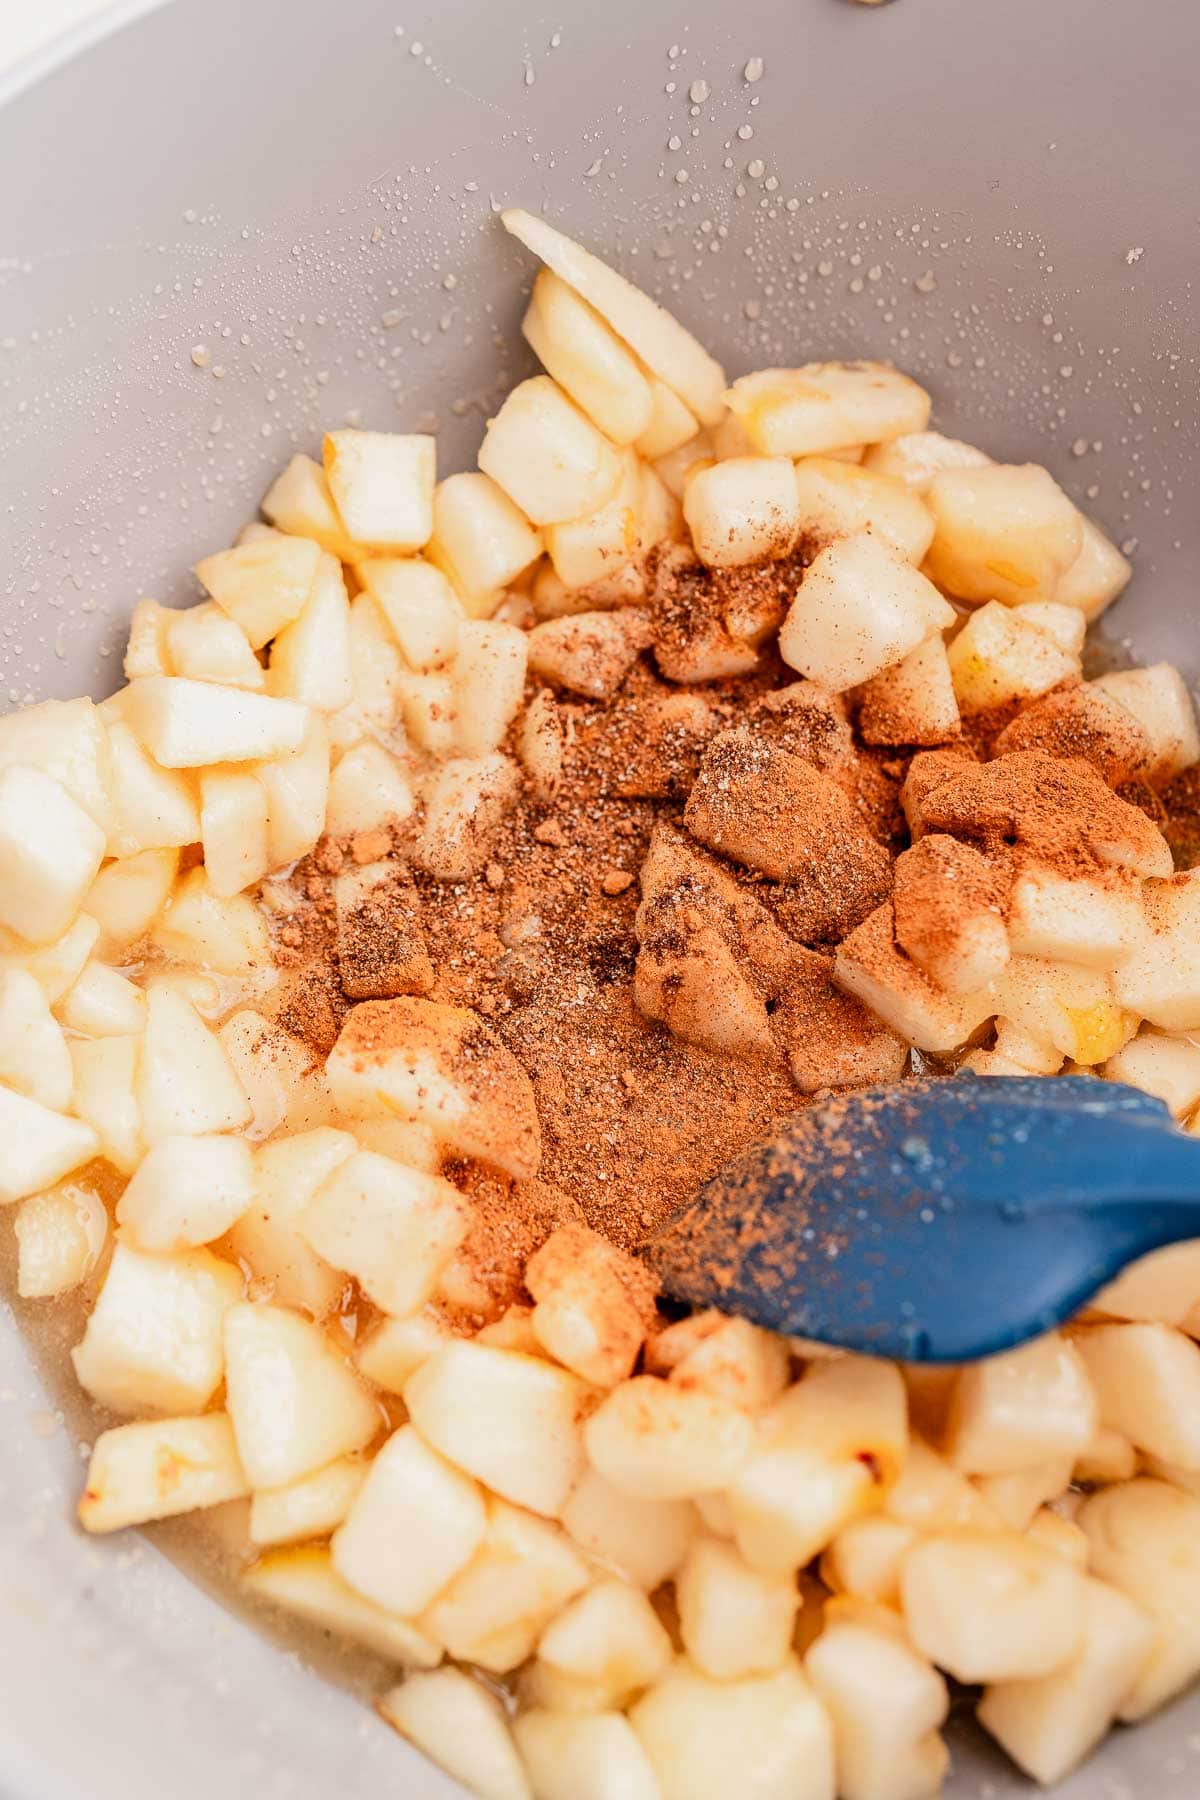
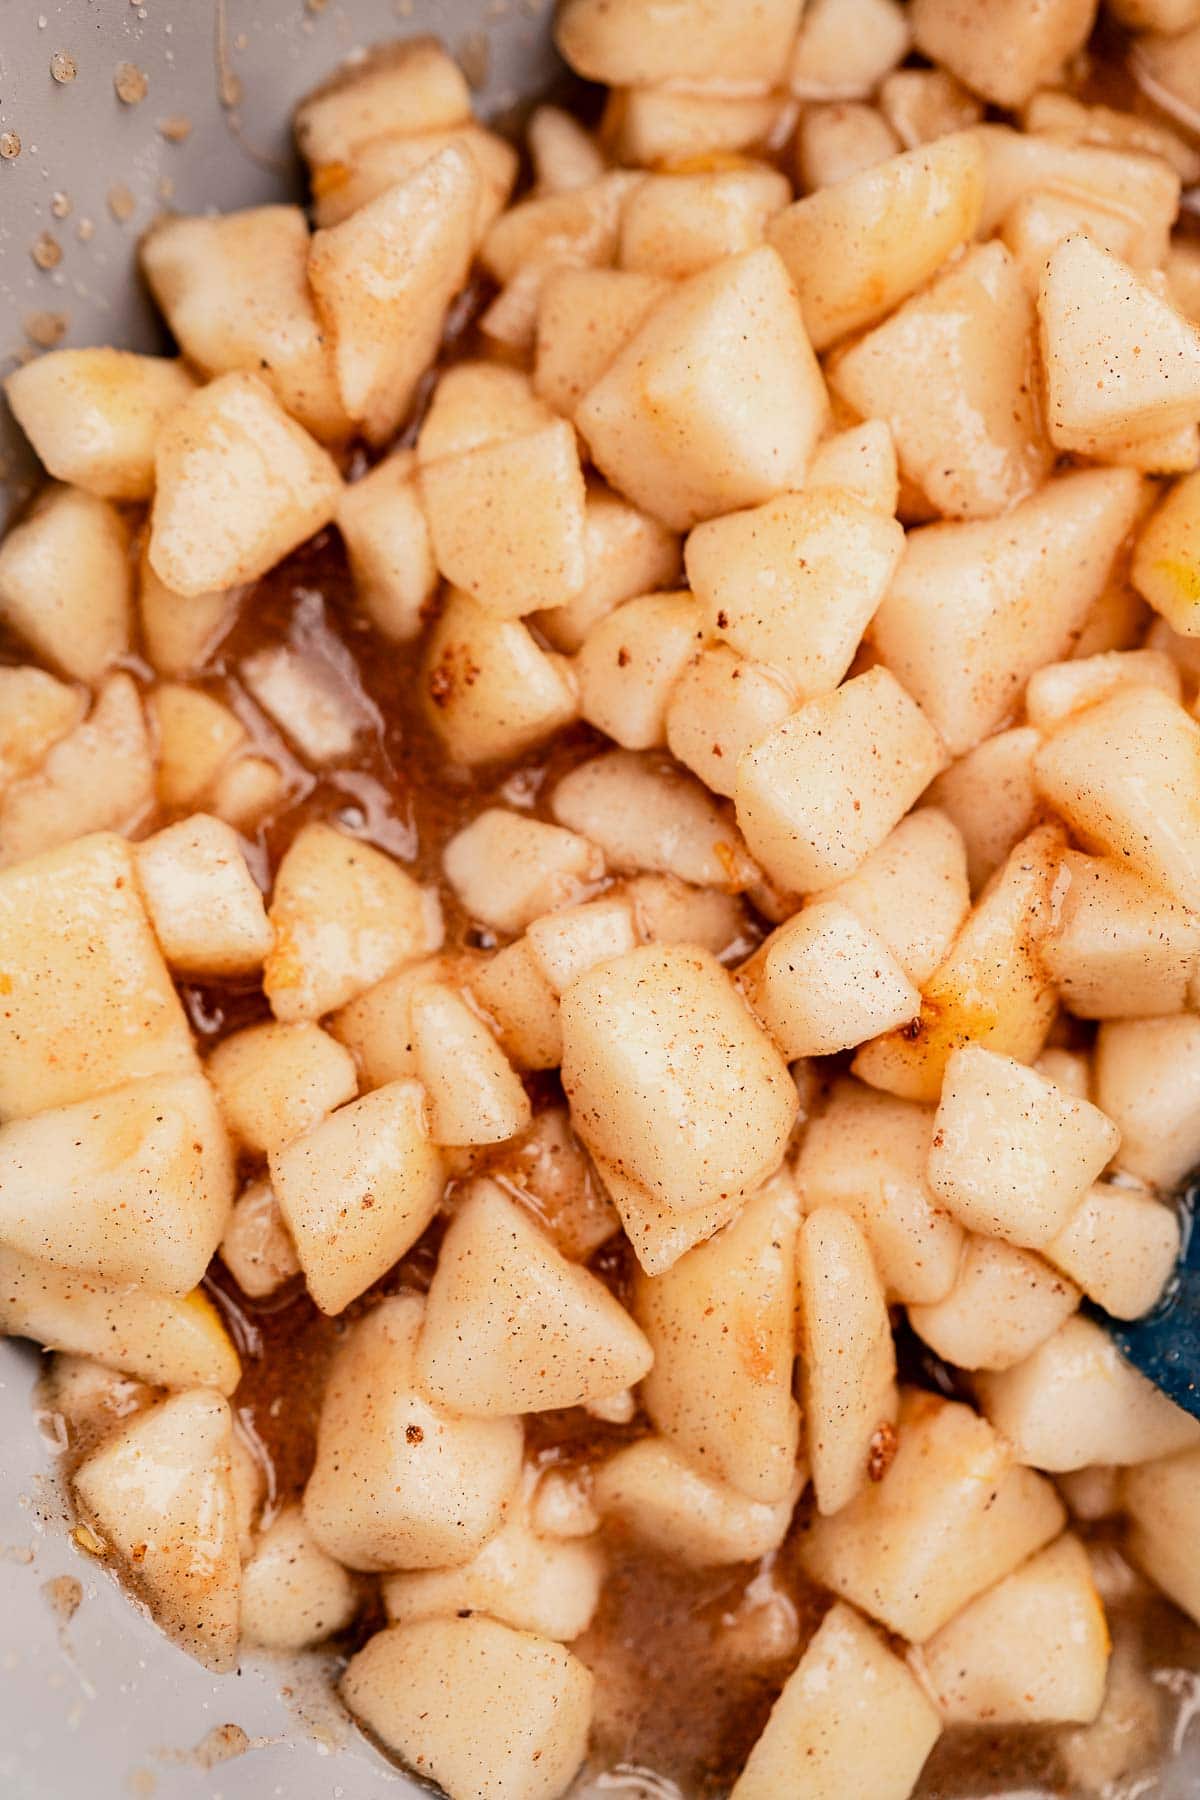
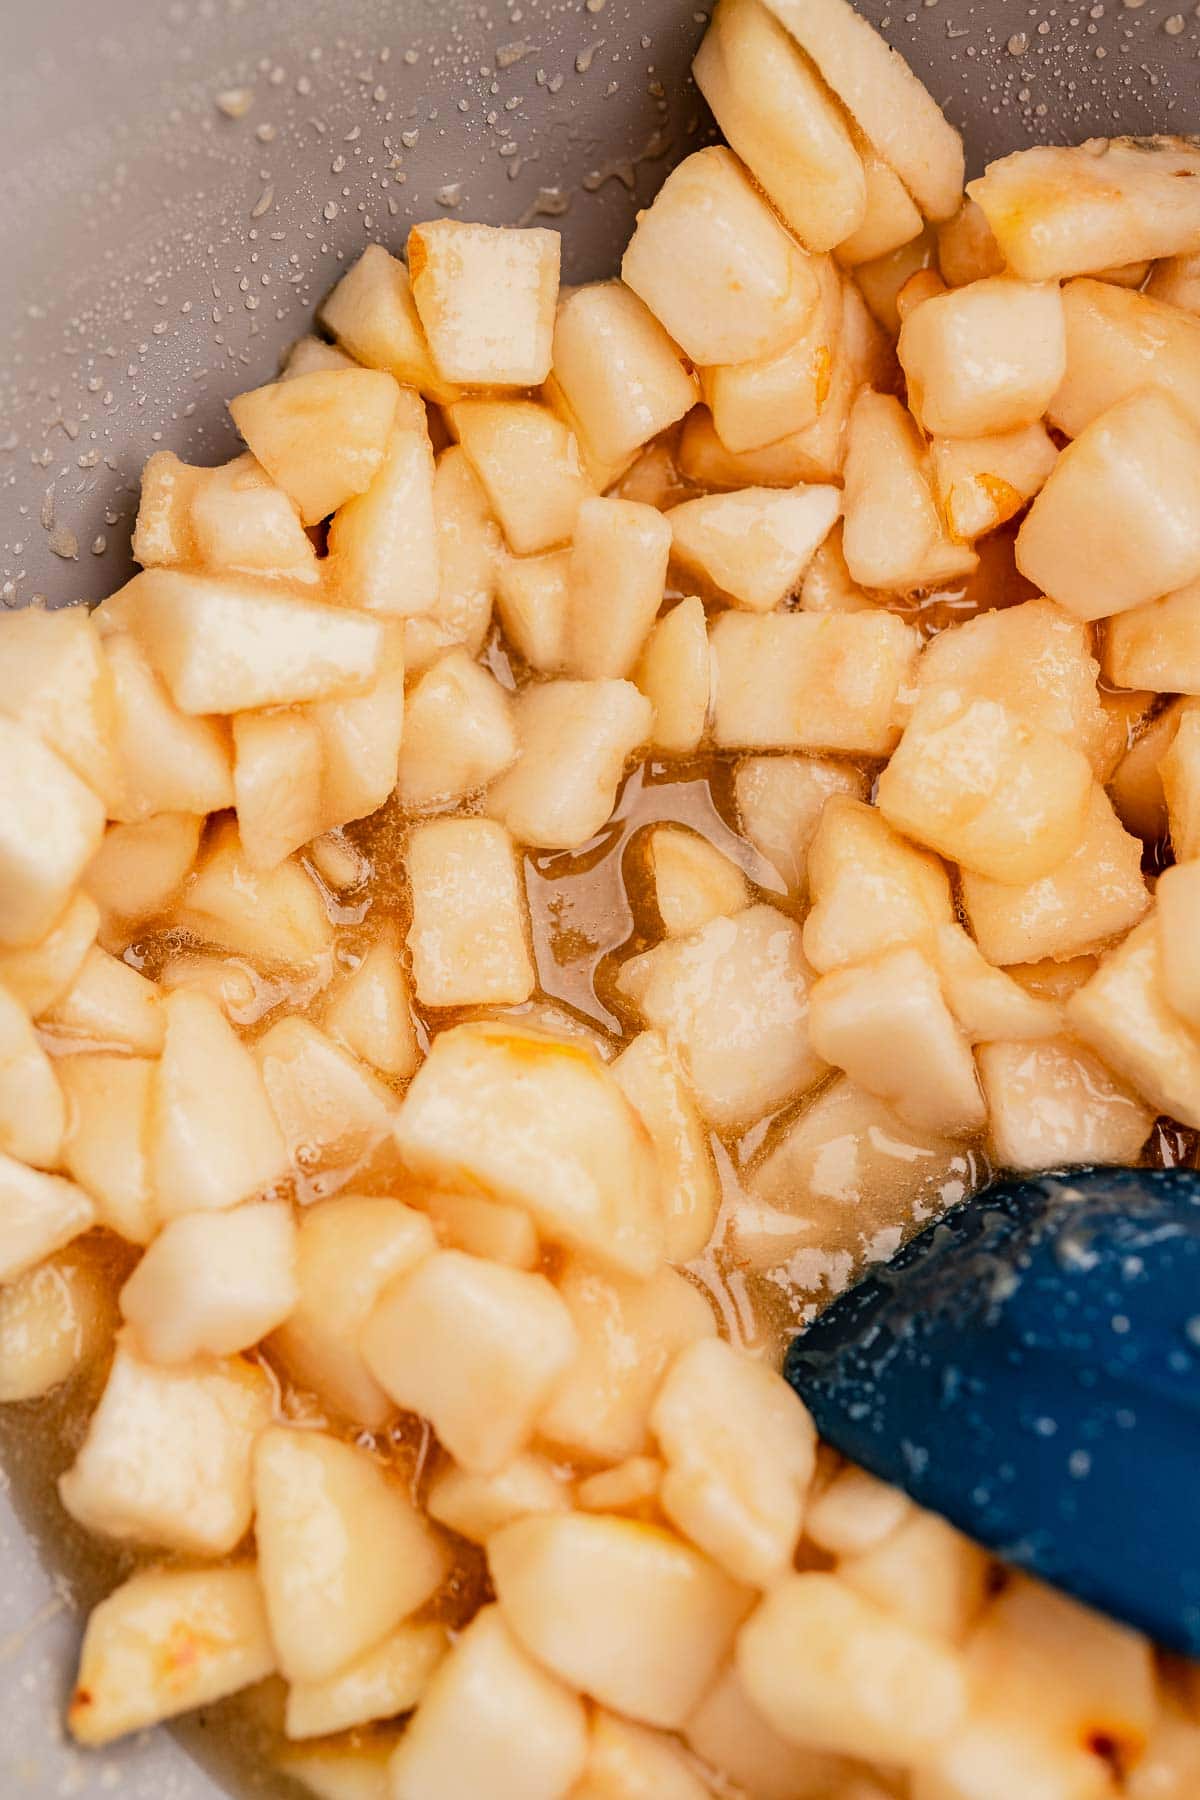
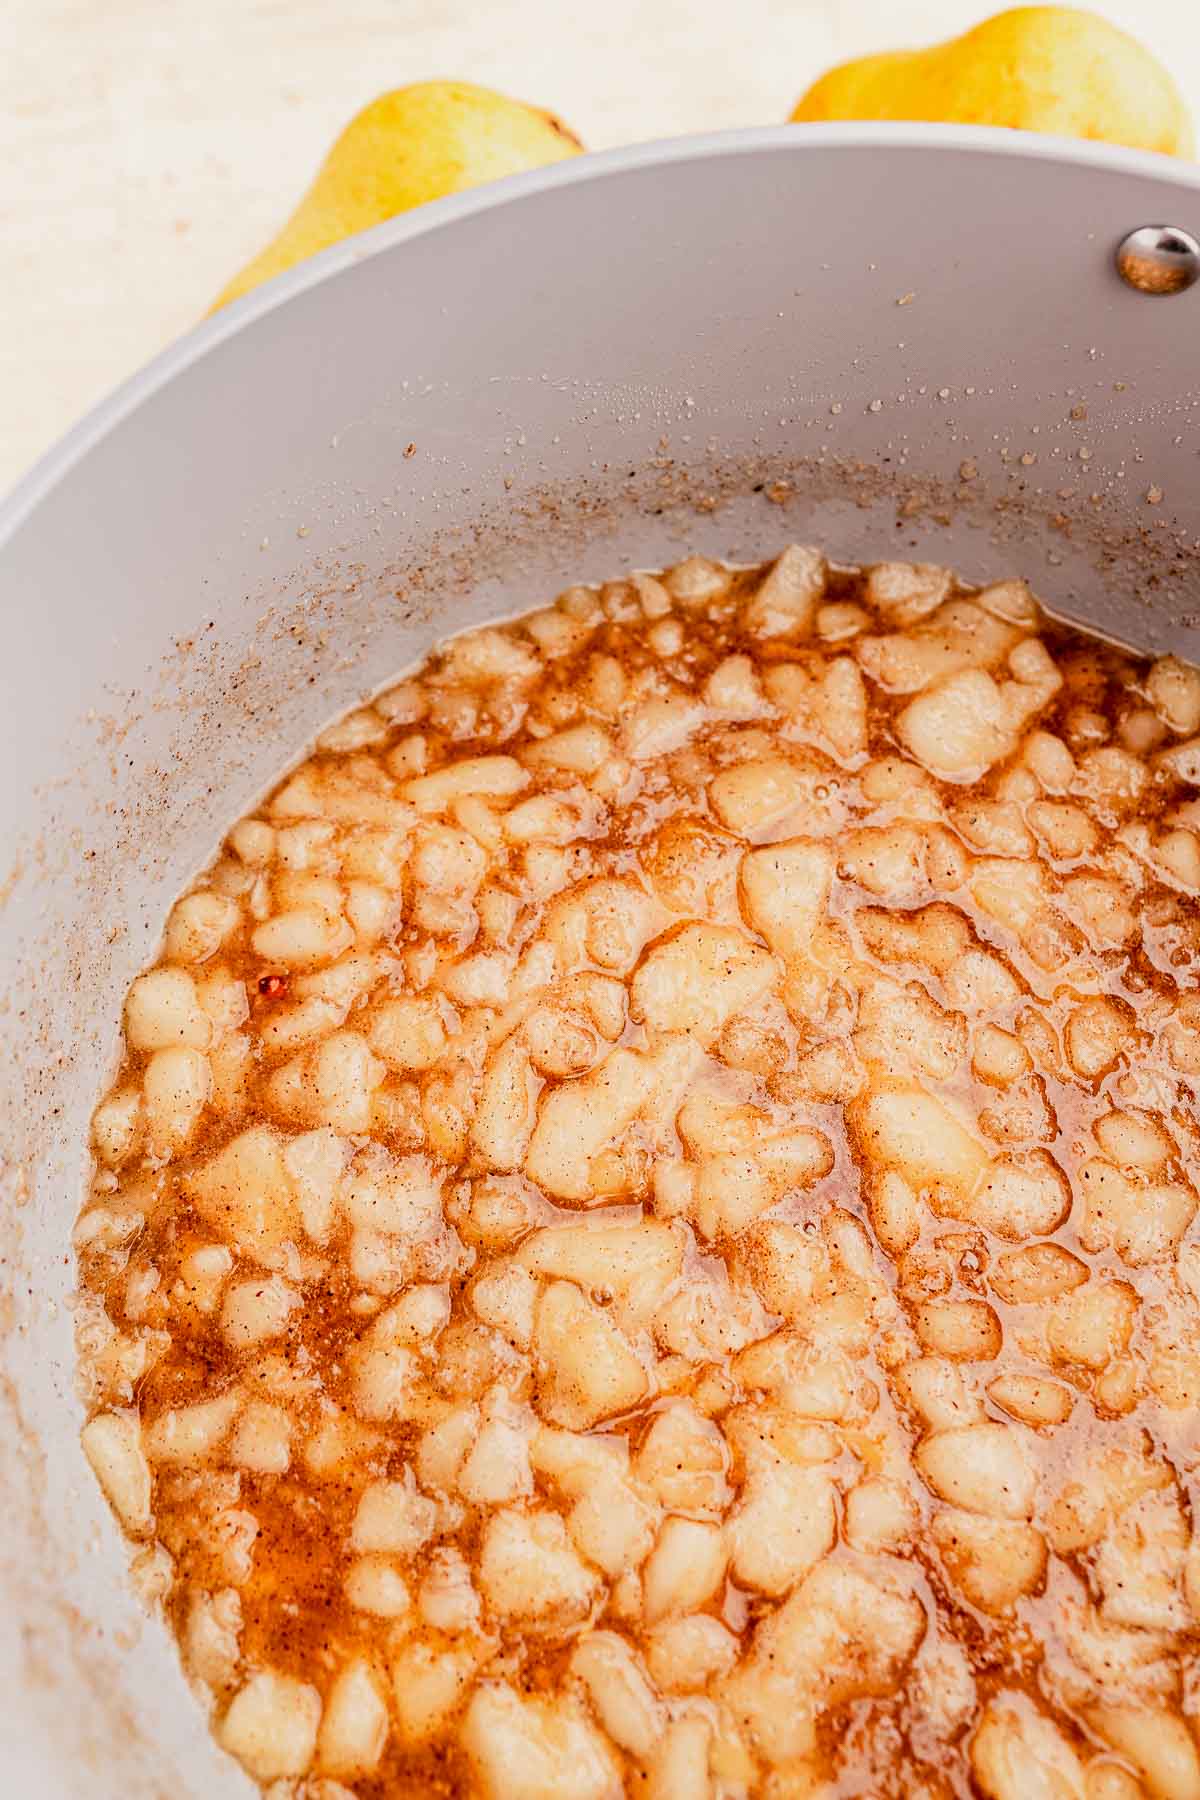
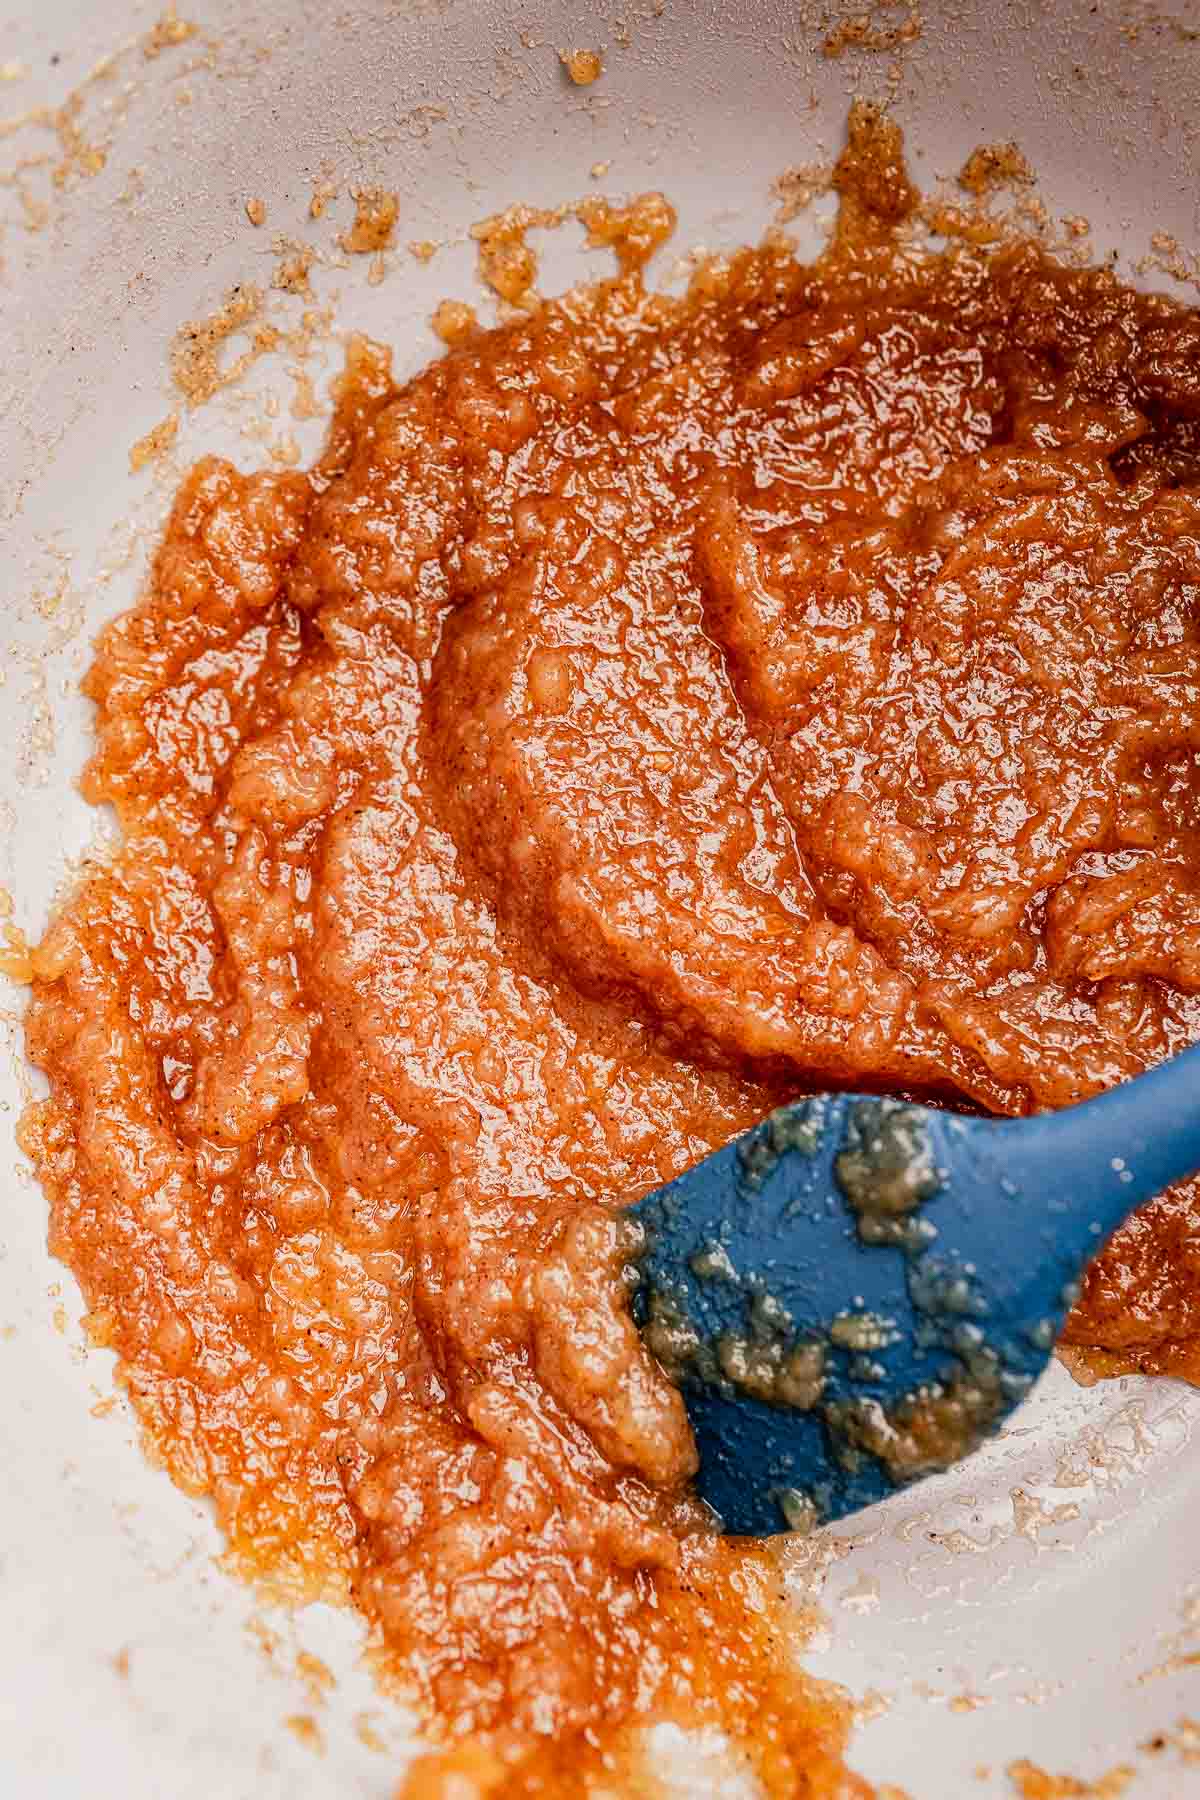
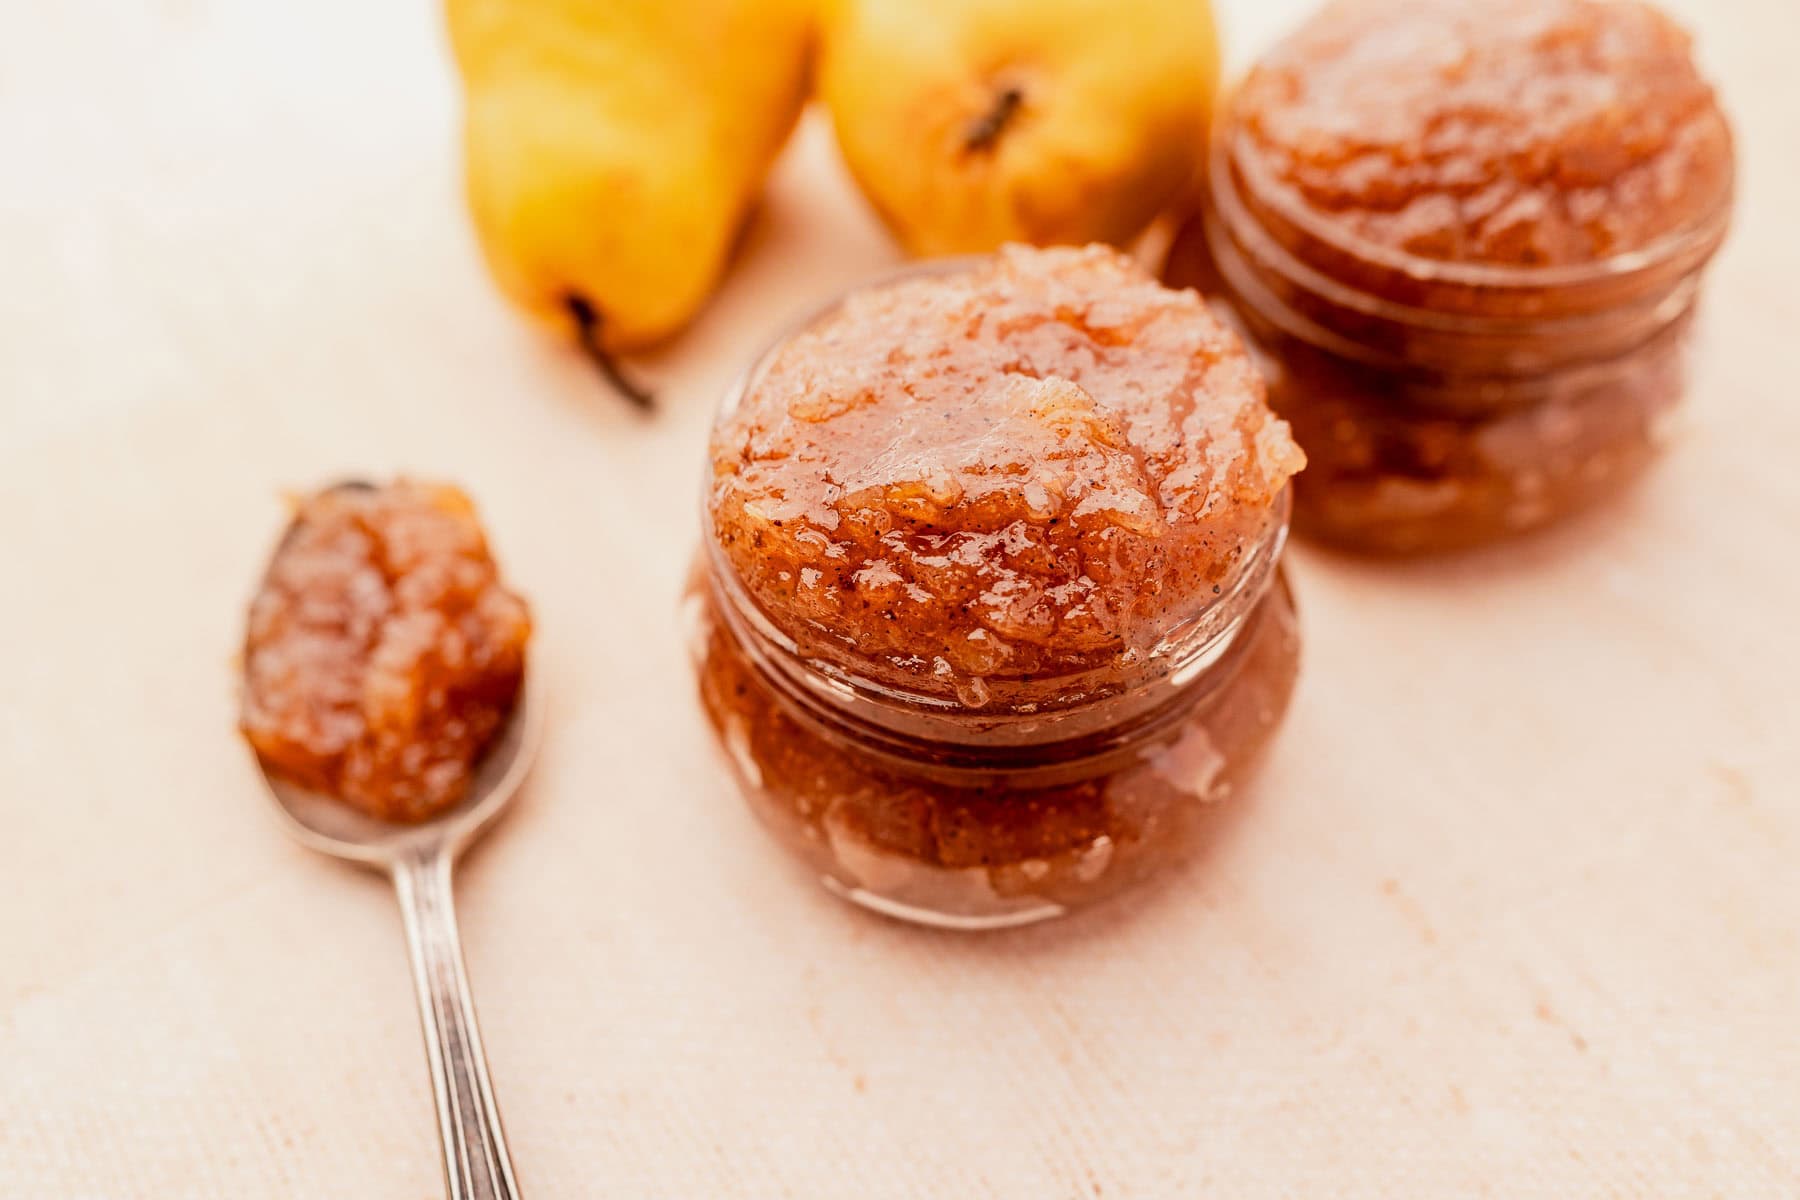
- Combine the chopped pears, sugar, lemon juice, vanilla, cinnamon, cardamom, nutmeg, and salt in a large pot. Let the mixture rest for 15 minutes to allow the pears to release their natural juices.
- Place the pot over medium heat and bring the mixture to a boil, stirring occasionally. Reduce the heat to low and simmer for 30 to 35 minutes, stirring frequently to prevent sticking.
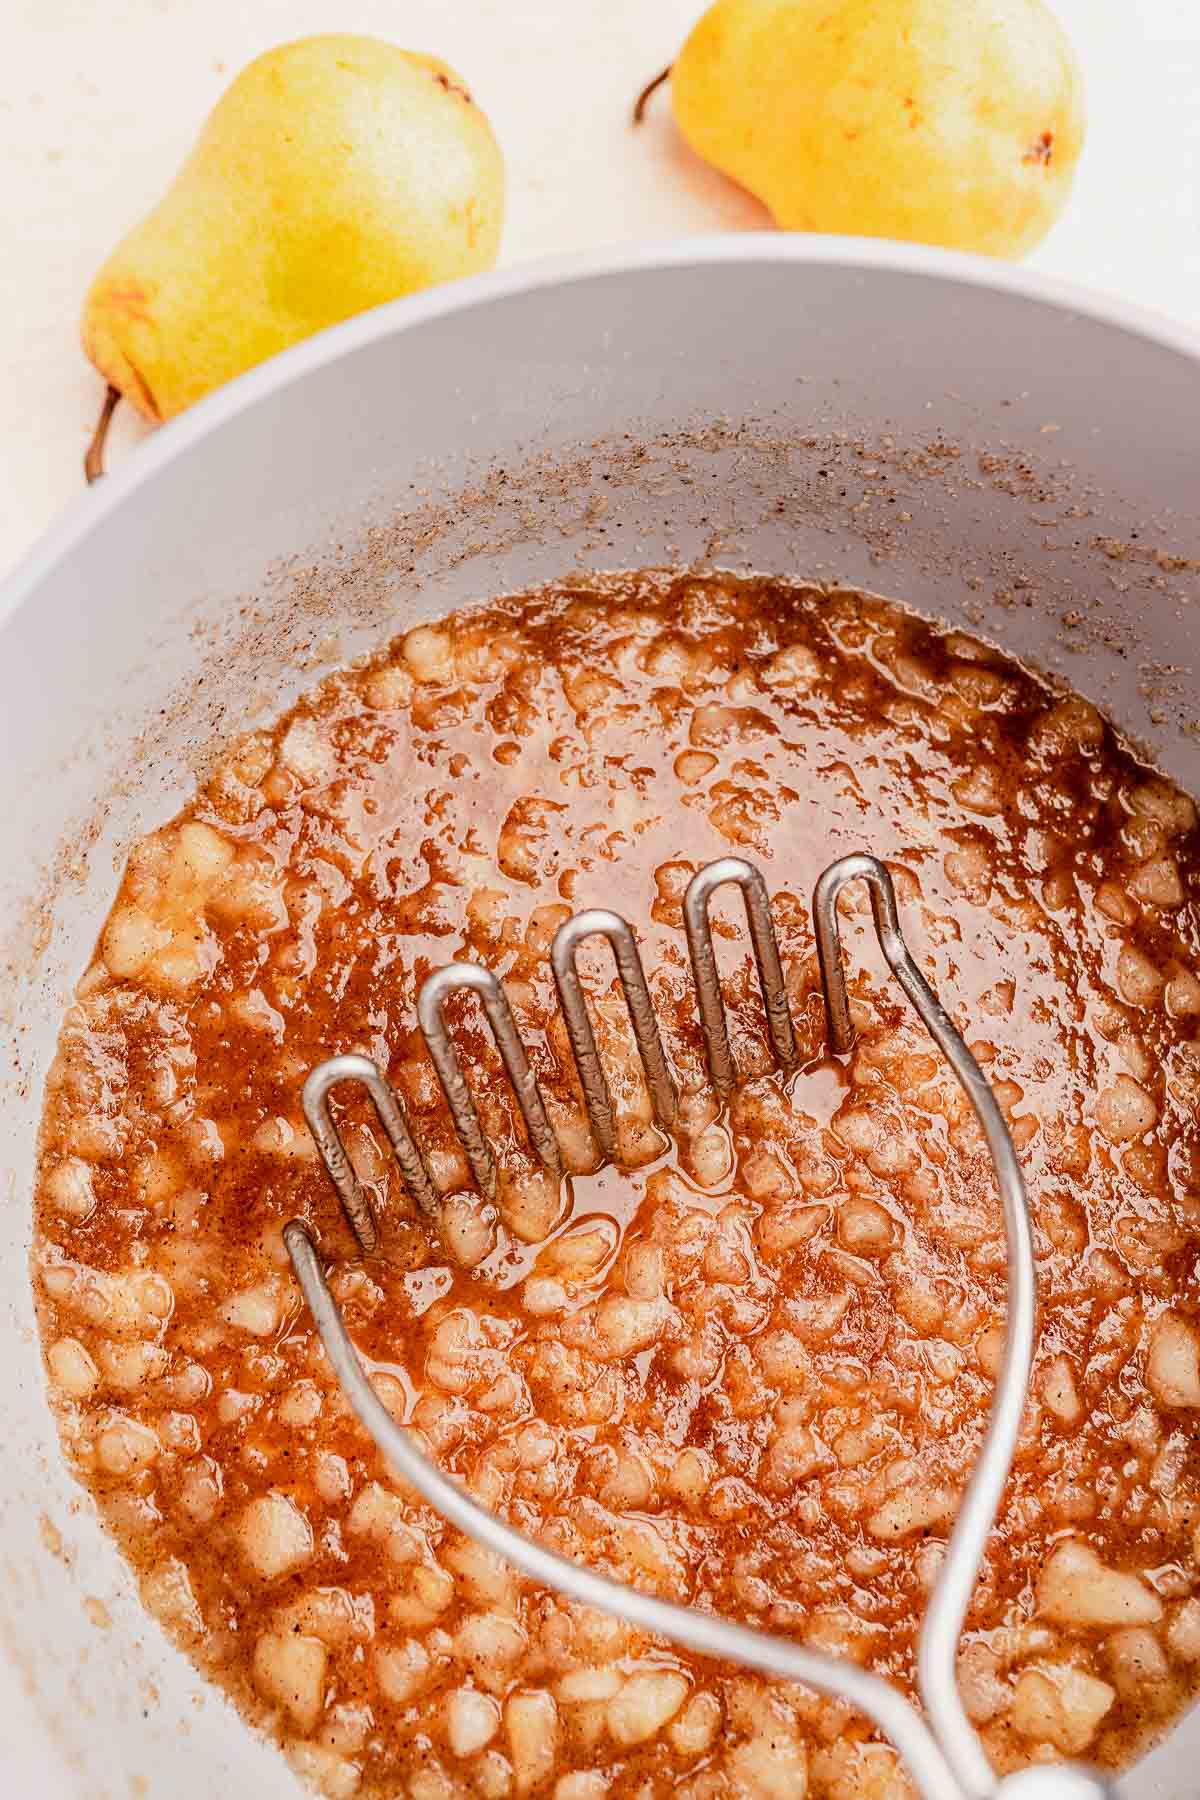
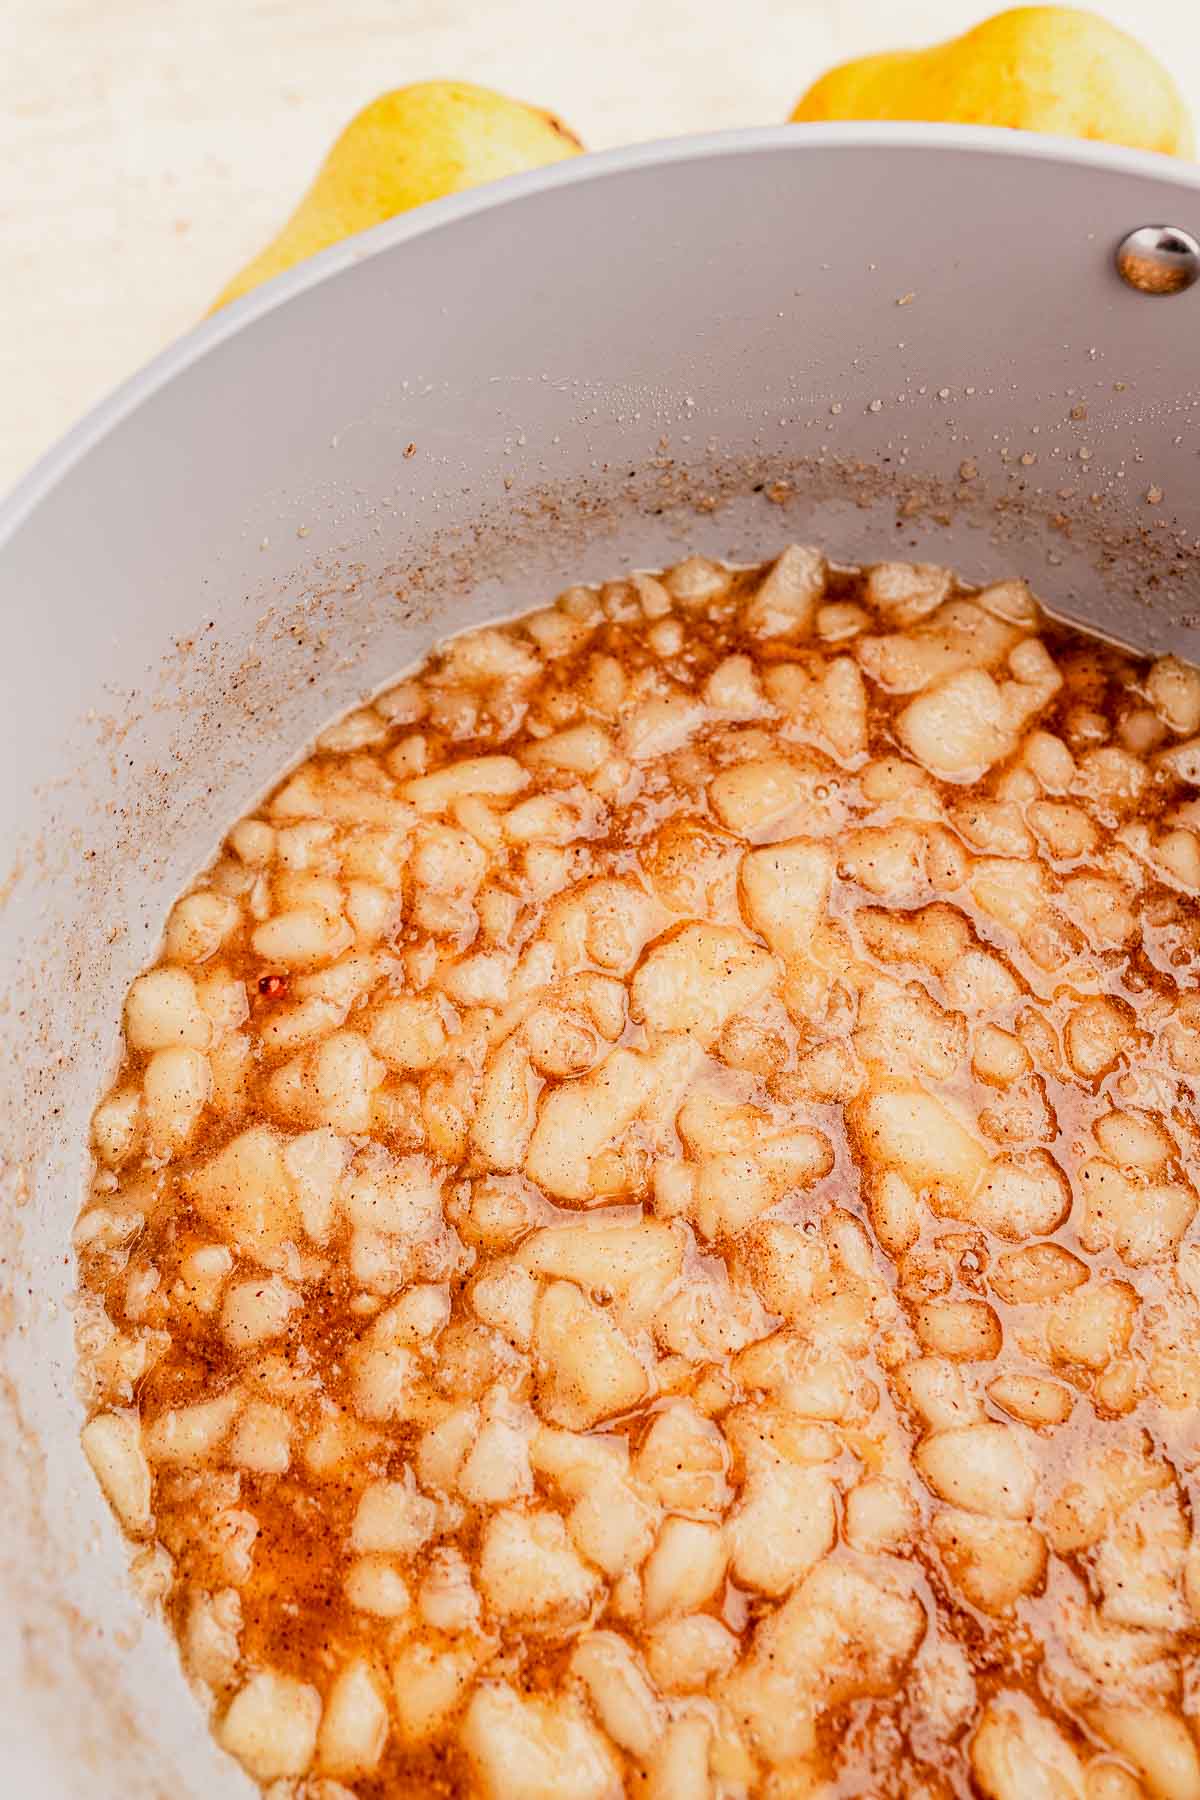
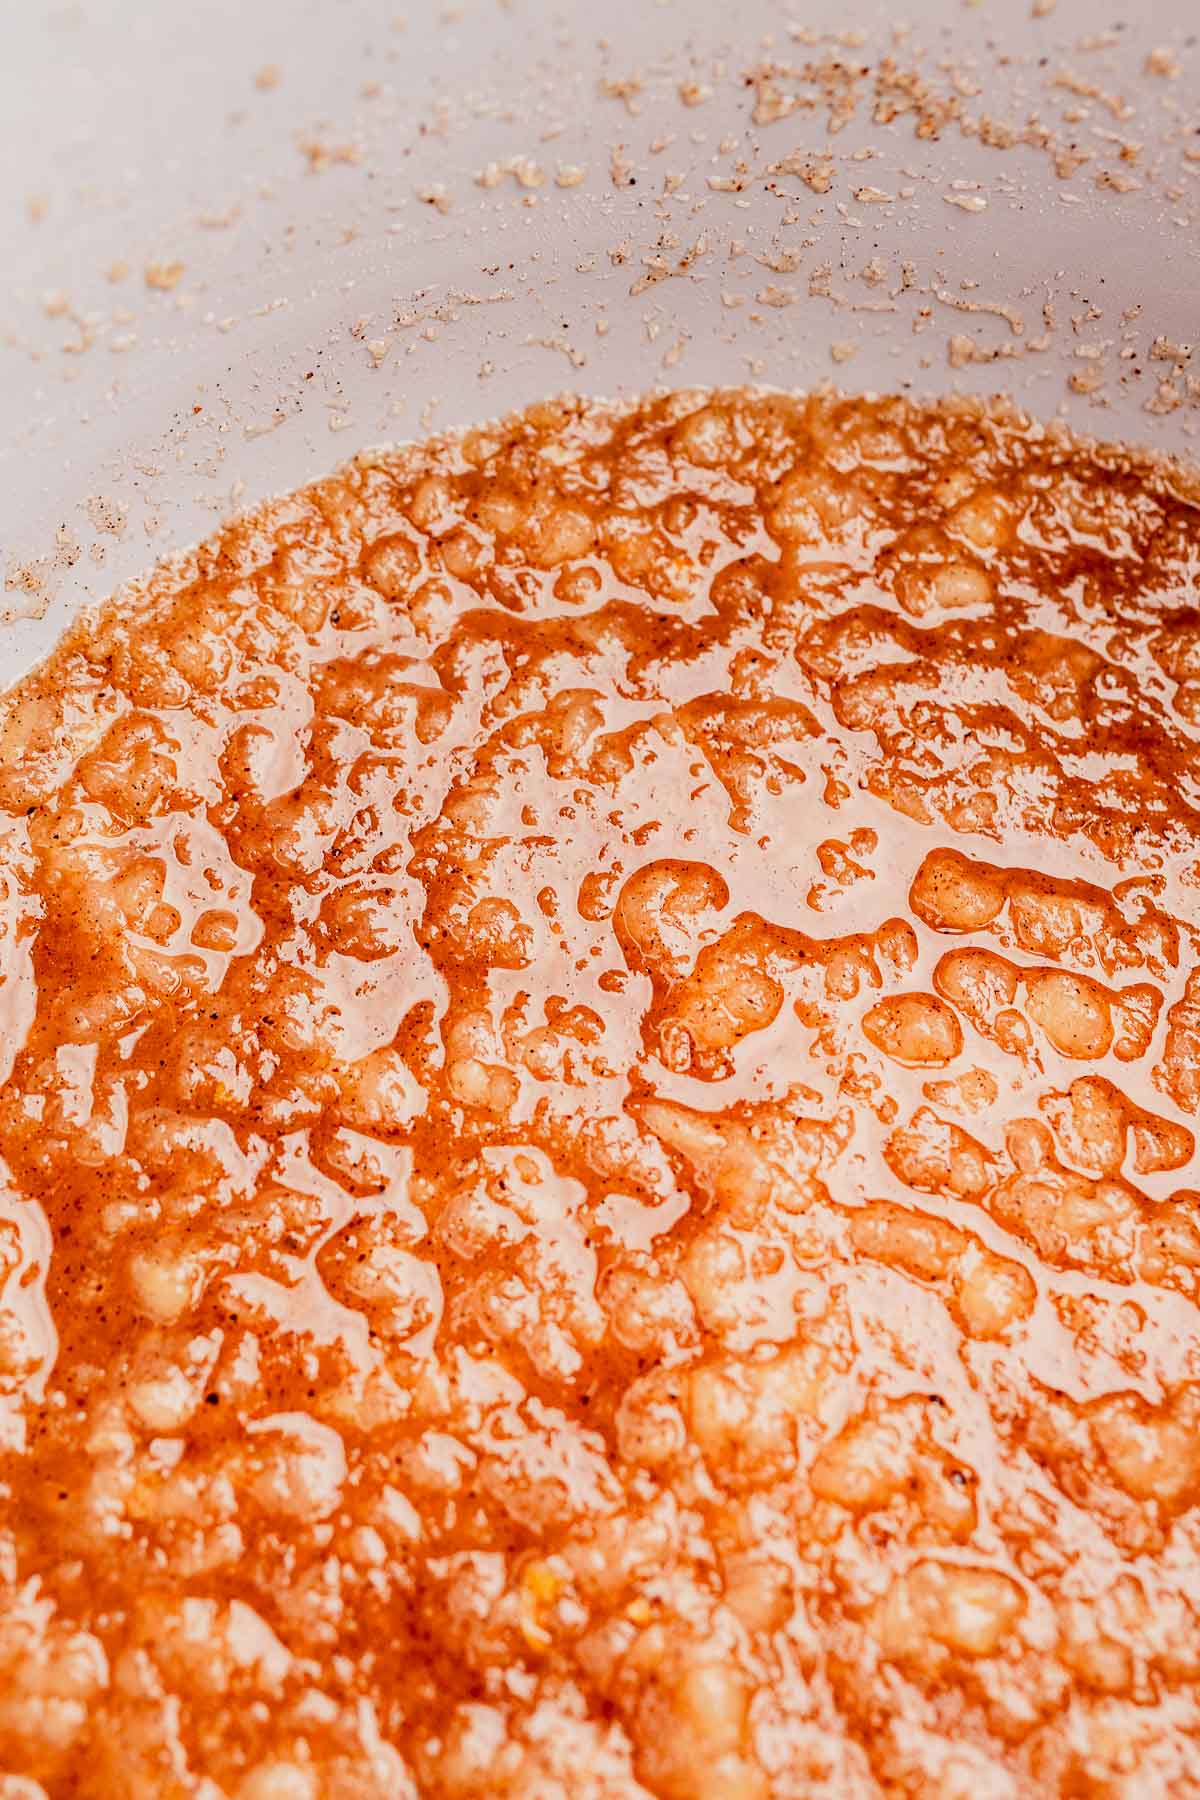
- As the pears soften, mash them with a potato masher or the back of a spoon until the jam reaches your desired texture.
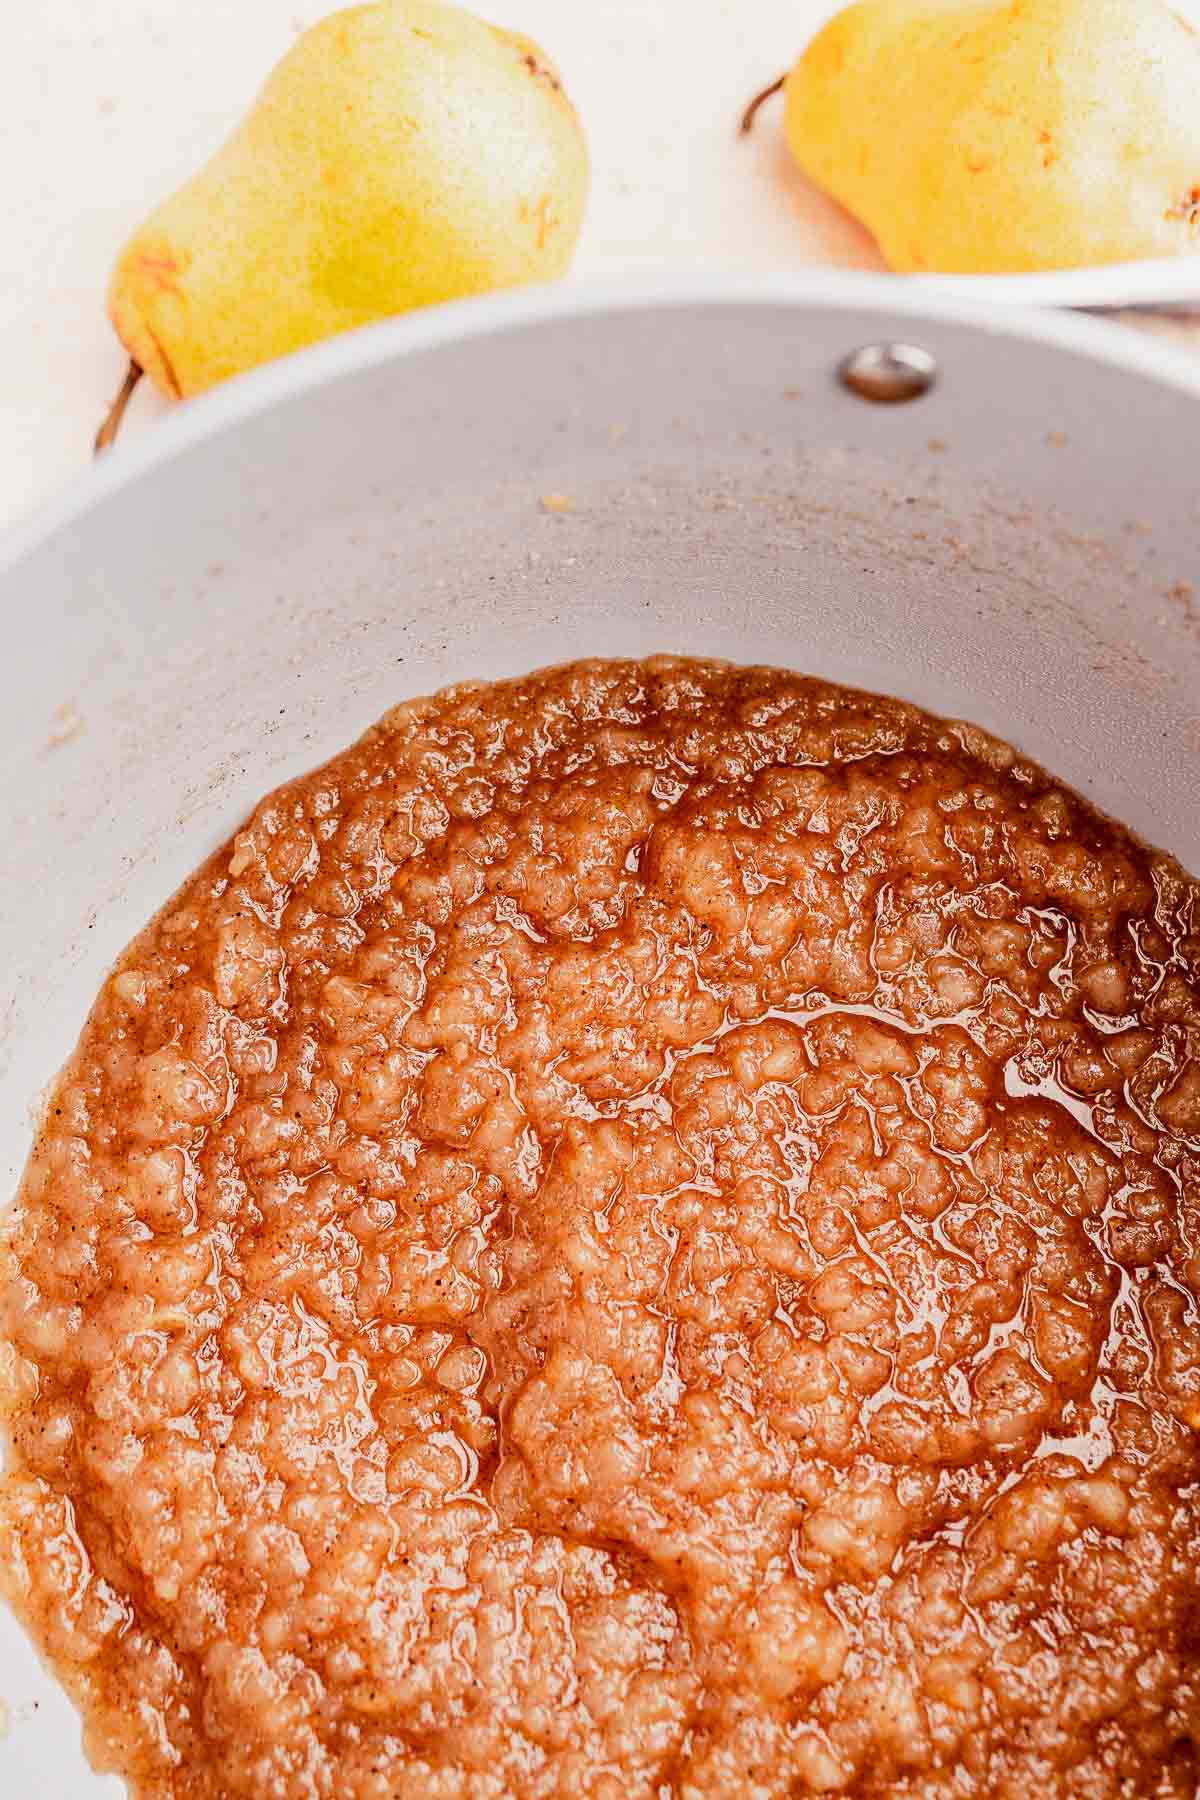
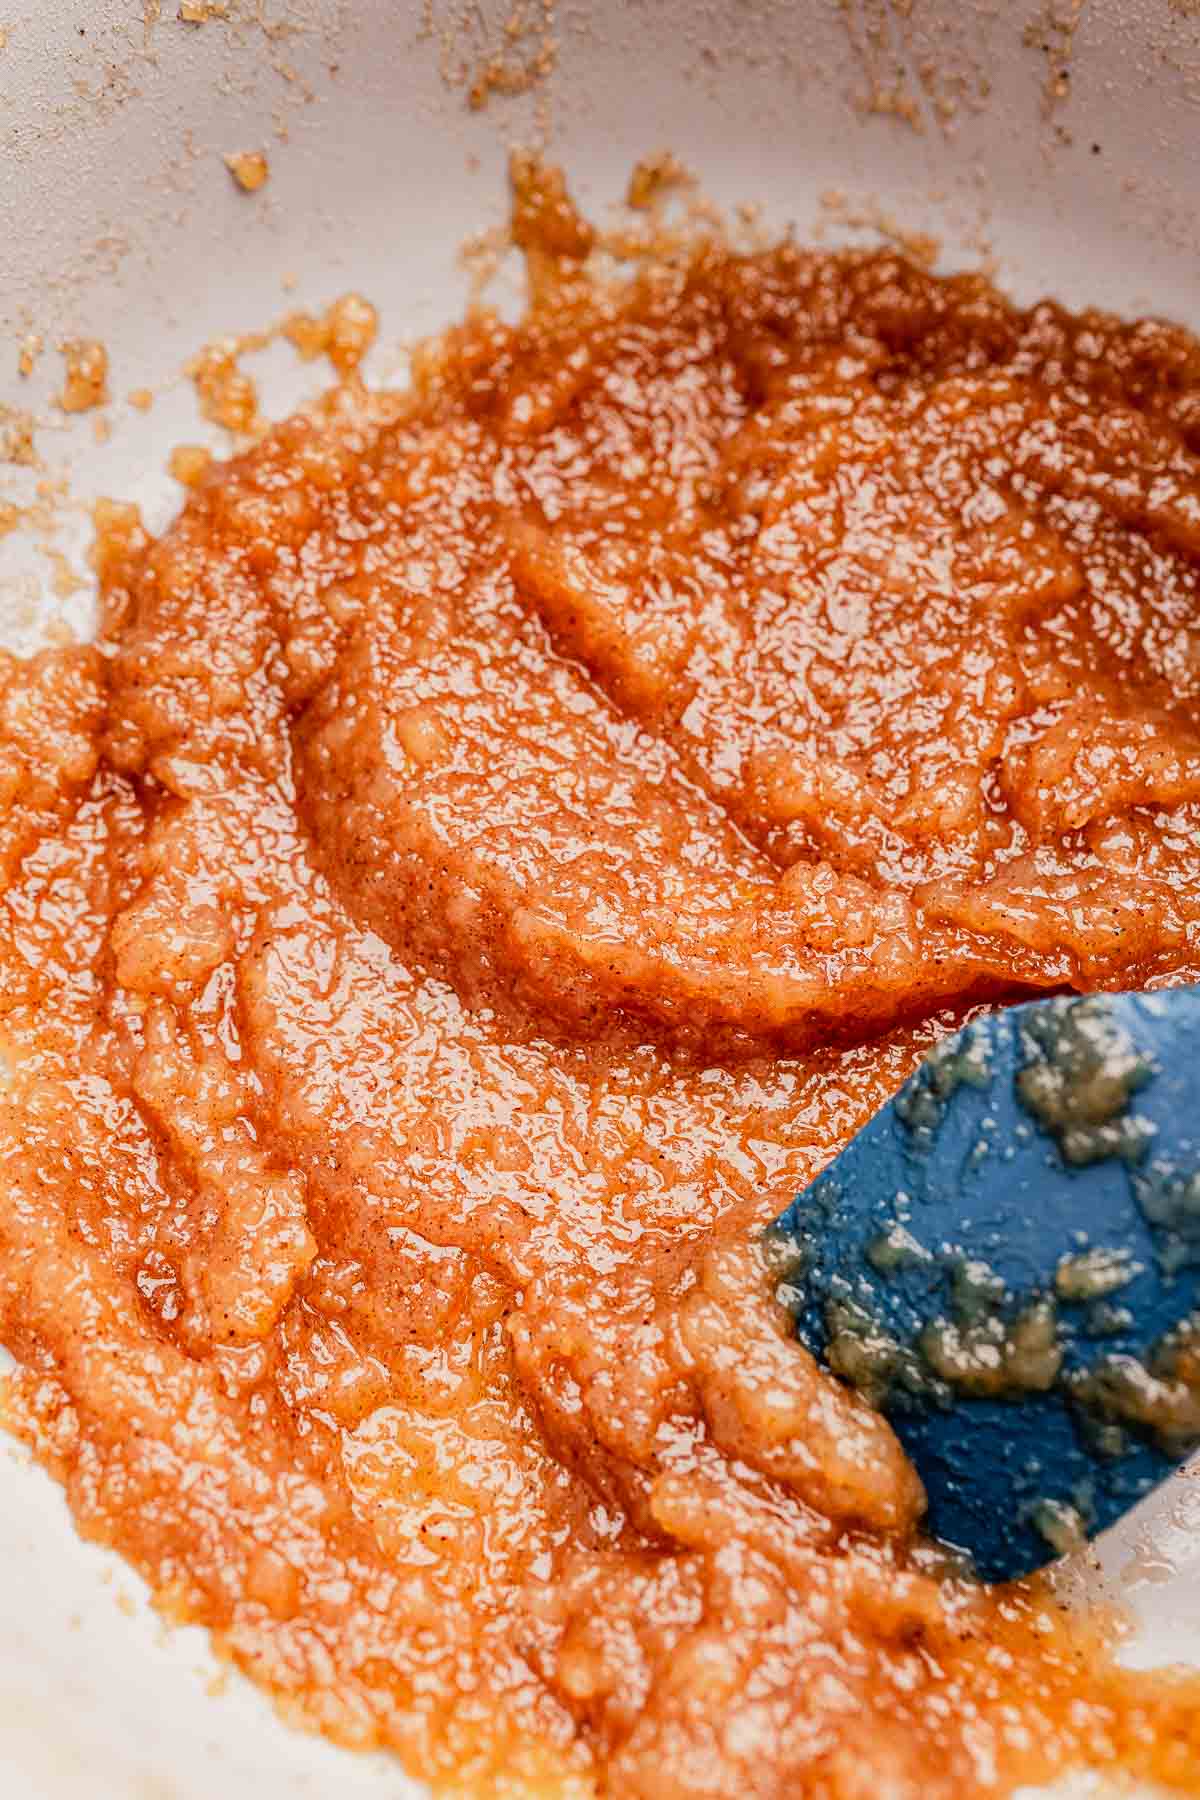
- The pear jam is ready when it has thickened and coats the back of a spoon. To test for doneness, spoon a small amount onto a chilled plate. If it wrinkles and holds its shape when you run your finger through it, it’s ready.
- If you prefer a smoother homemade pear jam, carefully blend it with an immersion blender until it reaches your desired consistency.
- While the jam is still hot, ladle it into sterilized jars, leaving ¼ inch of headspace. Seal the jars and process them in a boiling water bath for 10 minutes, or let the jam cool completely and refrigerate for up to 3 weeks.
- Enjoy!
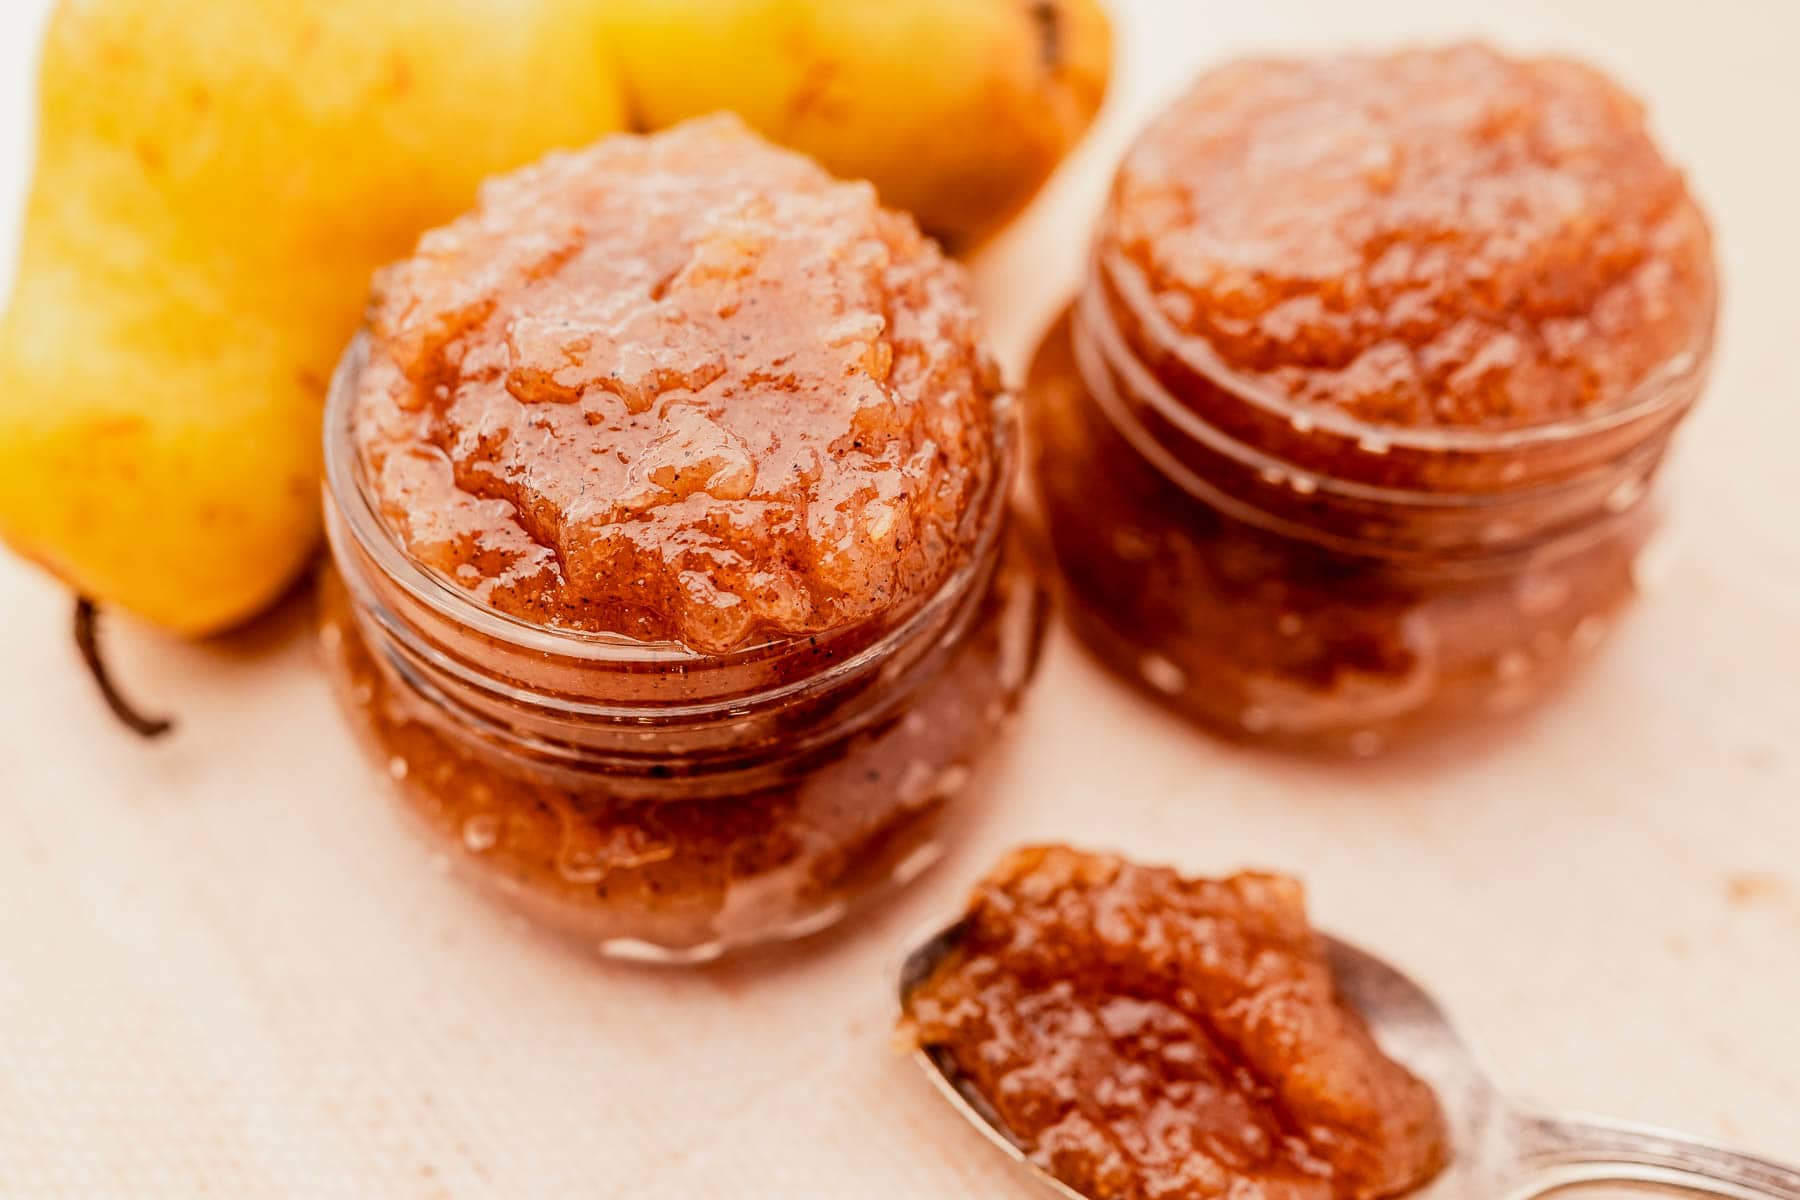
Ways to Enjoy Homemade Pear Jam
- Spread on toast, sourdough, biscuits, English muffins, or bagels.
- Spoon over pancakes, waffles, French toast, oatmeal, or creamy quinoa porridge.
- Stir into plain yogurt, vanilla yogurt, cottage cheese, or vanilla ice cream.
- Pair with Brie, goat cheese, sharp cheddar, or aged Gouda on a cheese board or charcuterie board.
- Use as a filling for crepes, thumbprint cookies, pastries, cakes, or scones.
- Spread onto crackers with cream cheese or ricotta for an easy appetizer.
- Swirl into overnight oats, chia pudding, or smoothie bowls.
- Spoon over cheesecake, panna cotta, or rice pudding for an easy dessert.
- Add a spoonful to sparkling water, lemonade, or hot tea for a fruity twist!
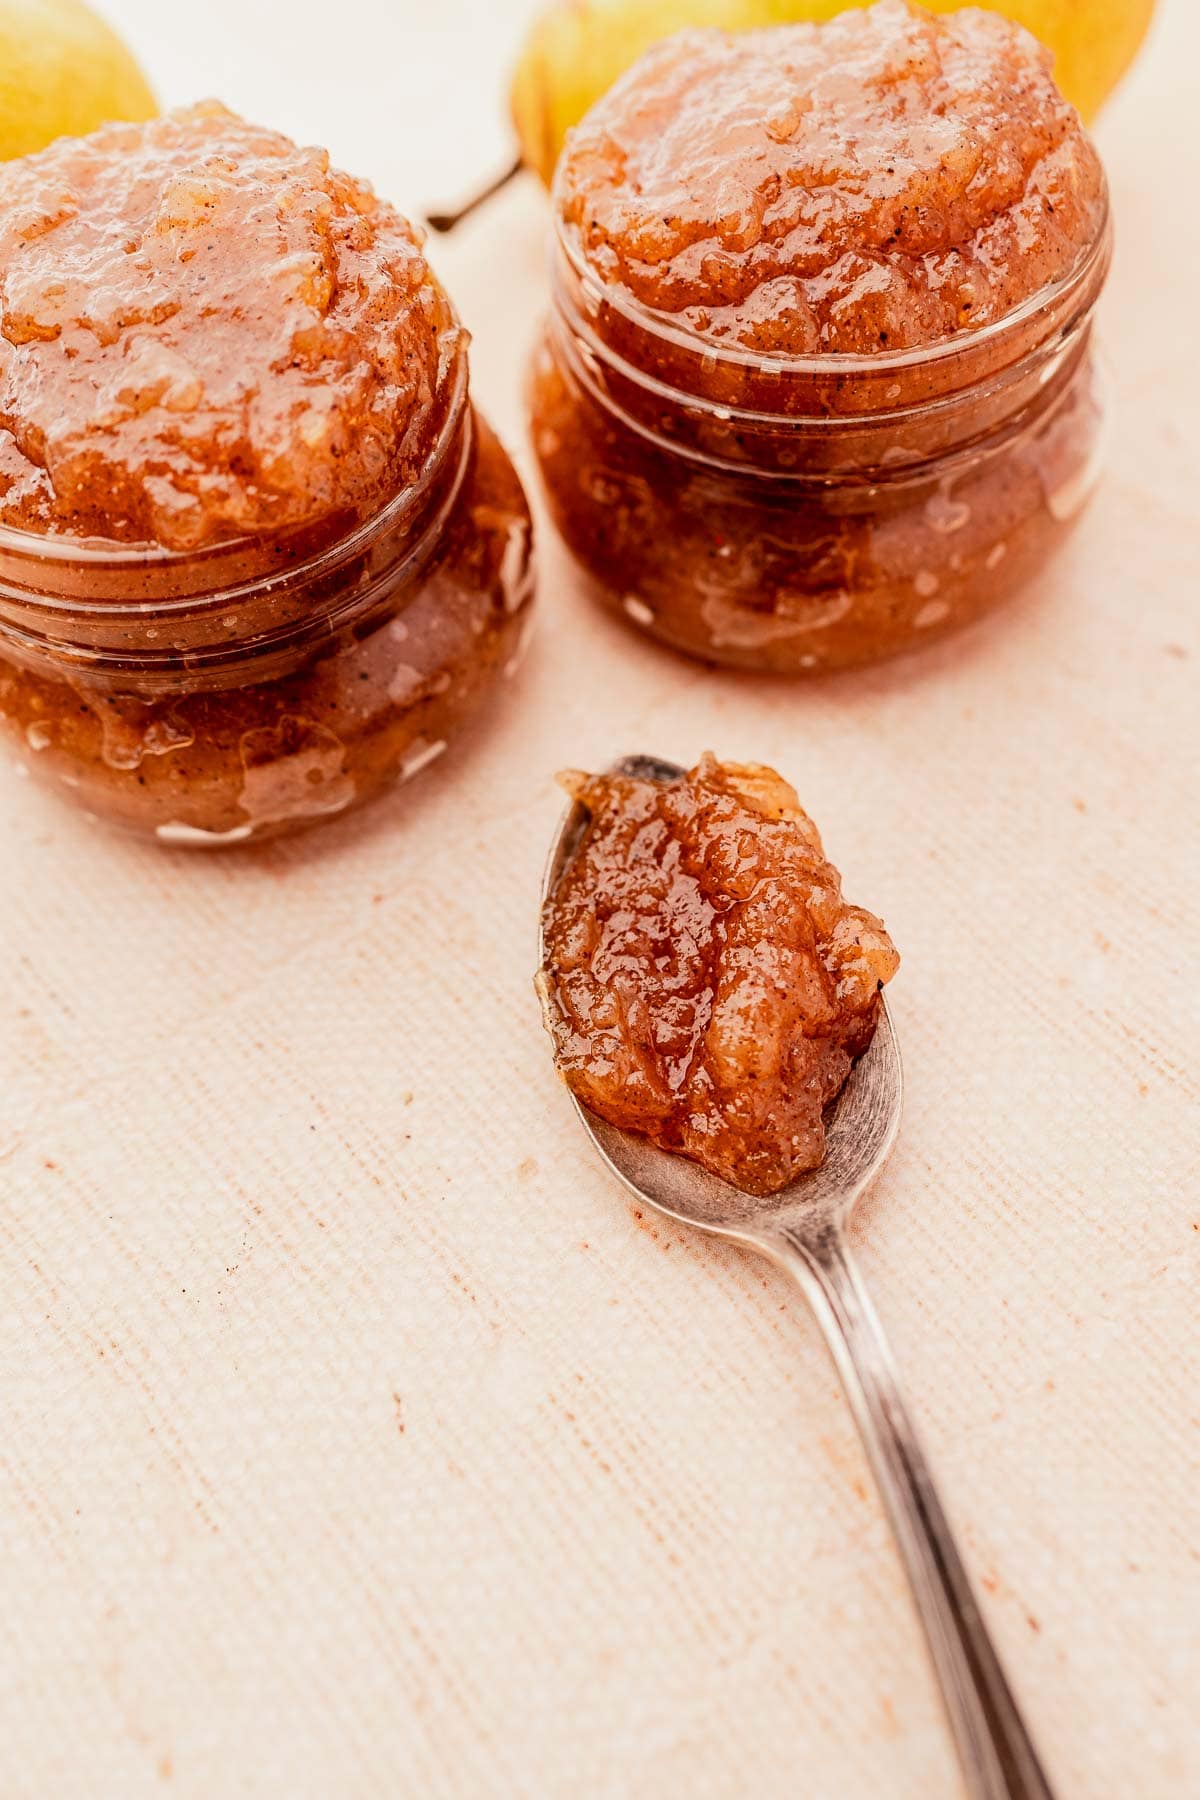
Kristen’s Top Tips
- Use ripe pears that are still slightly firm for the best texture. Overripe pears tend to break down too much as they cook.
- Cut the pears into similar-sized pieces so they soften evenly.
- Stir the jam regularly, especially toward the end of cooking, to prevent it from sticking to the bottom of the pot.
- Don’t worry if the jam seems a little loose while it’s hot. It will continue to thicken as it cools.
- Prefer a smoother jam? Blend it briefly with an immersion blender until it reaches your desired consistency.
Storing, Canning, and Freezing
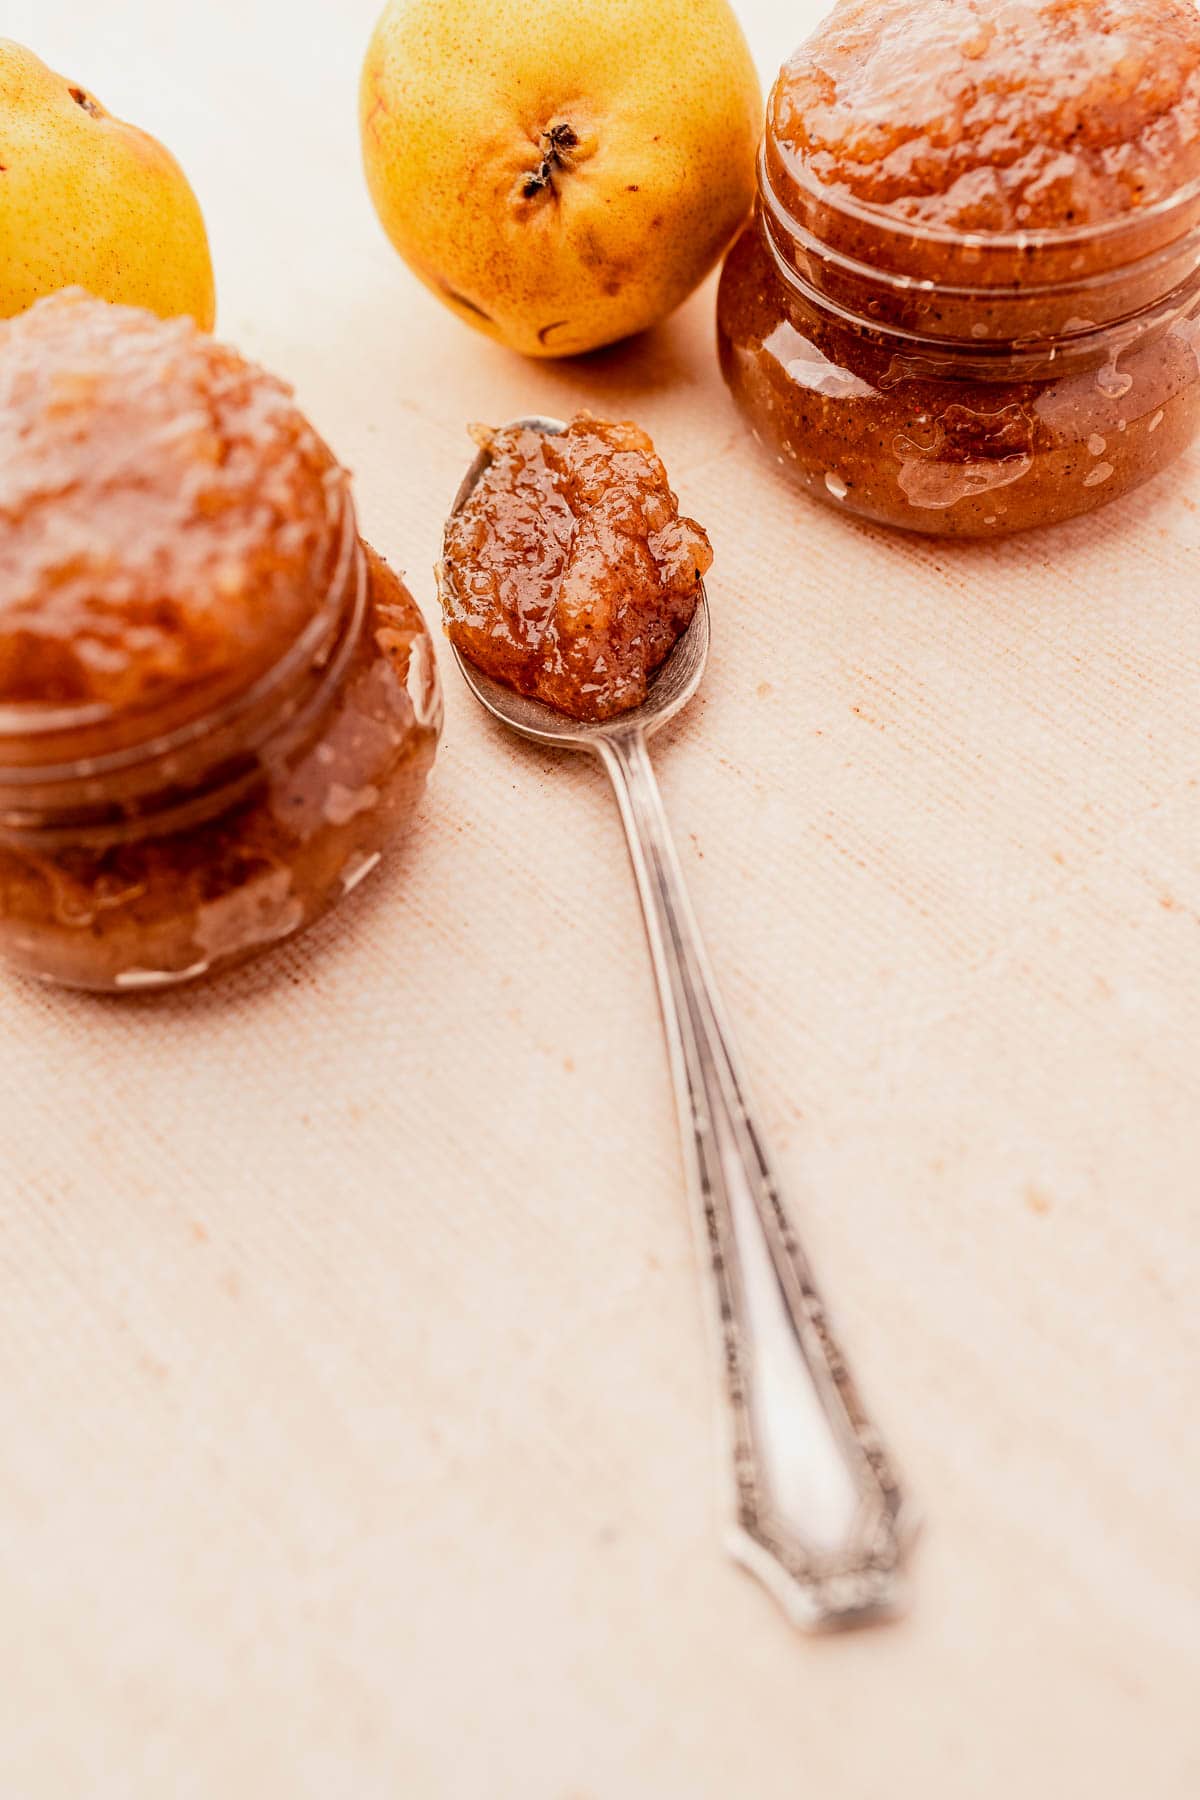
Store the spiced pear jam in an airtight jar or container and keep it in the refrigerator. It’s best consumed within 2-3 weeks.
To can the jam, follow these tips:
- Use sterilized glass jars boiled in water for at least 10 minutes.
- Pour the jam into the jars, apply the lids, and screw on the bands.
- Place the jars in a water bath canner.
- Boil for about 10 minutes (depending on altitude).
- Remove from the water and let the jars cool for 12-24 hours.
- If the jars are sealed, store them in the pantry or a cool, dark place for up to a year. If they didn’t seal properly, refrigerate them.
To freeze, pour the pear jam in a freezer-safe container, leaving about ½ inch of space to expand, then keep it in the freezer for up to a year. Before using, thaw it overnight, then stir to help it regain its texture.
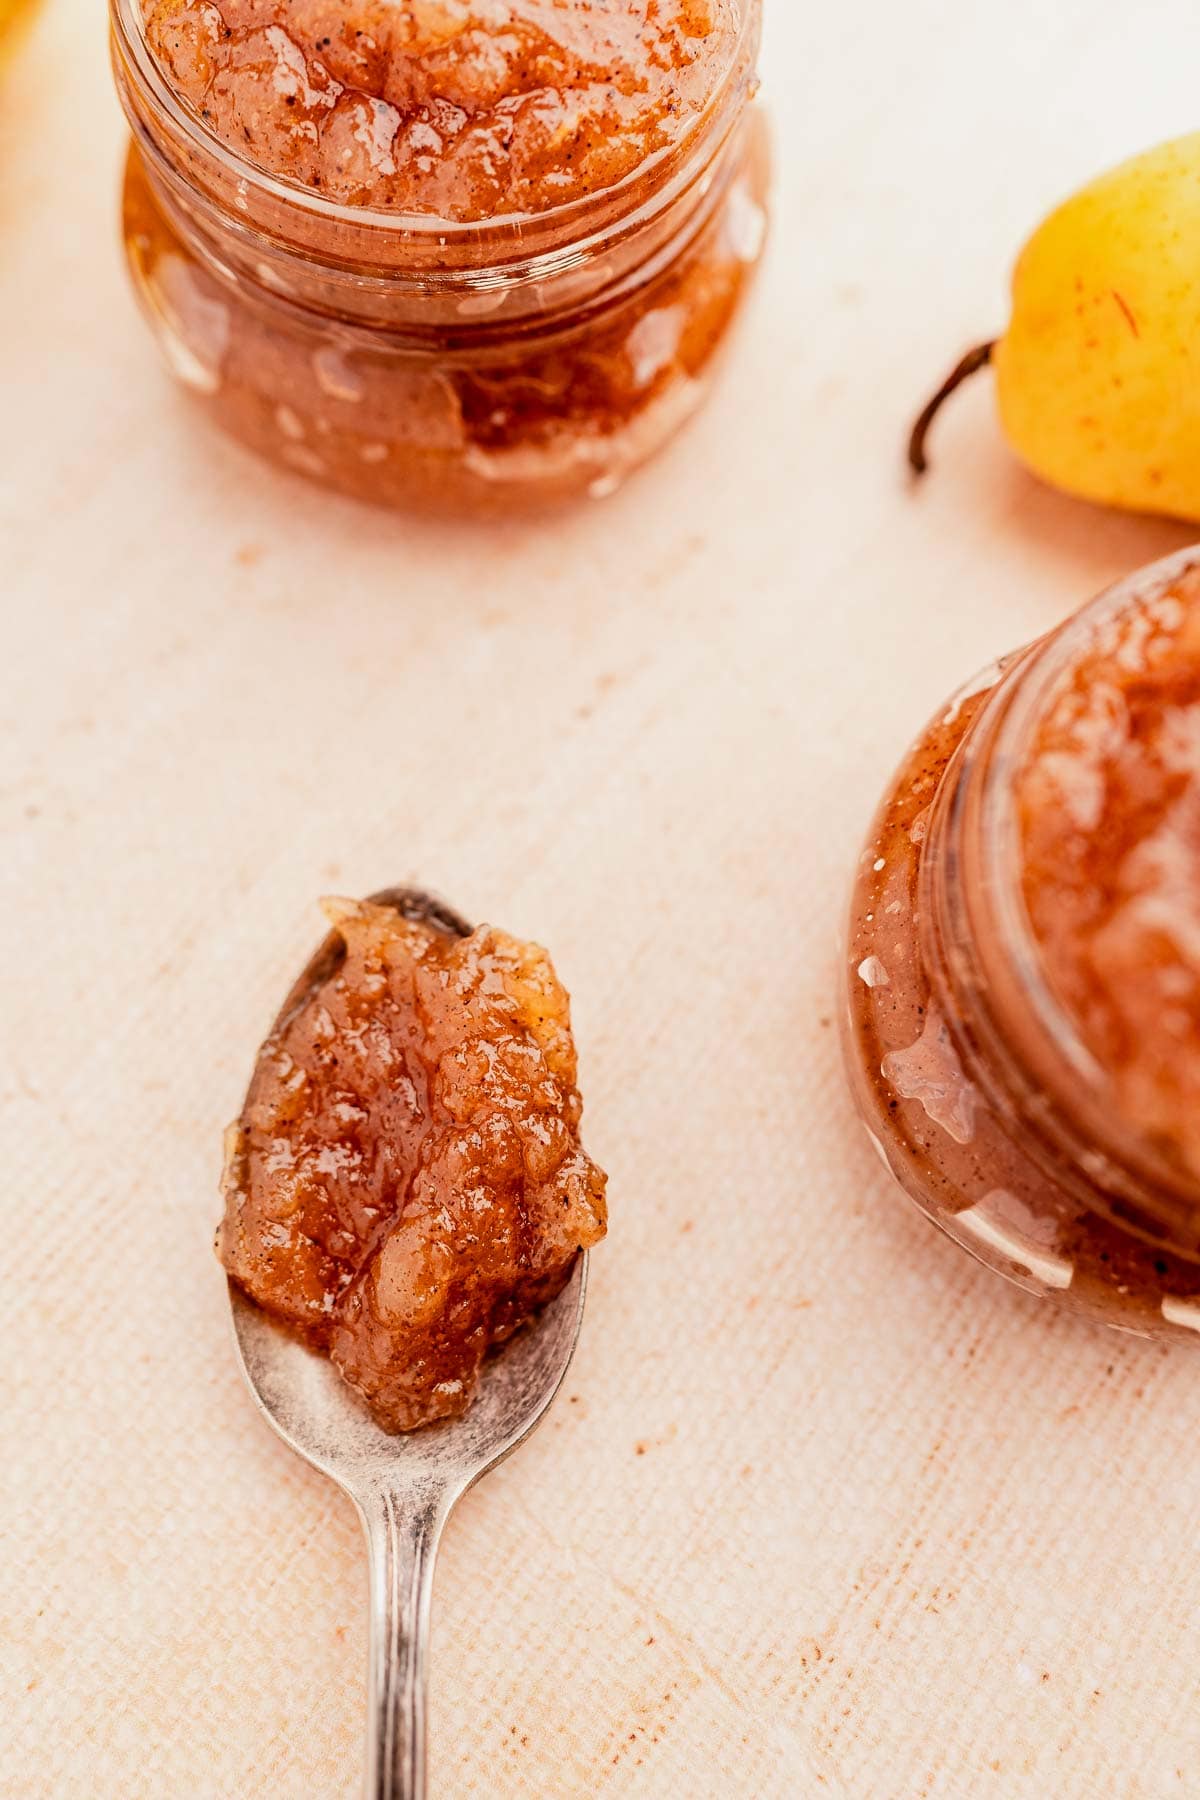
How long does homemade pear jam last?
- Refrigerator: up to 3 weeks
- Freezer: up to 1 year
- Properly canned: up to 1 year
You Might Also Love These Tasty Spreads
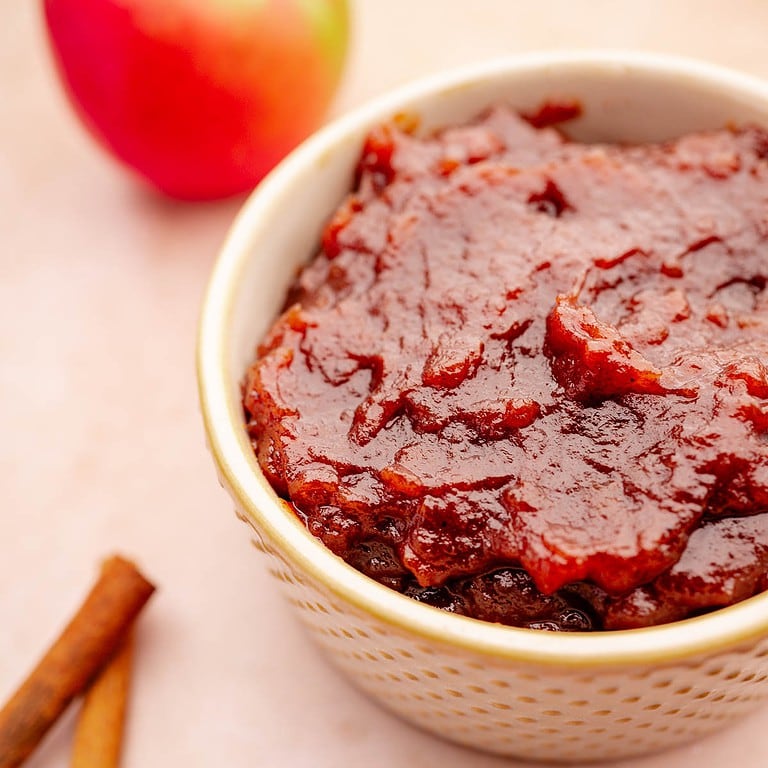
Easy Pear Jam Without Pectin
Ingredients
- 5 cups ripe pears peeled, cored, and finely chopped (about 6-7 medium pears), I like to use Bartlett
- 1 ½ cups granulated sugar
- 2 tablespoon lemon juice
- 1/2 teaspoon vanilla bean power or 1 tablespoon vanilla extract
- 1/2 teaspoon ground cinnamon
- 1/4 teaspoon ground cardamom
- 1/4 teaspoon ground nutmeg
- 1/8 teaspoon salt
Method
- In a large pot, combine the chopped pears, sugar, lemon juice, vanilla, cinnamon, cardamom, nutmeg, and salt. Let the mixture sit for 15 minutes to allow the pears to release their juices.

- Heat the pot over medium heat, stirring occasionally, until the mixture comes to a boil. Reduce the heat to low and simmer gently for about 30-35 minutes, stirring frequently to prevent sticking.
- Use a potato masher or the back of a spoon to break down the pear pieces as they soften.
- The jam is ready when it thickens and clings to a spoon. You can test by placing a small amount on a chilled plate; it should hold its shape when you run a finger through it.
- If you prefer a smoother texture, blend the jam lightly with an immersion blender.
- While the jam is still hot, transfer it to sterilized jars. Leave about ¼ inch of headspace, seal, and process in a boiling water bath for 10 minutes, OR let it cool and store in the refrigerator for up to 3 weeks. Enjoy!
Notes
Nutrition
Nutritional information is automatically calculated using a third-party calculator and is an estimate only.

I like pears,but people complain about the seeds and the grainy feel due to the seeds, how do I get rid of them?
Hi Gail! You can remove the seeds and core before making the jam. If you’re referring to the grainy texture of the pears themselves, that’s really just natural to pears. For a smoother jam, you can try peeling the pears and blending the mixture before transferring it to jars. Hope this helps!
didnt get as dark as picture maybe i used to many pears but but its smooth and taste very yummy.
I’m so very happy to hear it! Thanks so much for taking the time to share. 🙂