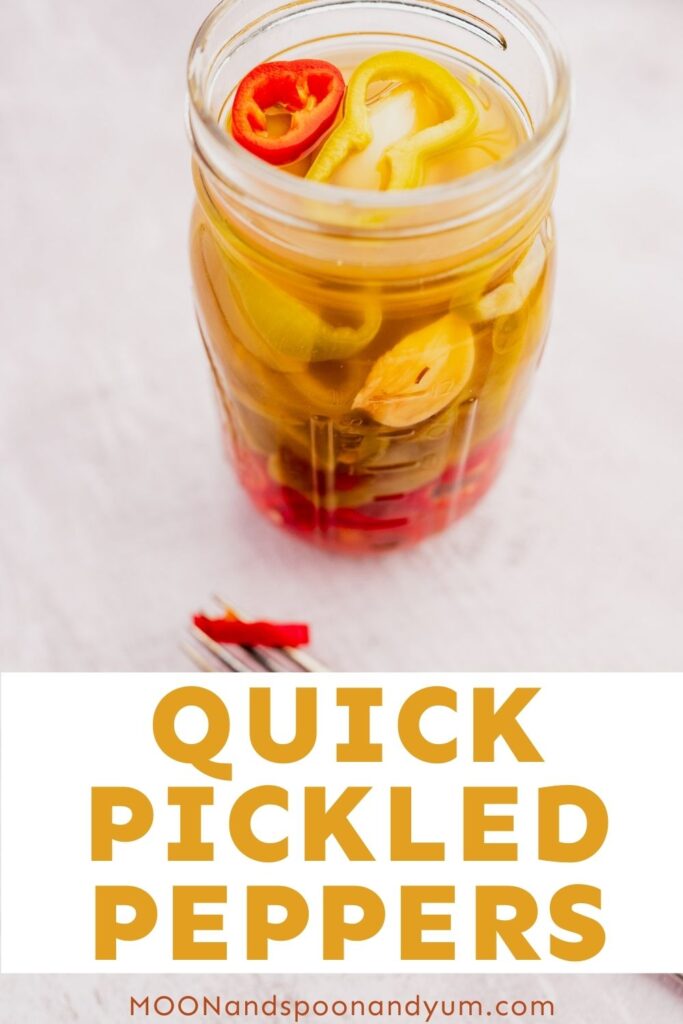
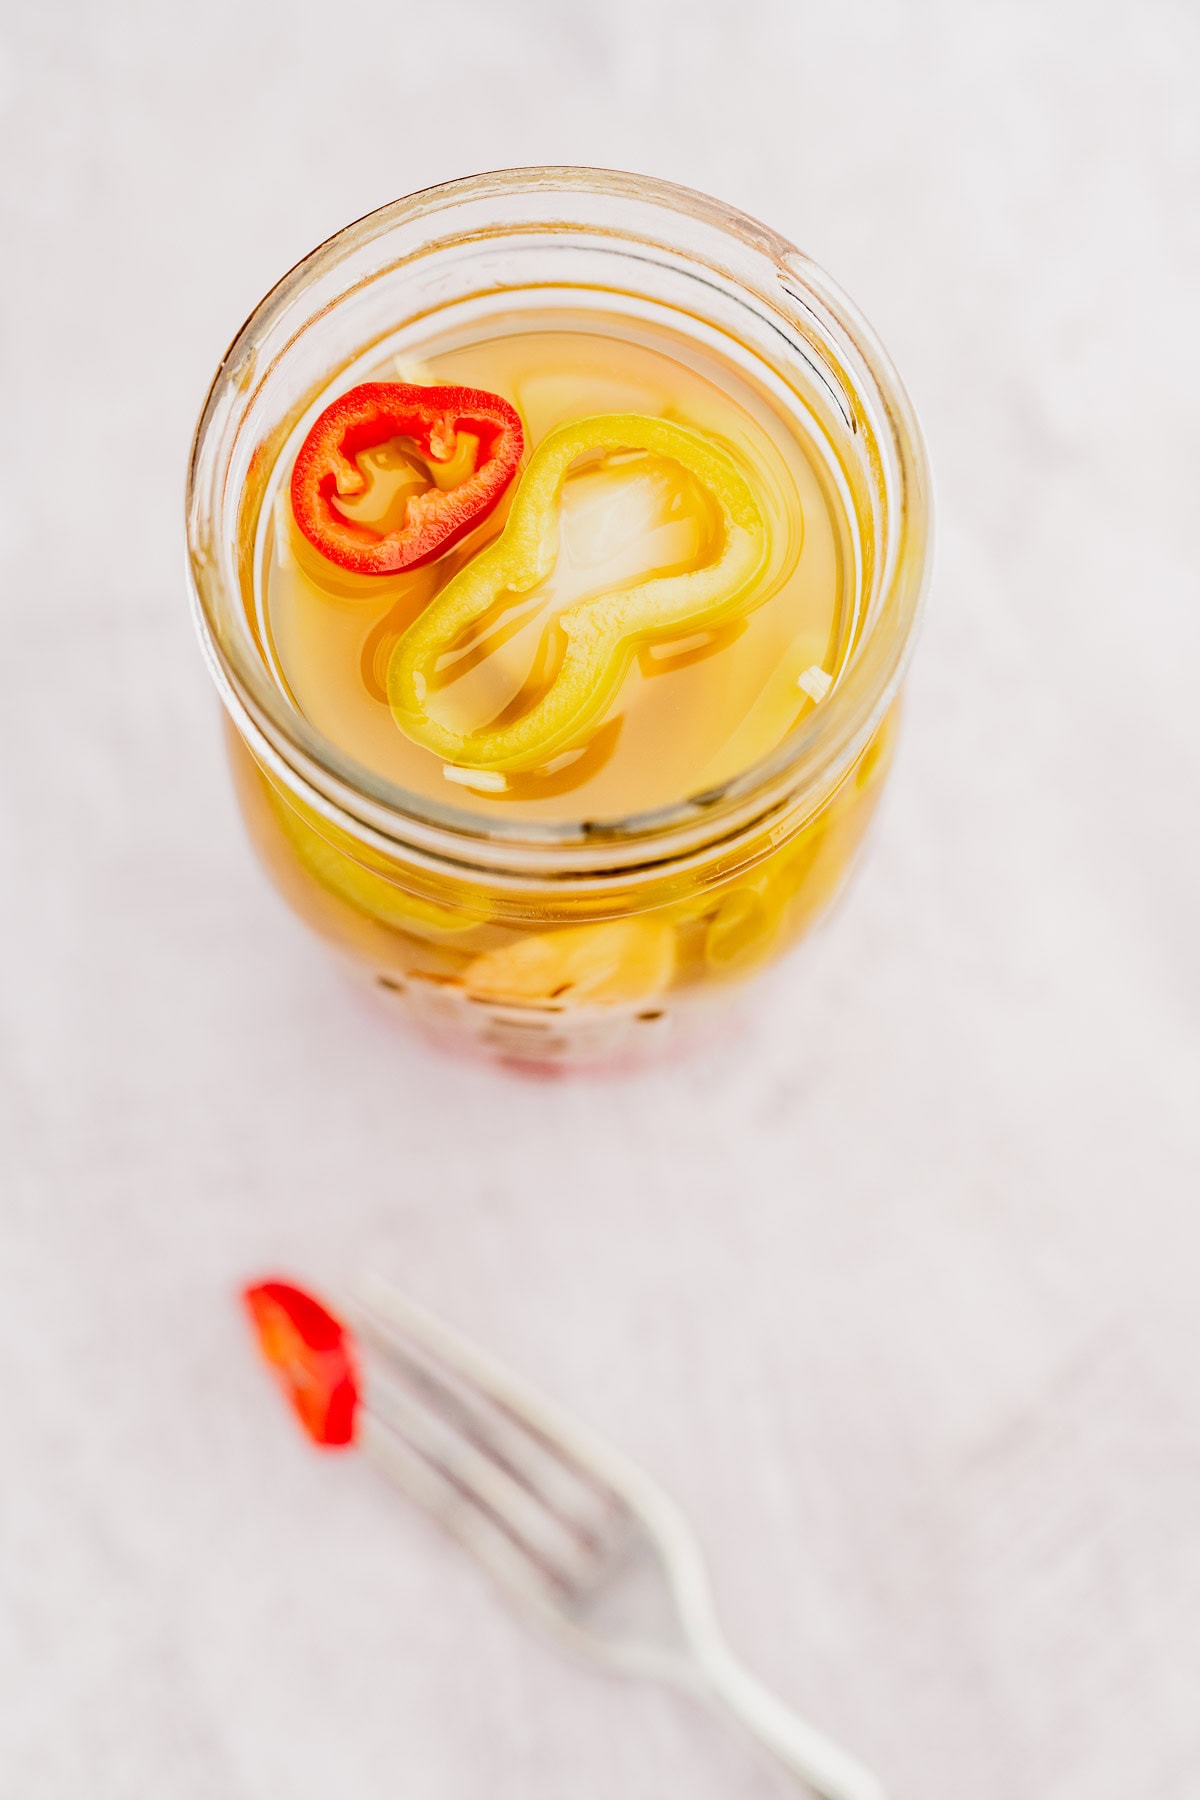
This quick pickled peppers recipe may just be your new go-to condiment for adding a little zing to your meals! Easy to make and packed with flavor, you’ll love how these zesty little gems add a tangy twist to everything they touch. Naturally vegan and vegetarian!
I love pickled veggies — they’re such a great option for topping and dressing foods, adding a pop of flavor, color, and texture! With my pickled peppers recipe, you’ll get all that and more. Trust me, learning to pickle peppers is worth the effort — they’ll elevate your dishes to the next level. I hope you enjoy!
Why You’ll Love These Easy Pickled Peppers
- They’re super easy to make! It’s just slicing your peppers, making your pickling liquid, and then mixing them to let the pickling magic begin.
- Most of the ingredients you need to pickle peppers may already be in your pantry.
- The recipe is customizable. You can choose what type of pepper to use or make it mild or spicy. You can even make pickled sweet peppers if you want!
- They’re low in calories but high in flavor.
- They’re good for your body! Peppers are high in nutrients, including vitamins and fiber.
A Few Notes on Peppers
You can pickle any pepper you want for this recipe! I’m using both Fresno and Anaheim peppers — they’re mild-medium heat peppers similar to jalapenos but also offer a mildly sweet, almost fruity taste. Here’s a quick rundown of other popular types of peppers, ranging from mild to hot according to the Scoville Scale:
- Bell Peppers: Offer a mild, slightly sweet taste and vibrant colors.
- Banana Peppers: Long, yellow, and shiny, they come in sweet or hot variants.
- Pepperoncini: Mildly hot peppers that are often used in Italian cuisine.
- Jalapeno Peppers: These are great if you’re into moderately spicy things.
- Serrano Peppers: Hotter than jalapeños, they’re perfect for those looking to enjoy the extra heat.
- Habaneros and/or Ghost Peppers: For those who love intensely spicy things!

Ingredient Notes
Chiles Of Choice: Plays a crucial role in the flavor and spice level of your pickled peppers. I love to combine a mixture of chiles, but you can focus on one pepper at a time until you discover your favorite pickled chile.
Apple Cider Vinegar: Helps add flavor to and preserve the peppers. I love ACV when it comes to pickling but regular white vinegar is an excellent choice as well.
Water: Helps dilute the acidity of the pickling brine.
Sugar: Adds sweetness to balance the flavors of the quick pickled peppers.
Salt: Intensifies the natural flavors of the peppers.
Garlic Cloves: Adds a savory and aromatic quality to the brine.
Mustard Seeds: Imparts tangy and peppery flavors. This is my secret ingredient!
Whole Black Peppercorns: Adds depth of flavor, and a subtle heat.
Dried Thyme: Enhances the overall taste and complexity of the pickled peppers.

How to Make Pickled Peppers

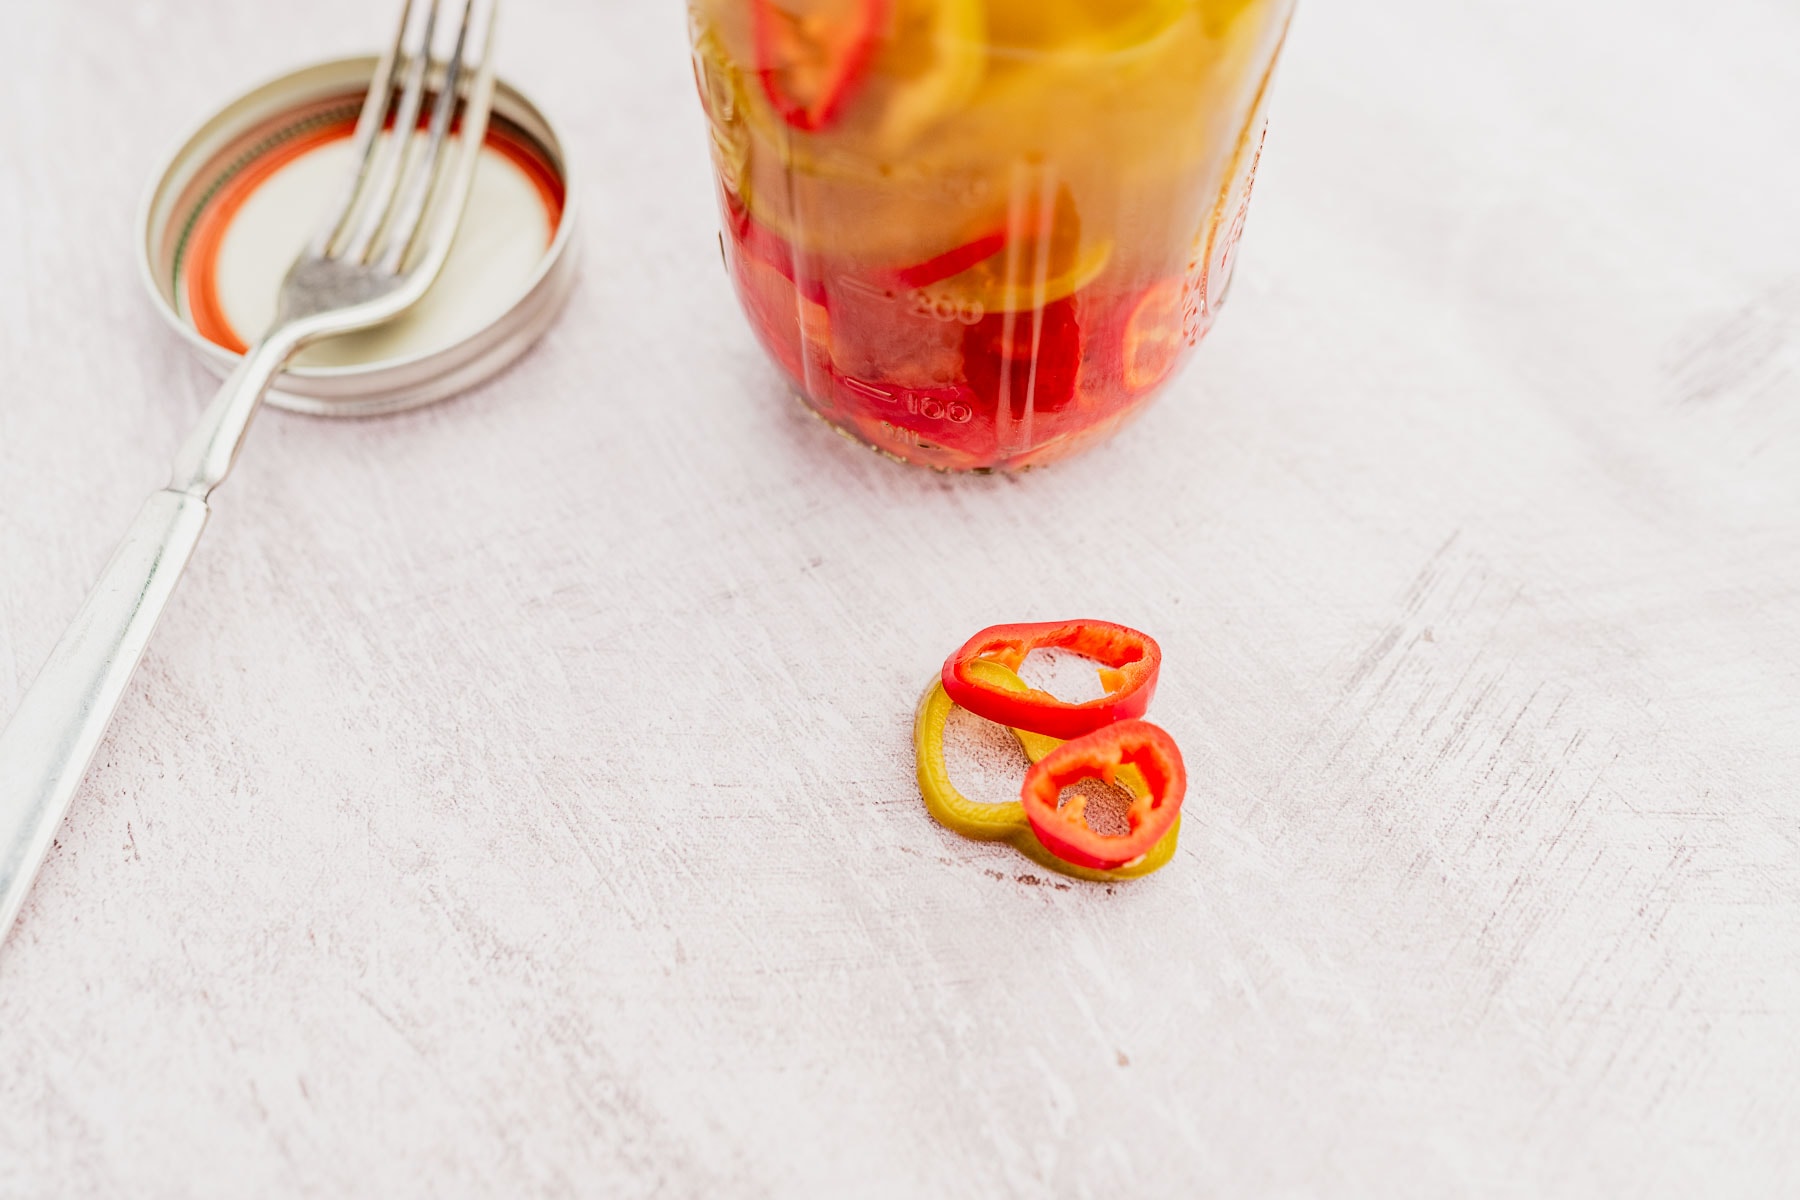
- Thinly slice the peppers and set them aside.
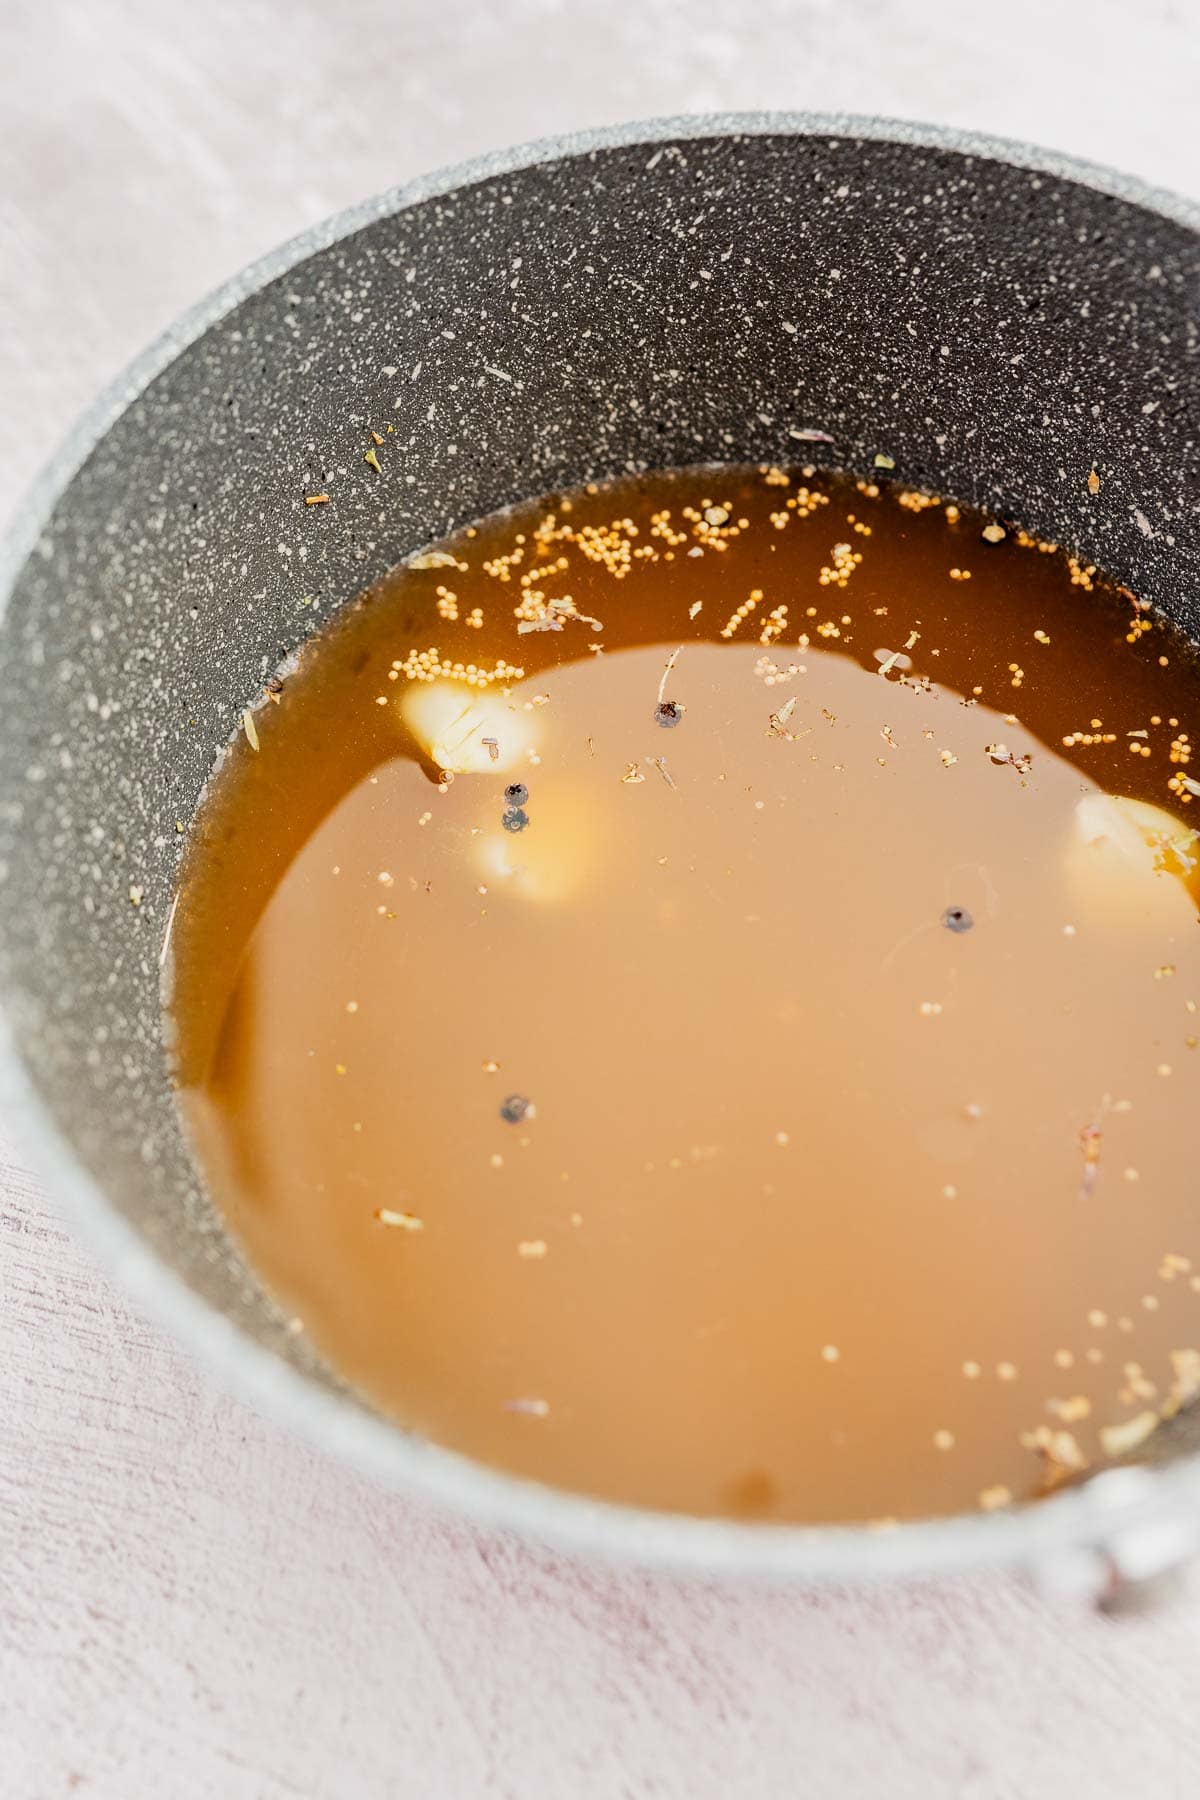
- In a saucepan, bring vinegar, water, sugar, salt, garlic, mustard seeds, peppercorns, and thyme to a boil, stirring to dissolve.
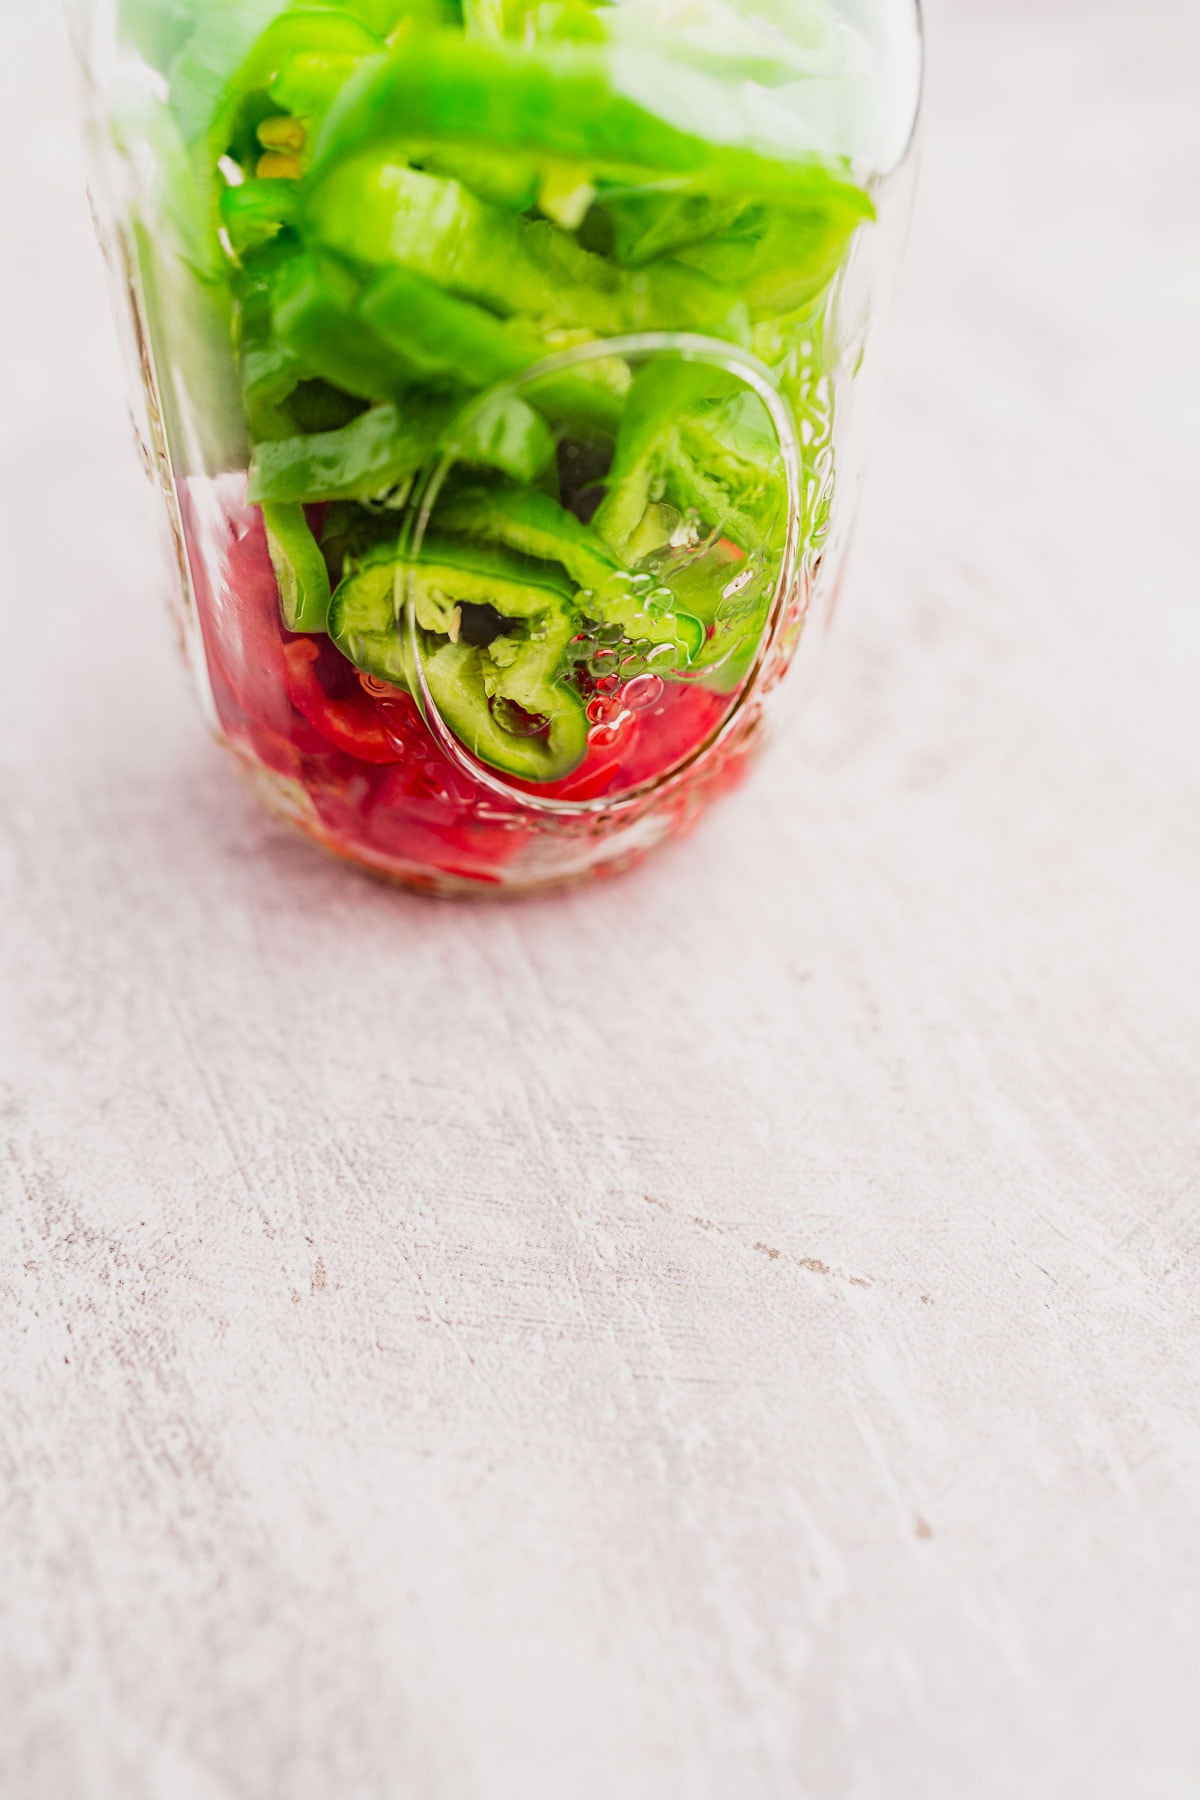
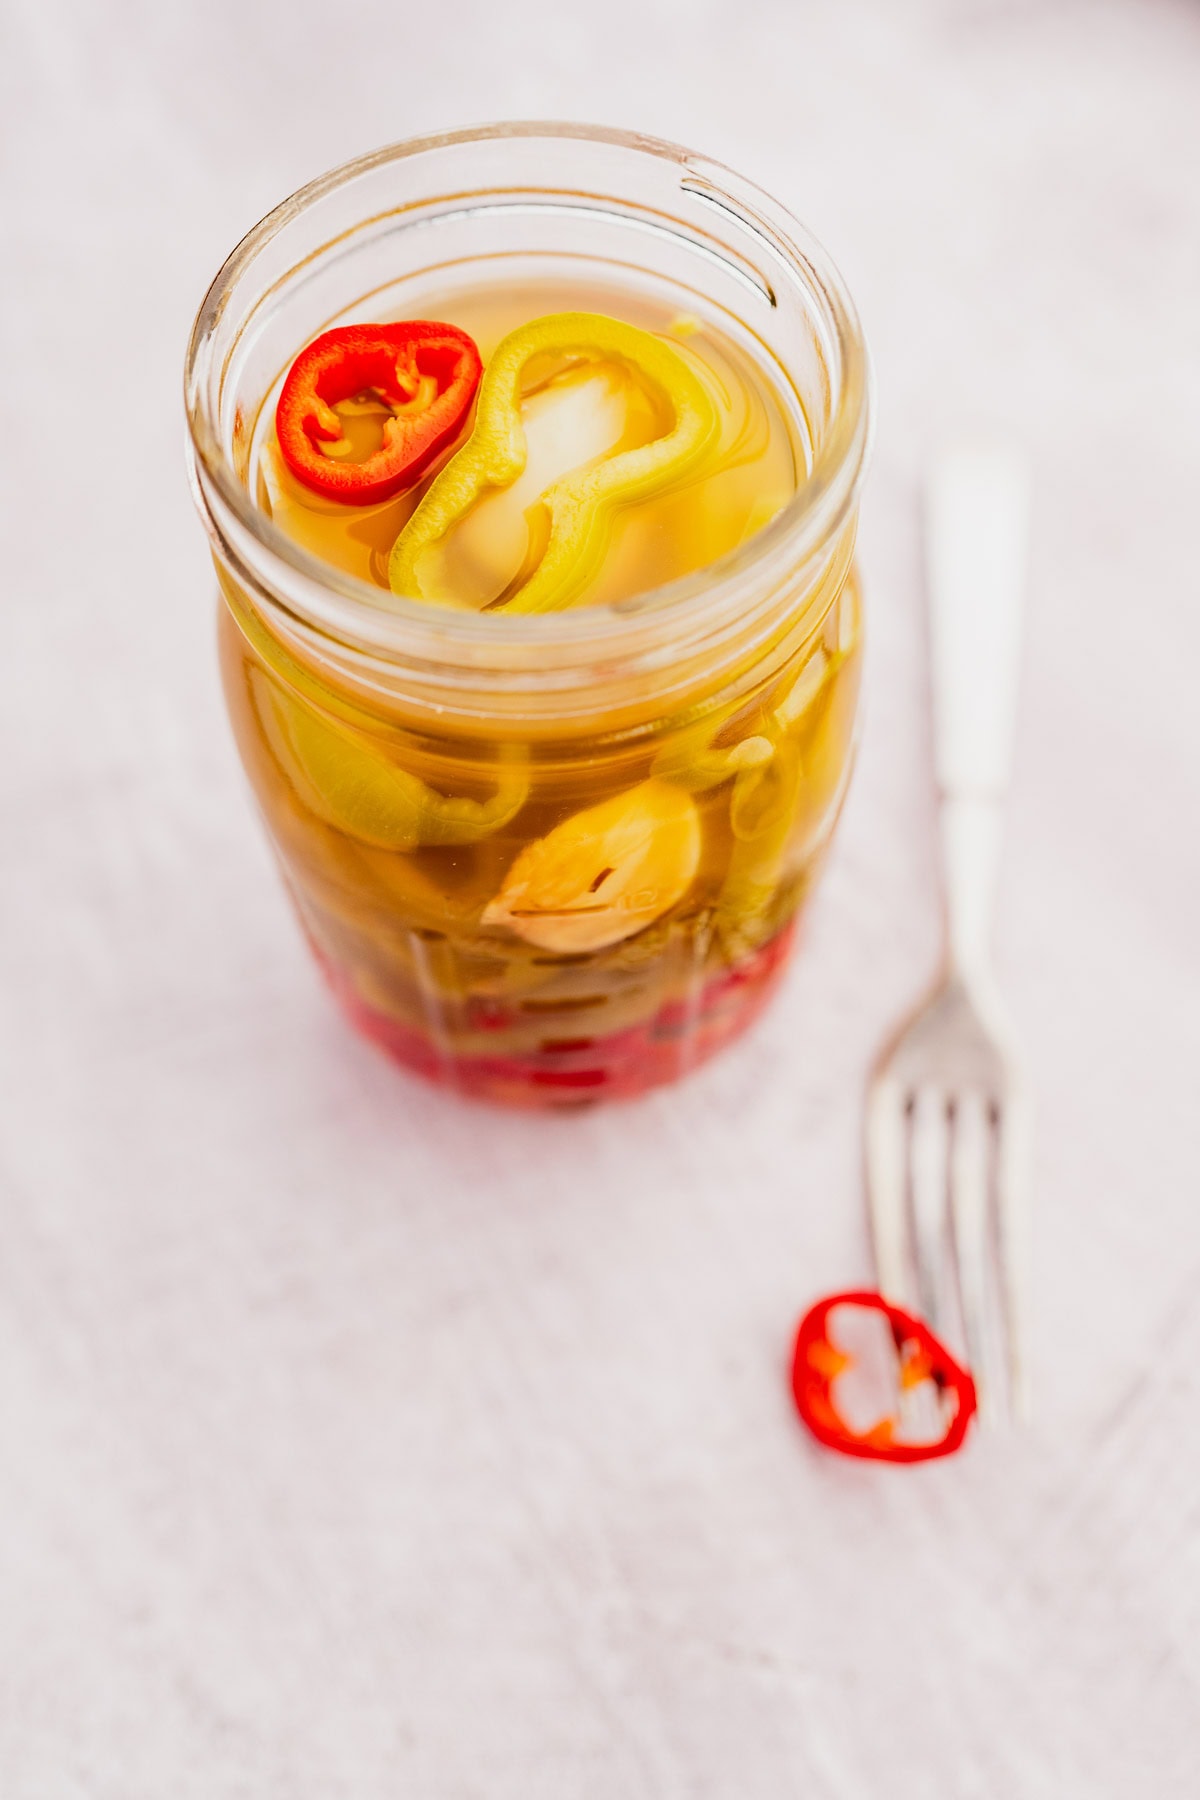
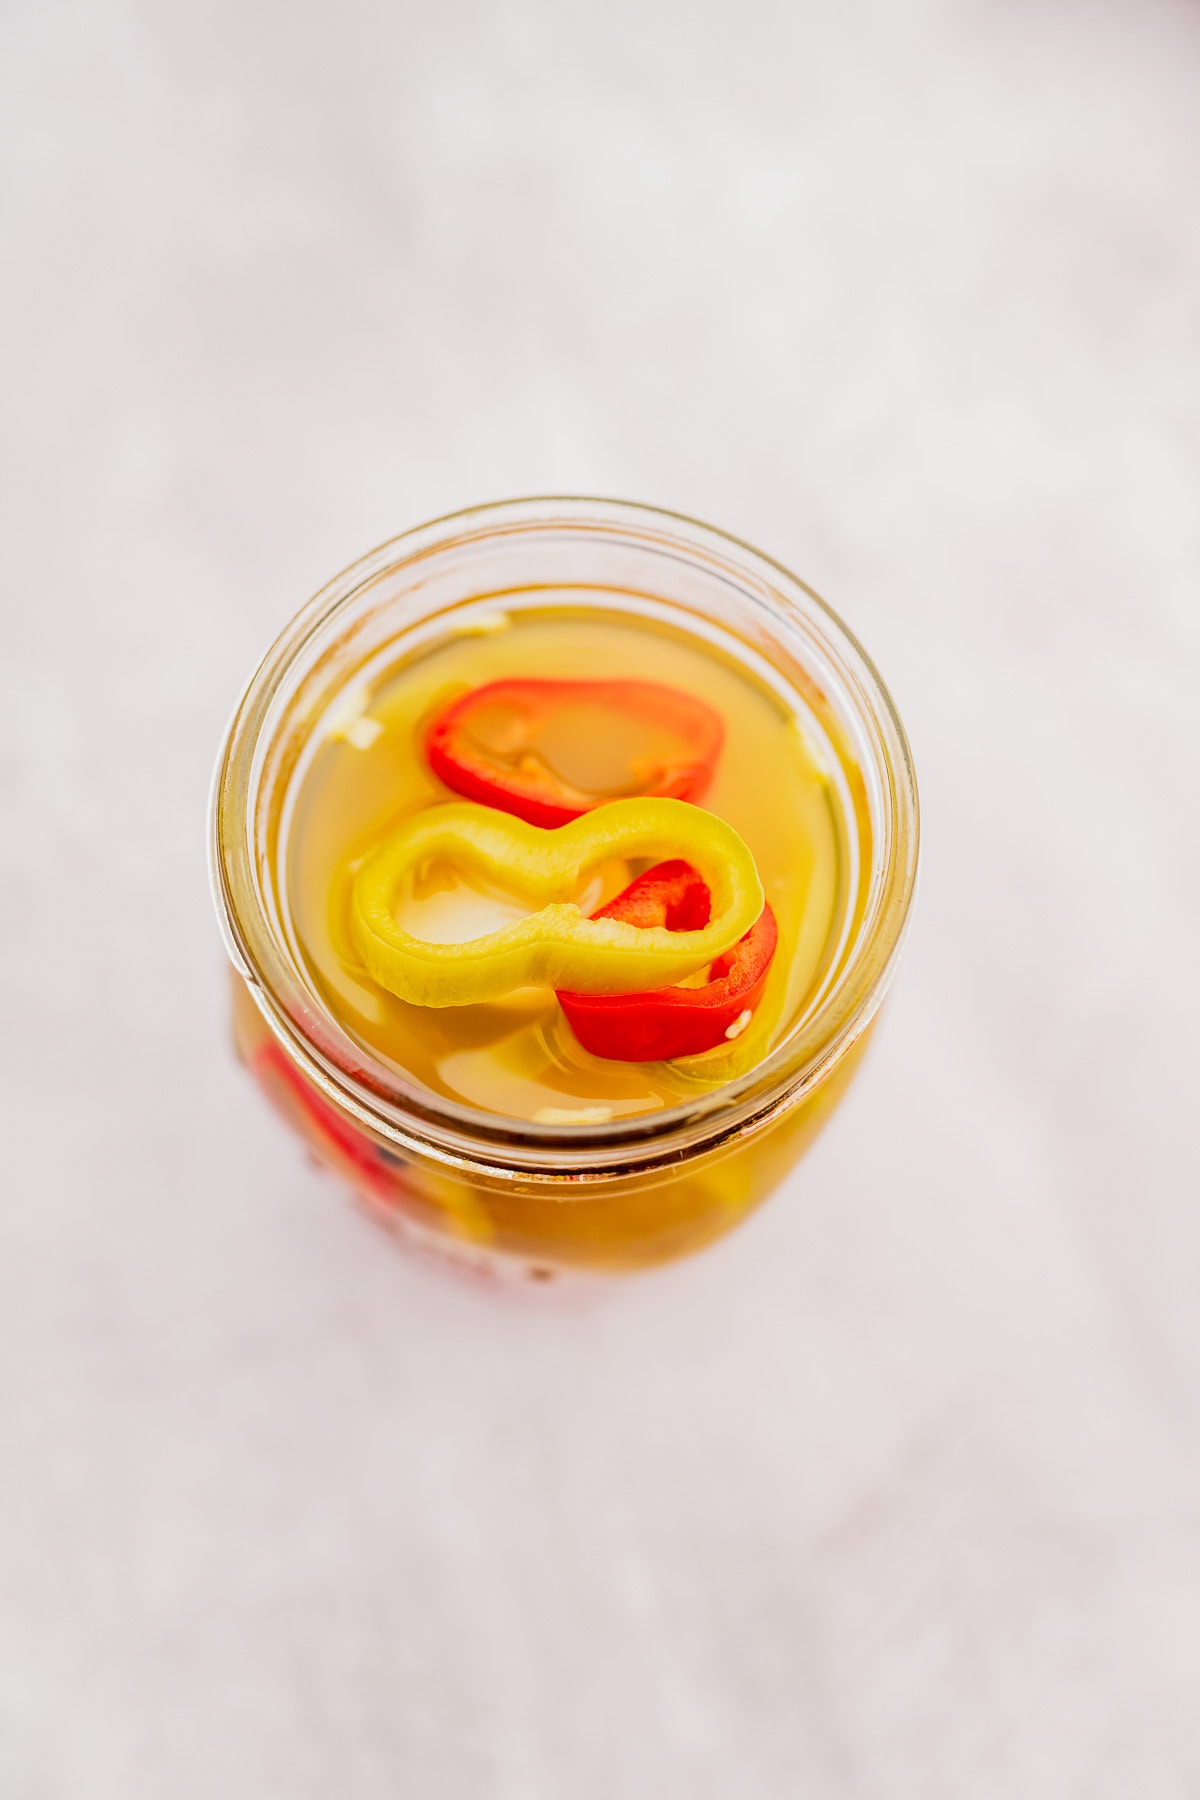
- Pack pepper slices into a clean 16-ounce jar.
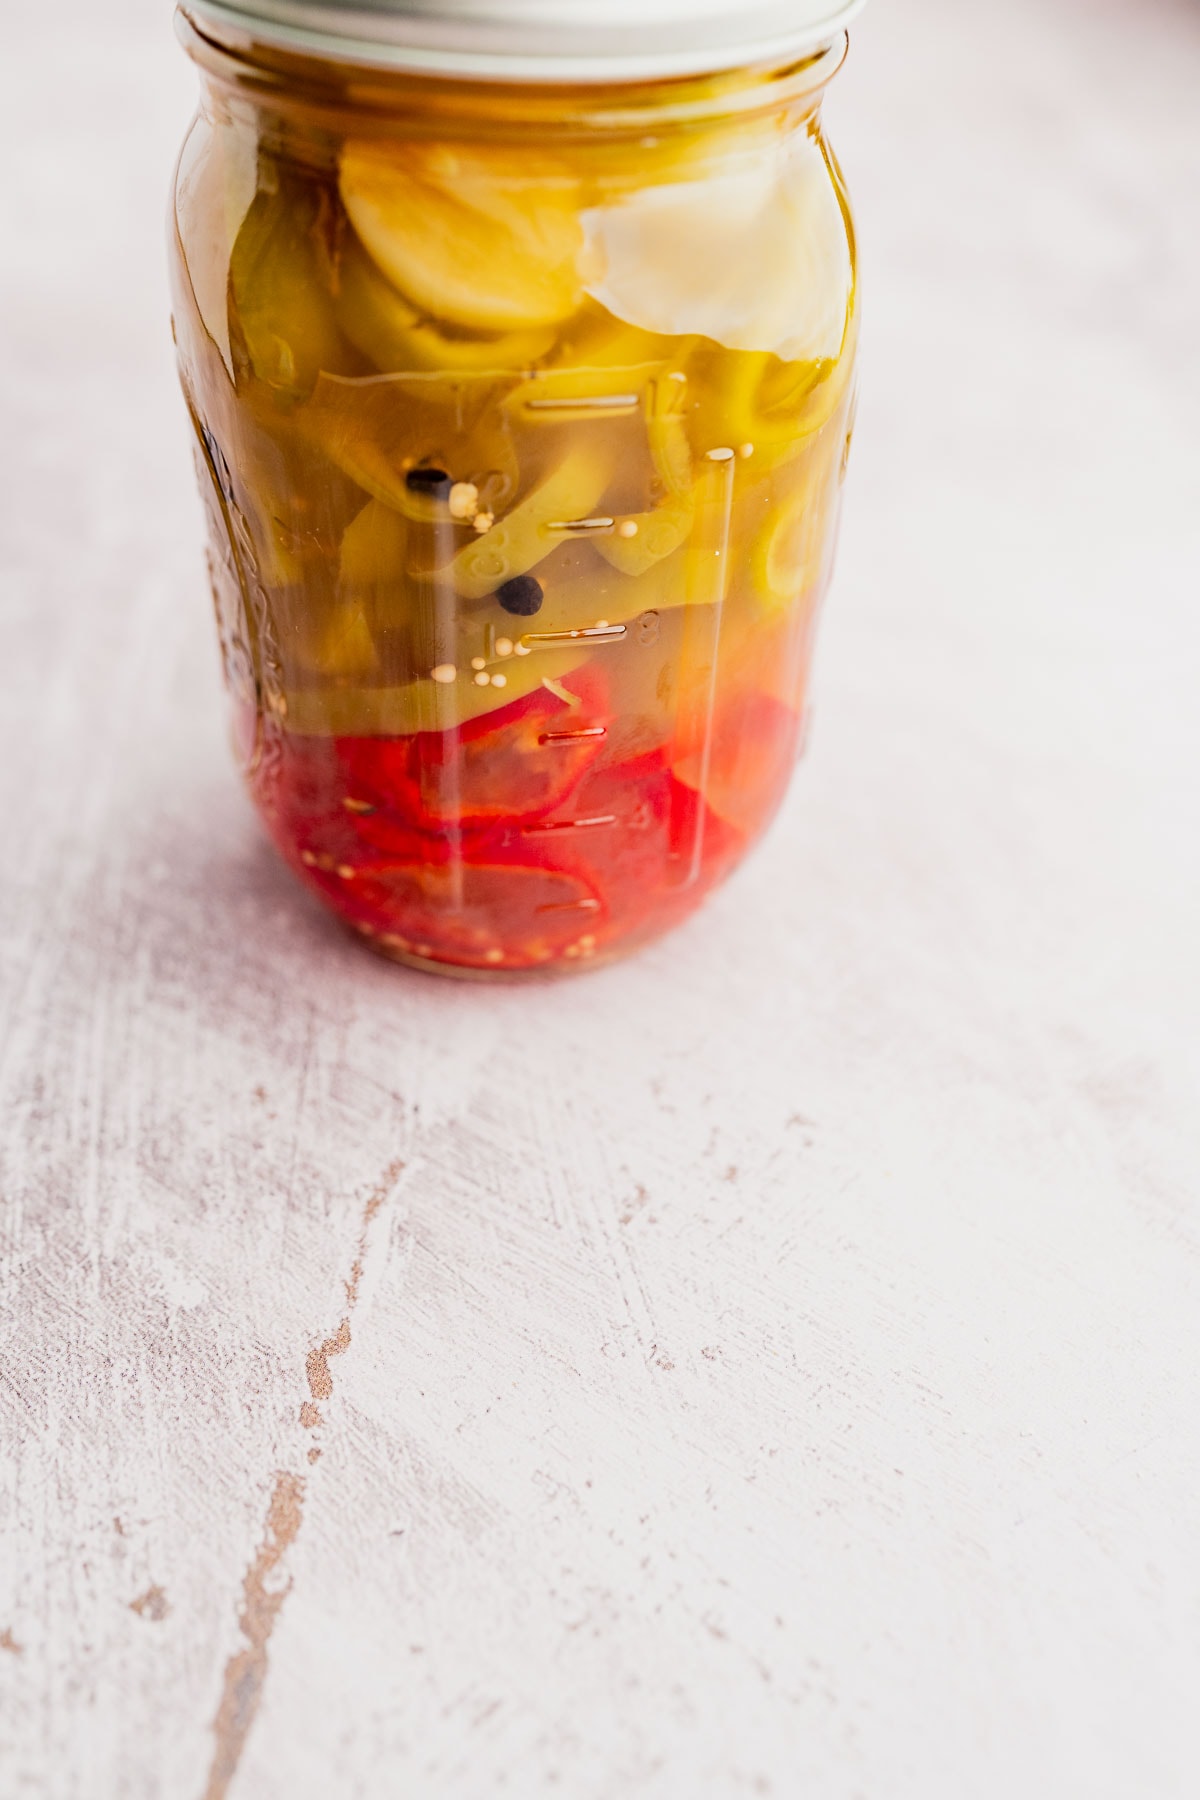
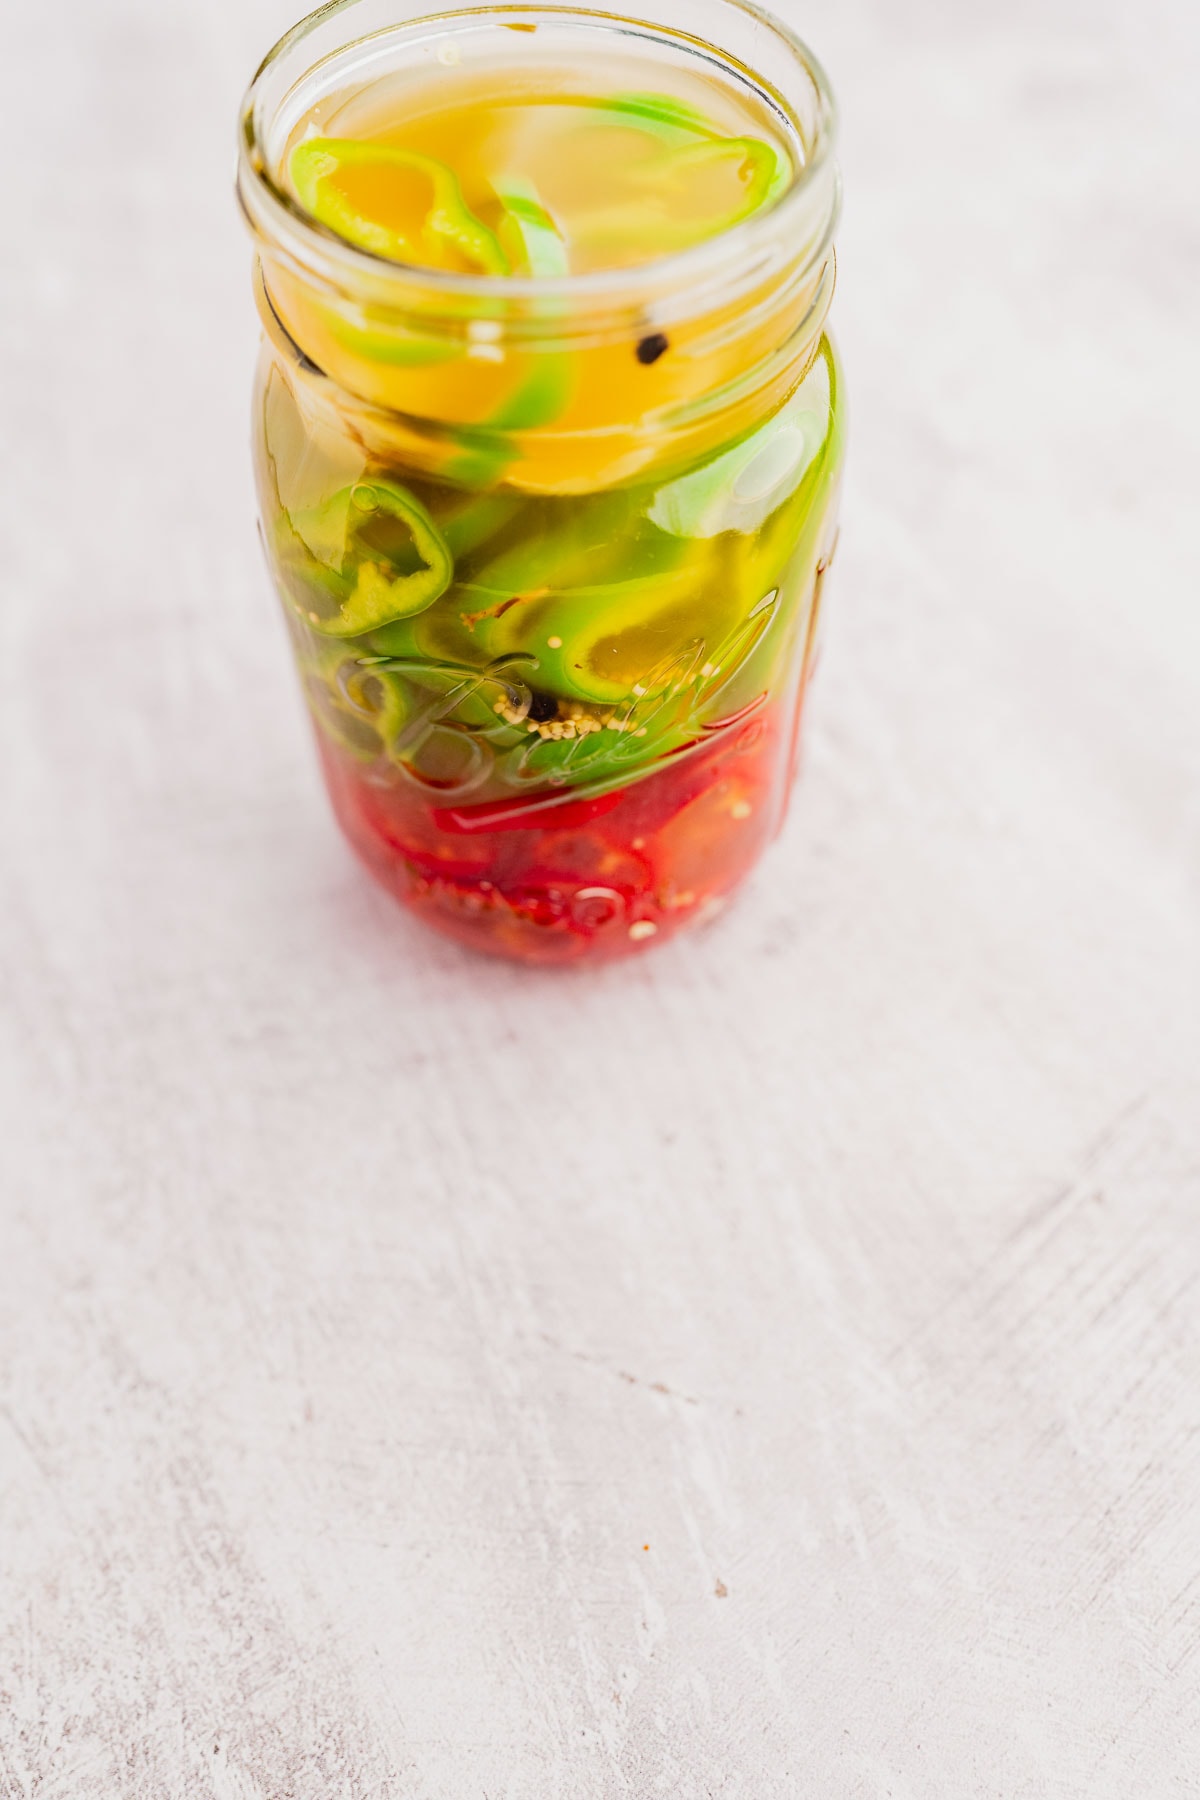
- Pour the hot brine over the peppers, ensuring they’re fully submerged. Press down with a spoon if needed.
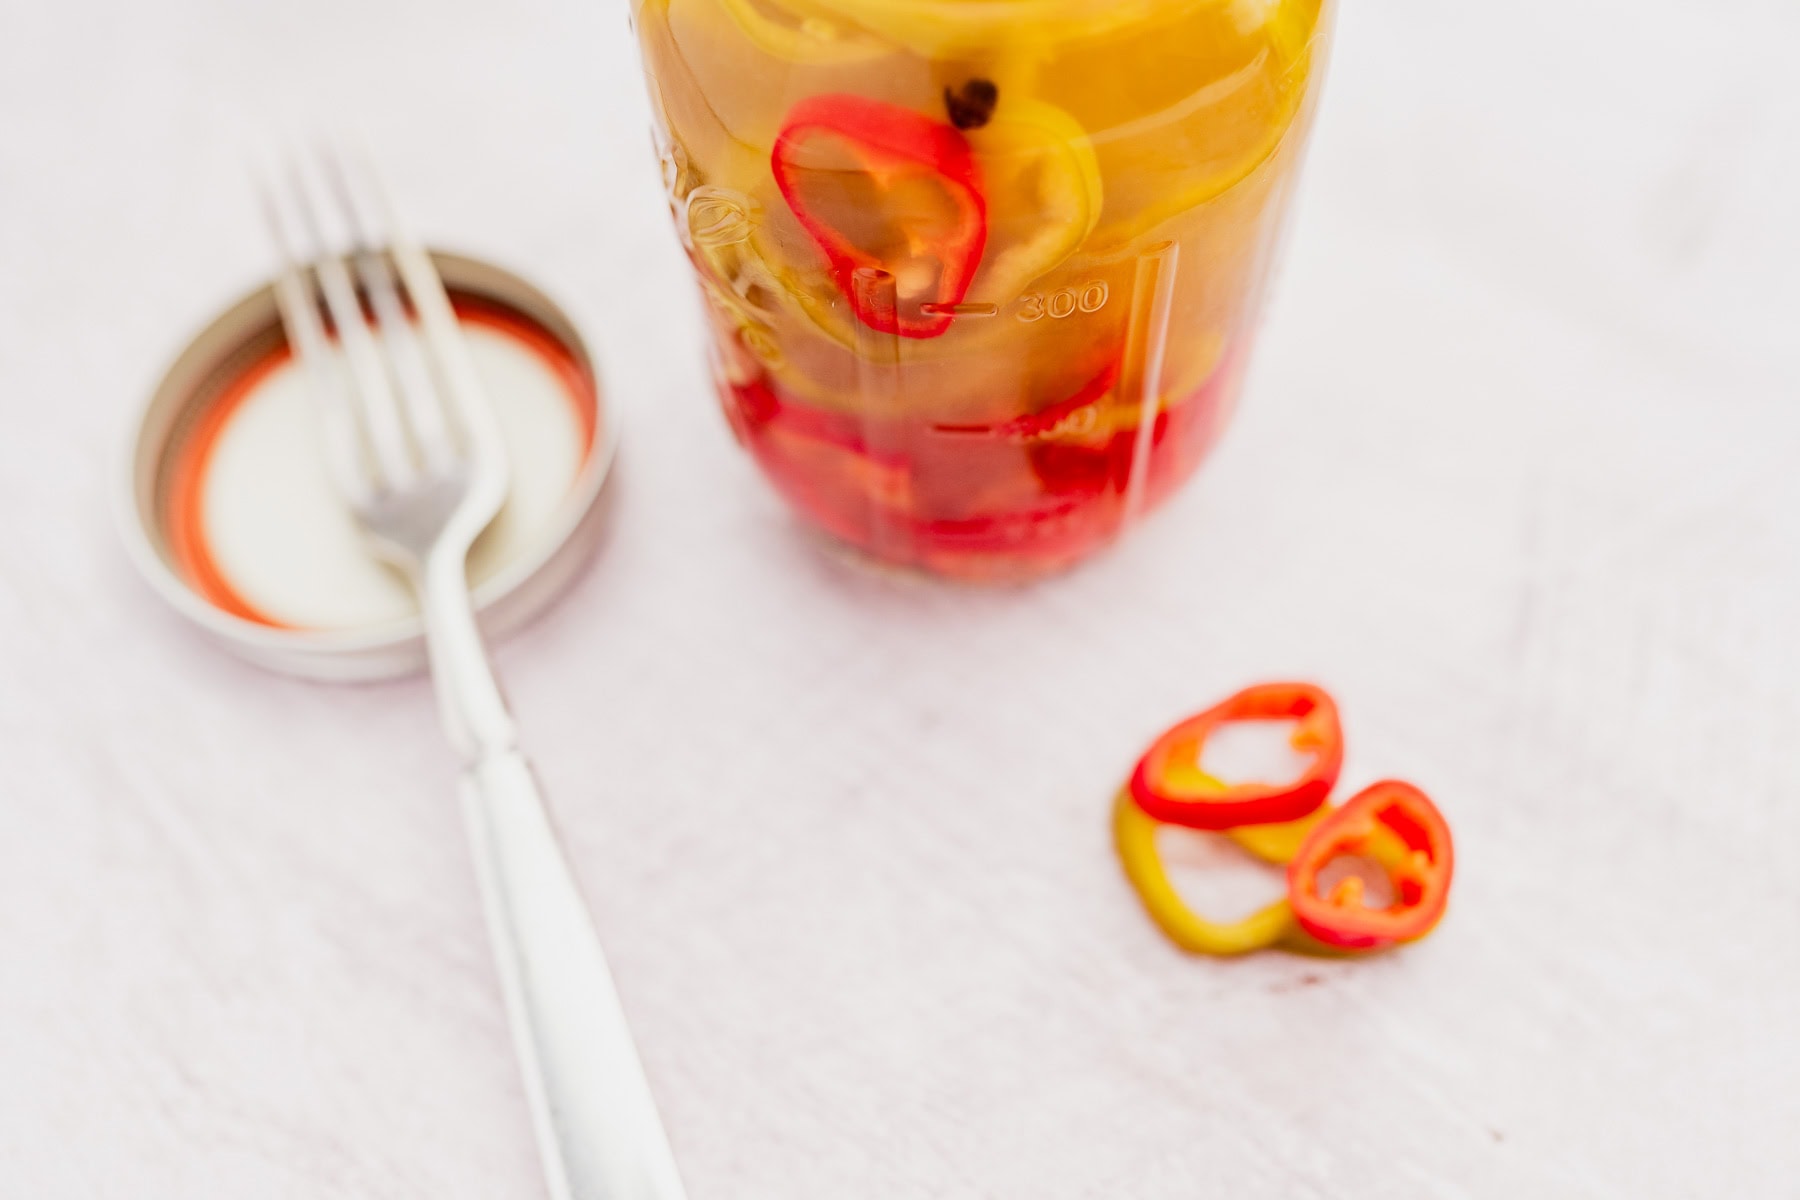
- Seal the jar and let it cool to room temperature.
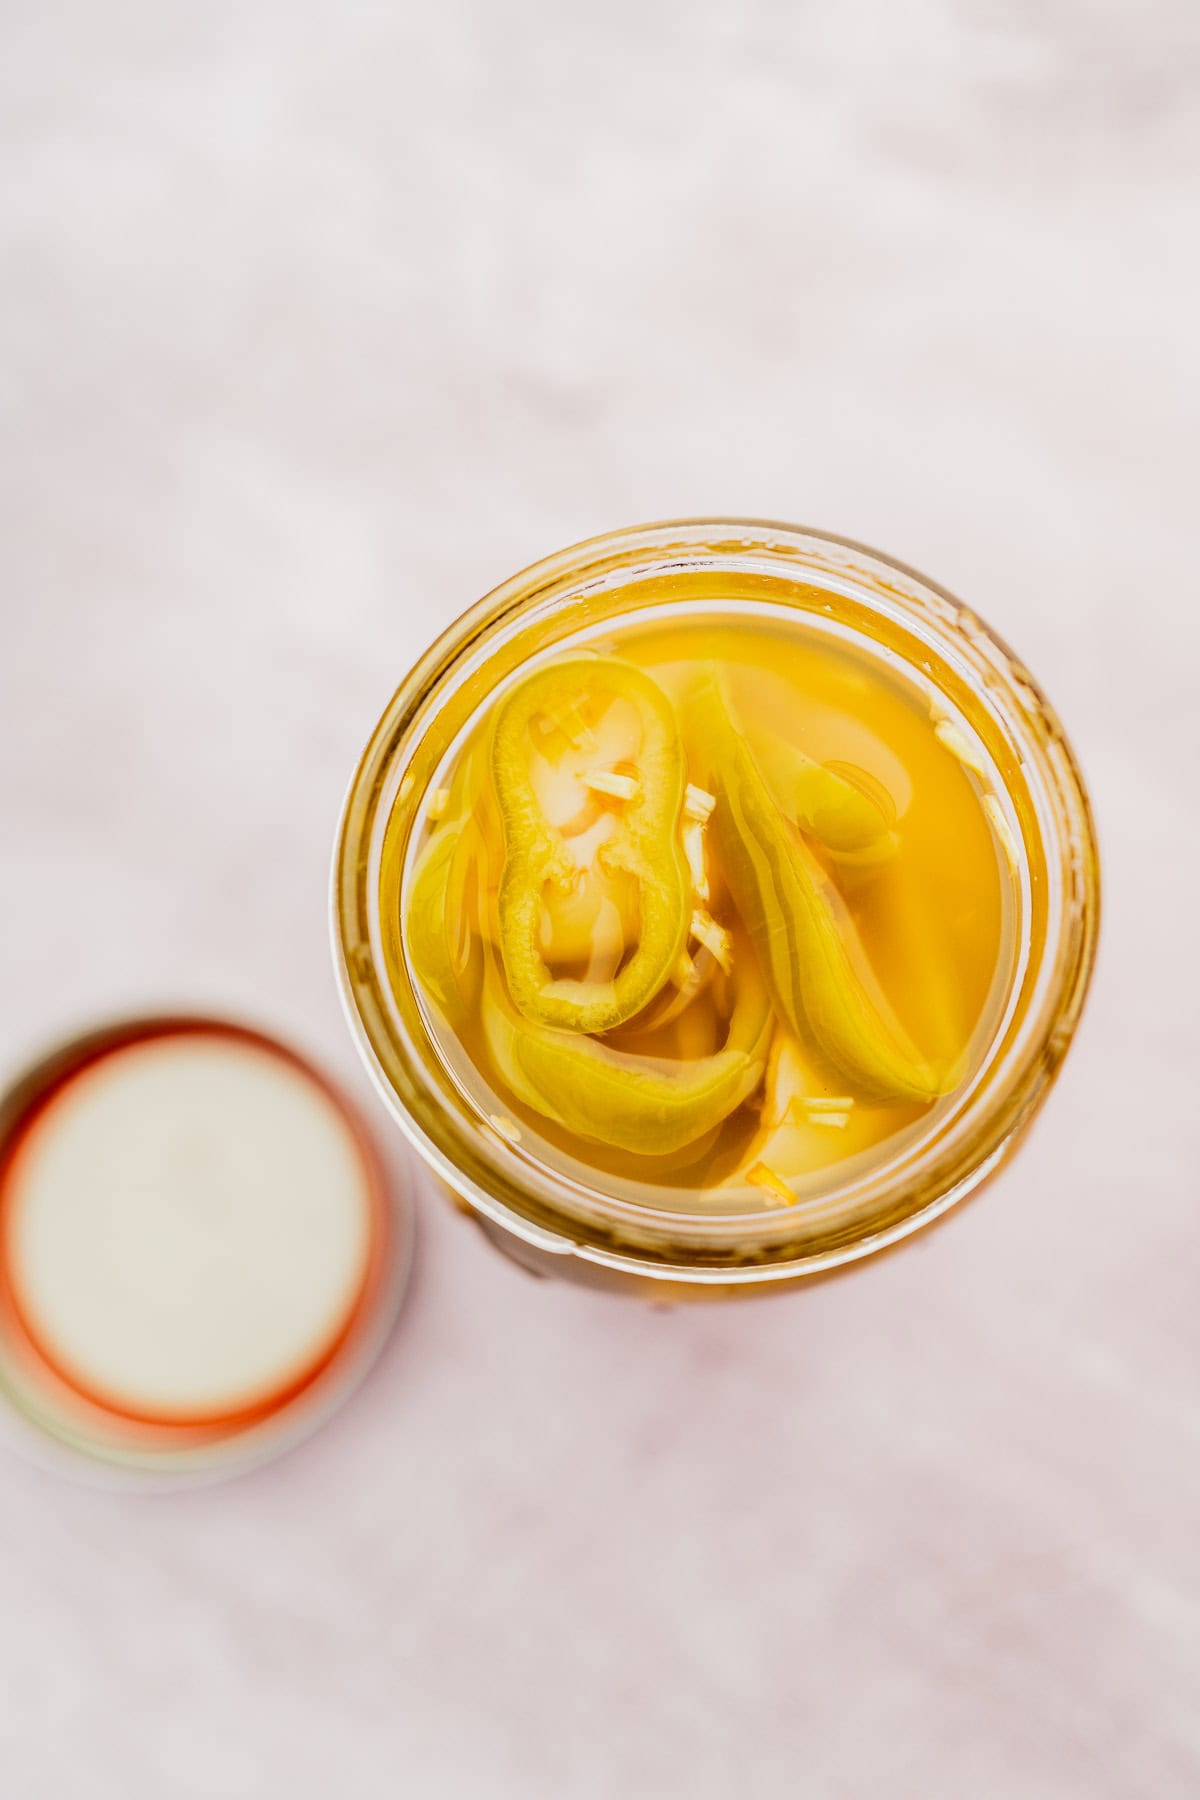
- Refrigerate for at least 24 hours before serving.
- Store in the fridge and enjoy within 2 weeks!
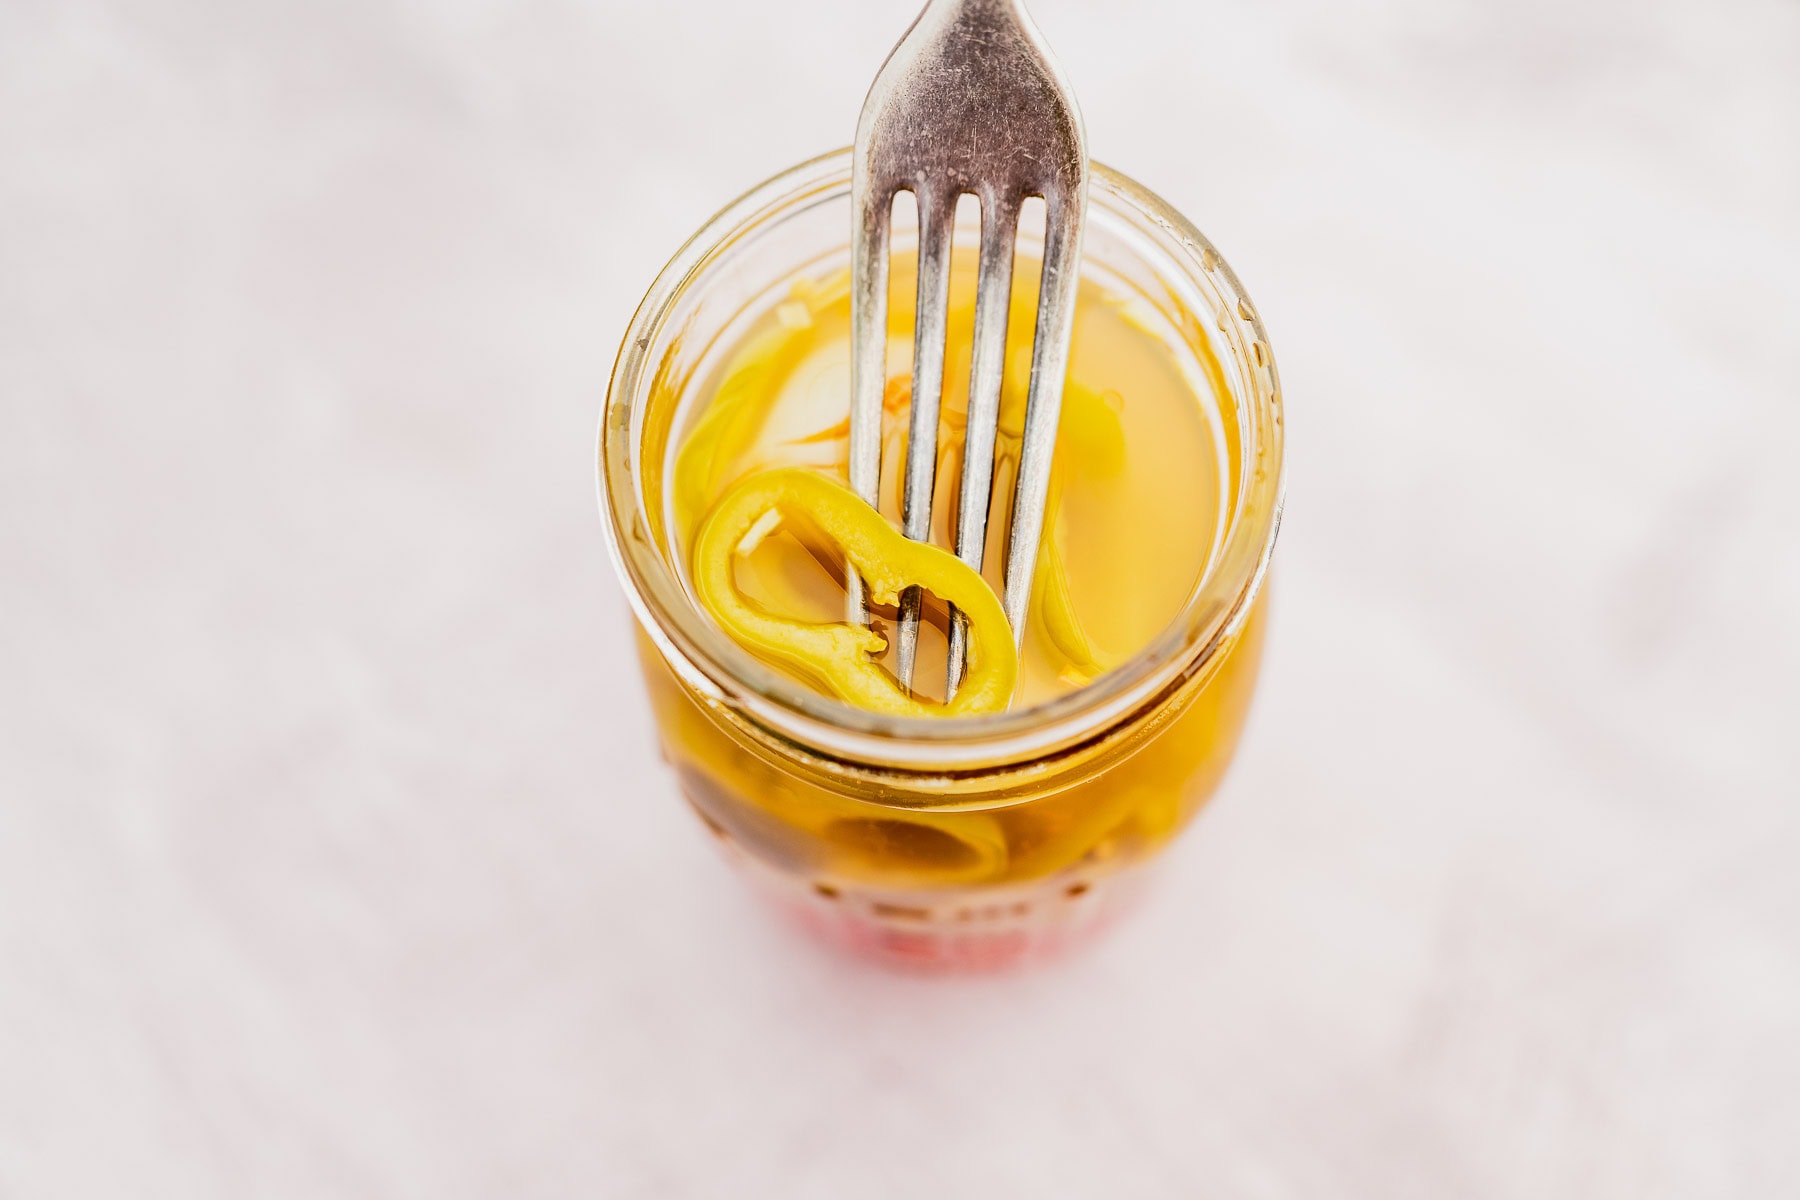
How to Use Quick Pickled Peppers
- Added to sandwiches.
- Mixed into grilled vegetables.
- As a topping for tacos, nachos, or burritos.
- Layered in cheese quesadillas.
- Tossed into mixed greens or other salads.
- As a topping for pizzas and flatbreads.
- As a garnish for pasta.
- Added to soups and stews.
- As a baked potato topping.
Storing
Store your pickled peppers in clean glass jars with airtight lids. Keep them in the refrigerator for up to 2 weeks.
Expert Tips
- Make sure the peppers are completely submerged in the liquid to avoid exposure to air, which may lead to spoilage.
- Use firm and fresh peppers for the best texture and flavor.
- Wear gloves to protect your skin from capsaicin, particularly if you’re handling very hot peppers.
- To make the quick pickled peppers more shelf-stable, follow these tips:
- Use sterilized glass jars by boiling them for about 10 minutes.
- After placing both the peppers and brine in the jar, seal the jars with lids and bands.
- Place the jars in a water bath canner, making sure they’re covered by an inch or two of water.
- Boil the water for about 10 minutes, though the process may depend on the size of the jar you’re using and altitude.
- Turn off the heat and let the jars sit for about 5 minutes.
- Remove from the water and let the jars sit for another 12-24 hours.
- If the jars are sealed, then you can store them in the pantry for up to a year. If they didn’t seal, refrigerate them.
You Might Also Love These Delicious Pepper Recipes
Jamaican Scotch Bonnet Pepper Sauce
Pickled Peppers Recipe
Ingredients
- 1 ½ cups sliced chiles of choice I like to use 5 Fresno peppers and 2 Anaheim chiles
- 1 1/4 cups apple cider vinegar
- ¾ cup water
- 1 teaspoon sugar
- ½ teaspoon salt
- 2 garlic cloves smashed
- ½ teaspoon mustard seeds
- ¼ teaspoon whole black peppercorns
- ¼ teaspoon dried thyme
Method
- Rinse and slice the peppers into thin rings. Set aside.
- In a small saucepan over medium heat, combine the vinegar, water, sugar, salt, garlic, mustard seeds, peppercorns, and thyme.
- Heat the mixture until it comes to a boil, stirring to dissolve the sugar and salt.
- Place the pepper rings into a clean, small jar (about 16 ounces), packing them tightly but not smashing them.
- Carefully pour the hot brine over the peppers, ensuring they are fully submerged. Use a spoon to press them down if necessary.
- Close the jar with a lid and let it cool to room temperature. Once cooled, refrigerate for at least 24 hours to allow the flavors to develop.
- These pickled peppers will last in the refrigerator for up to 2 weeks.
- Enjoy!
Nutrition
Nutritional information is automatically calculated using a third-party calculator and is an estimate only.